- Setup your logo
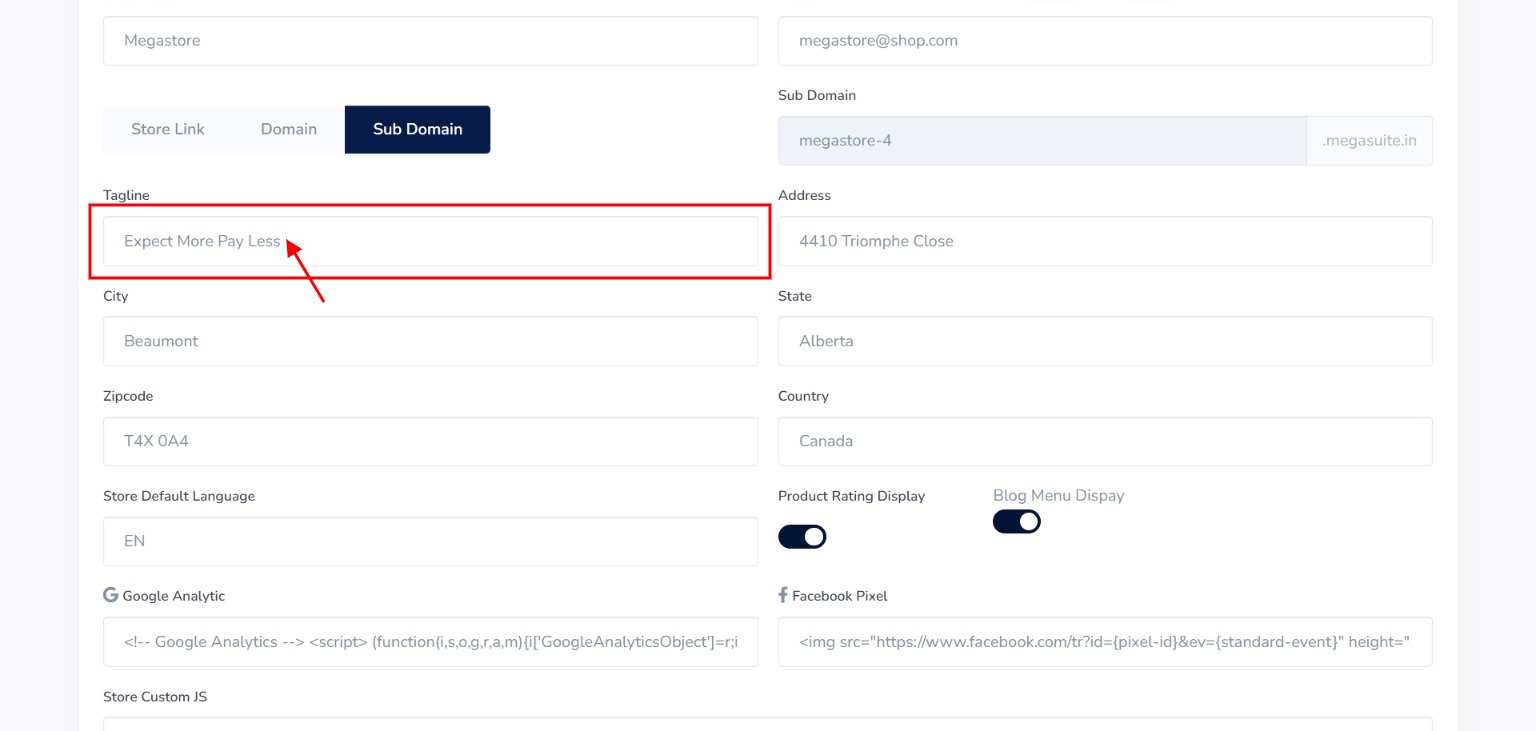
- Adding your tagline
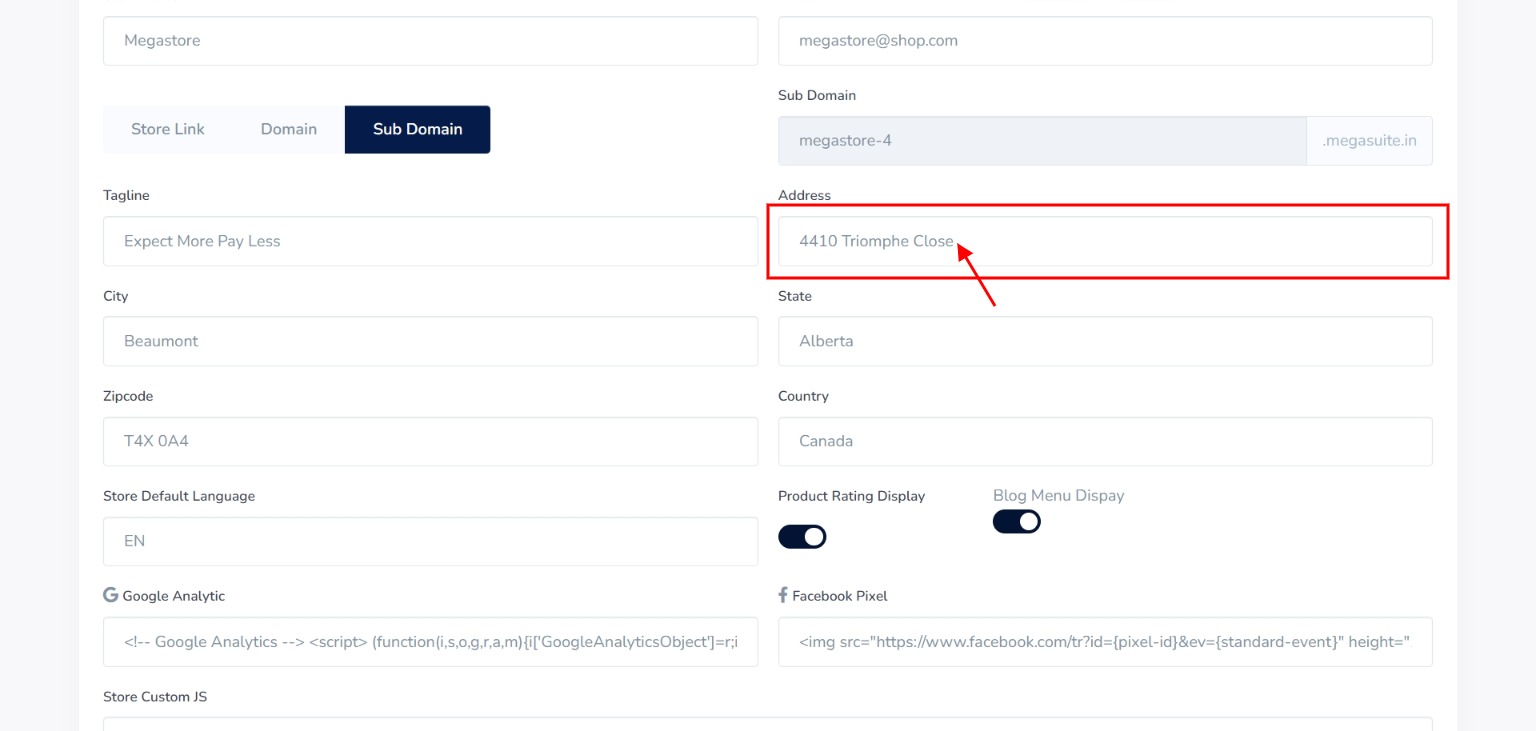
- Give details about your address
- Fix up Google Analytic and Facebook Pixels
- Set your product rating display and blog menu display radio buttons
Kindly Follow the Steps Below to Setup Your Store
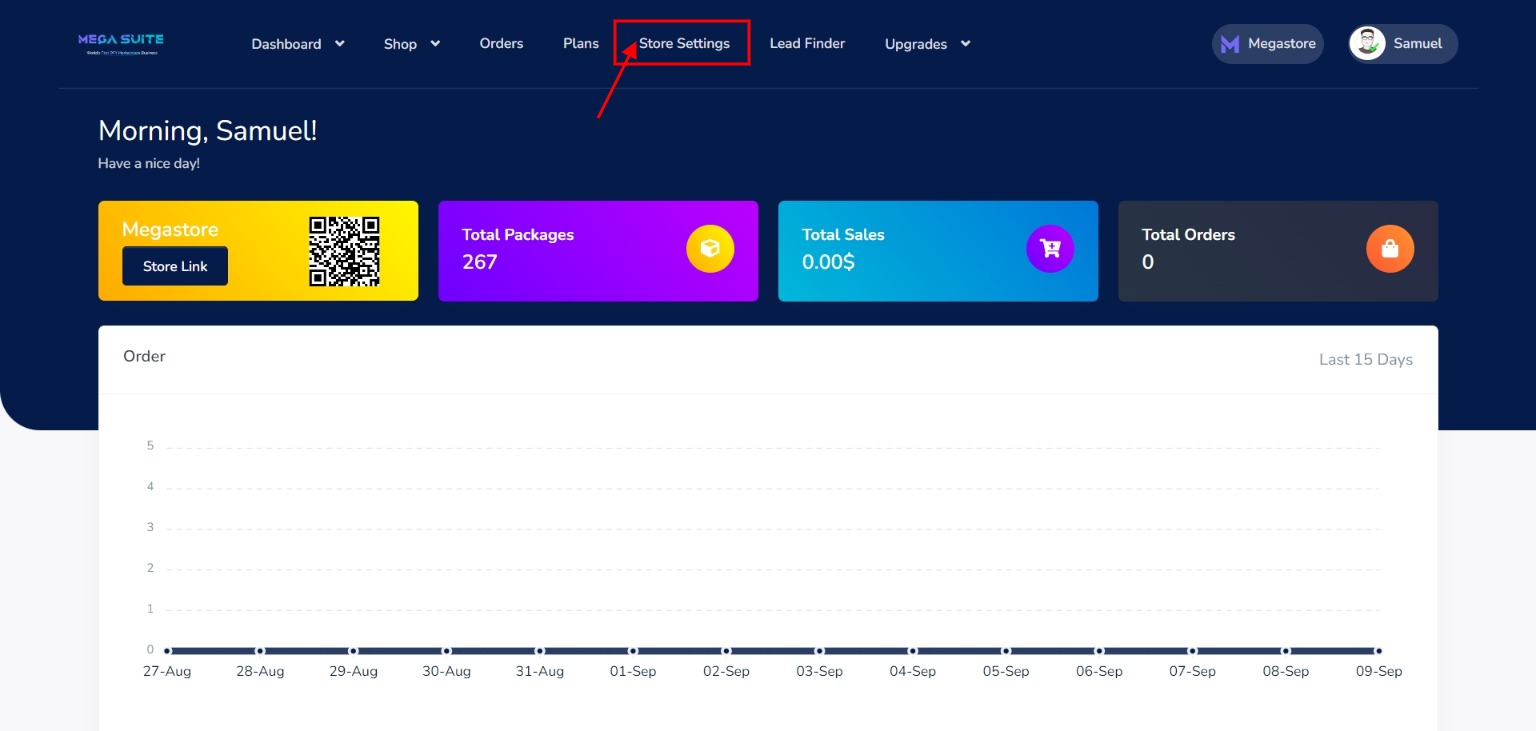
Step 1: From your Store Dashboard click on “Store settings” on the dashboard’s Top navigation bar.
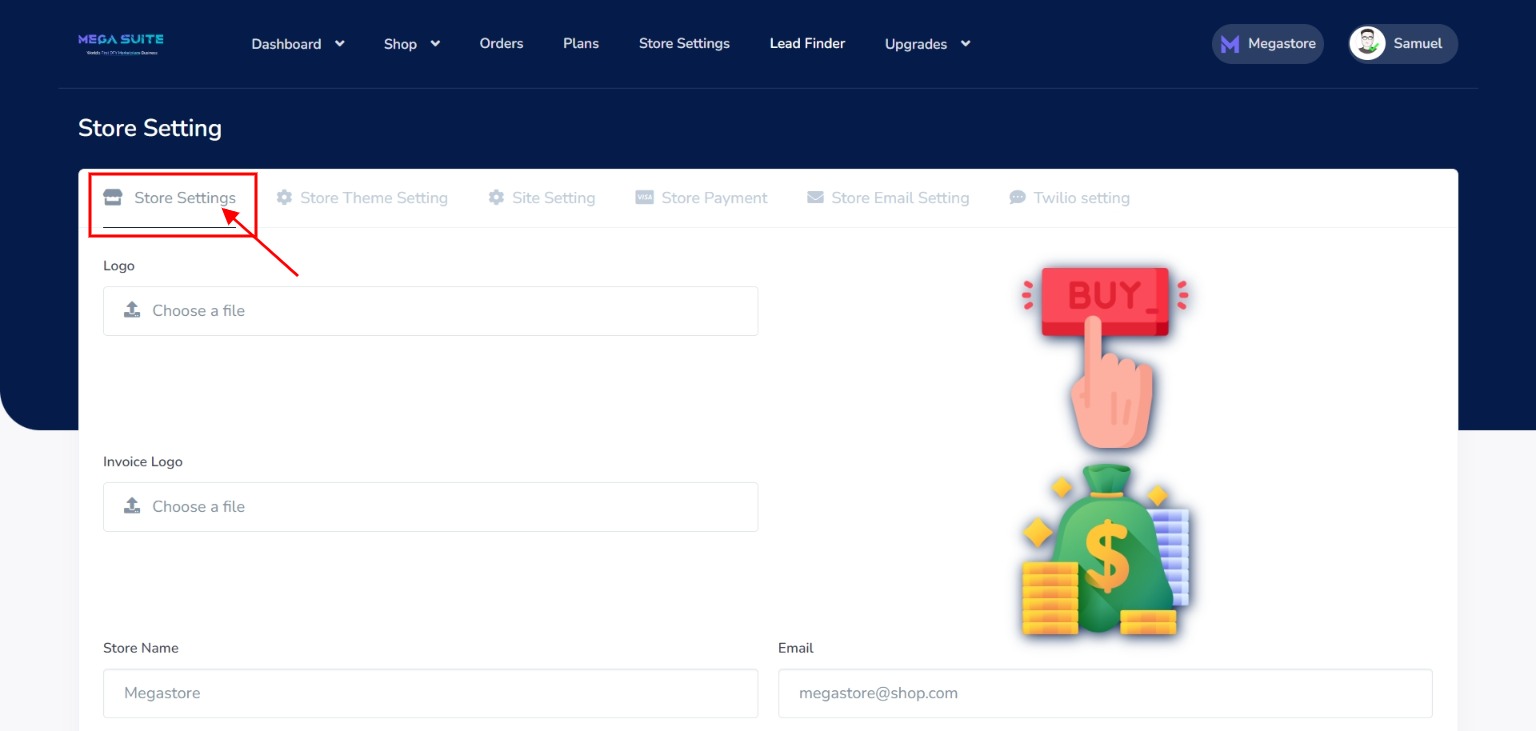
Step 2: Click on “Store Settings”
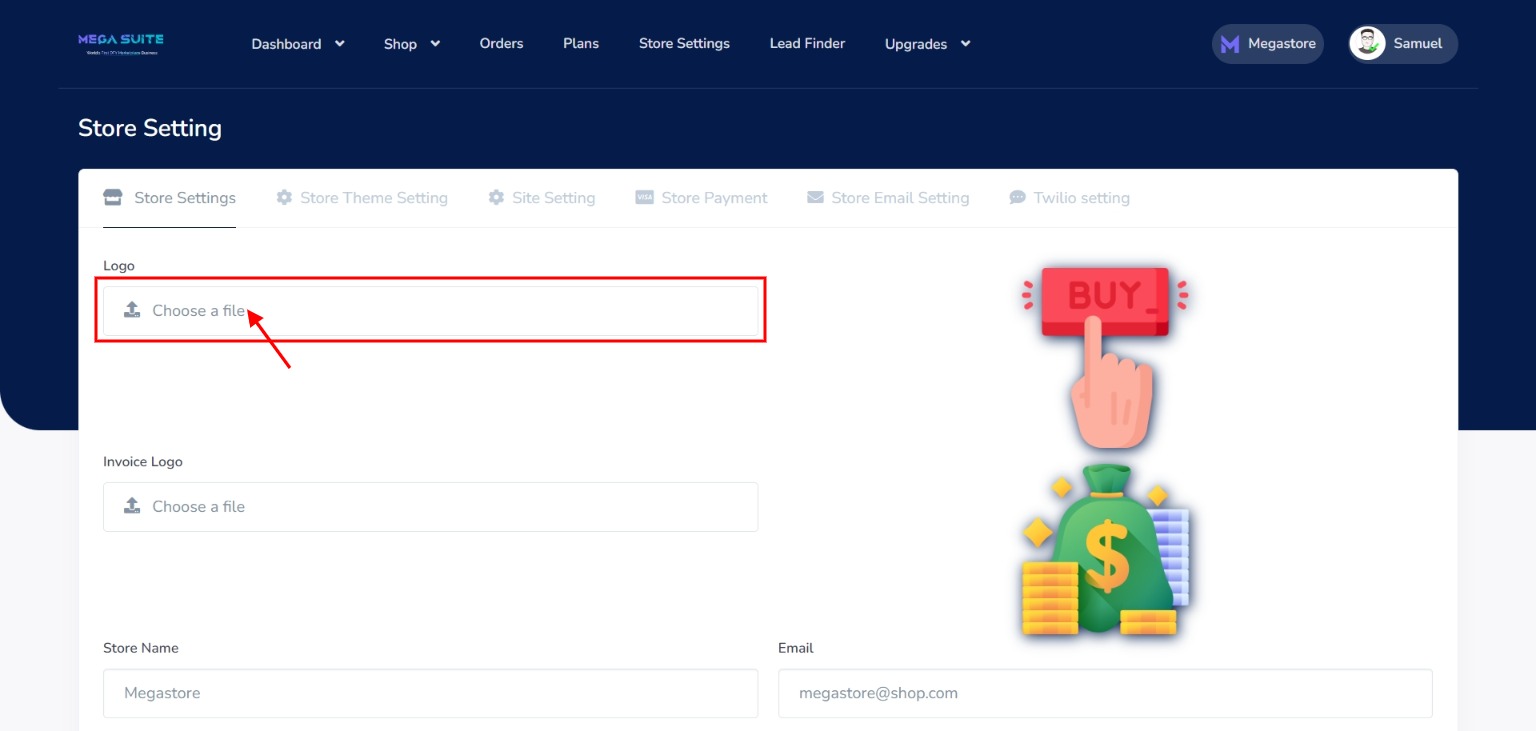
Step 3: Click on the Logo text box to upload your Logo. the recommended logo dimension is 512px X 512px
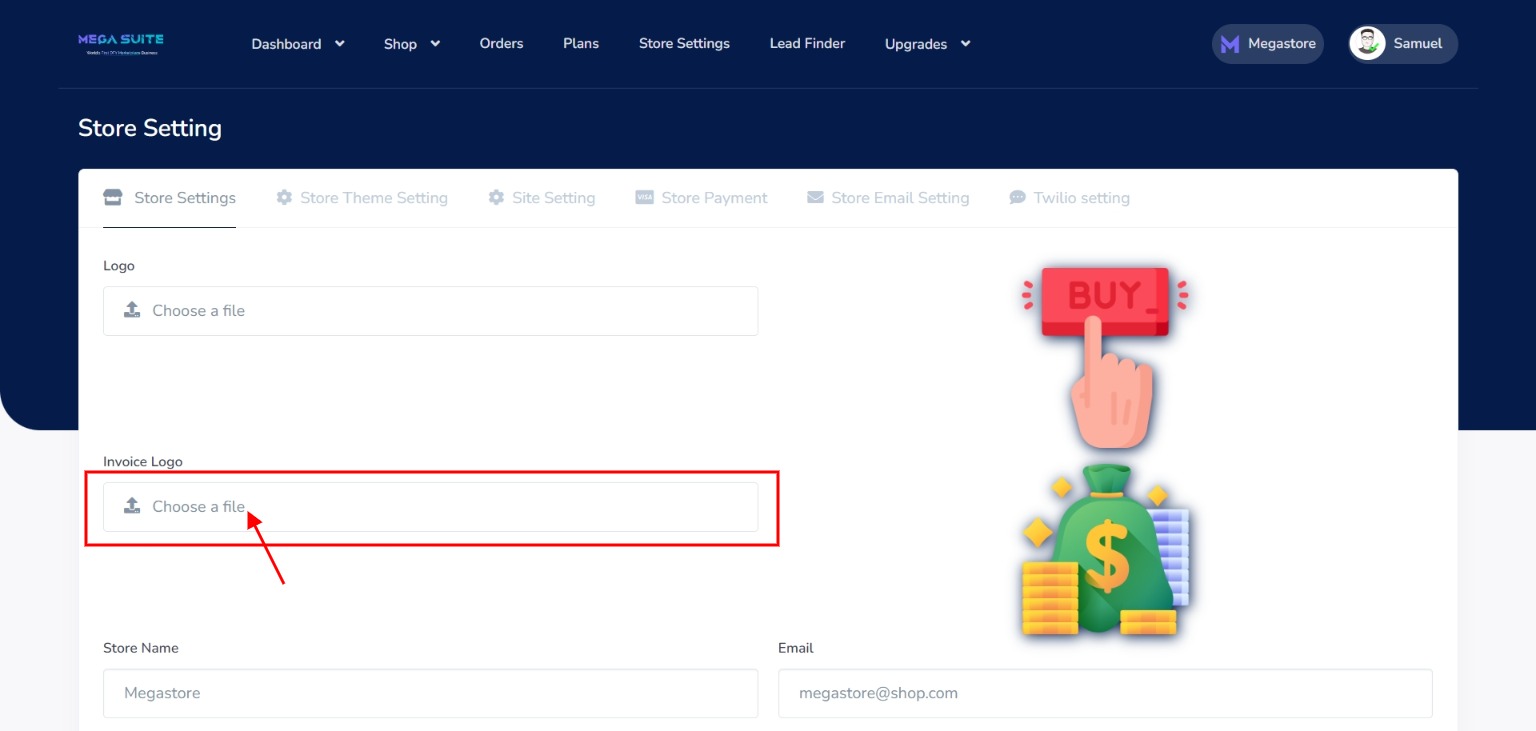
Step 4: Click on the Invoice text box to upload the invoice logo. The recommended Favicon dimension is 512px X 512px
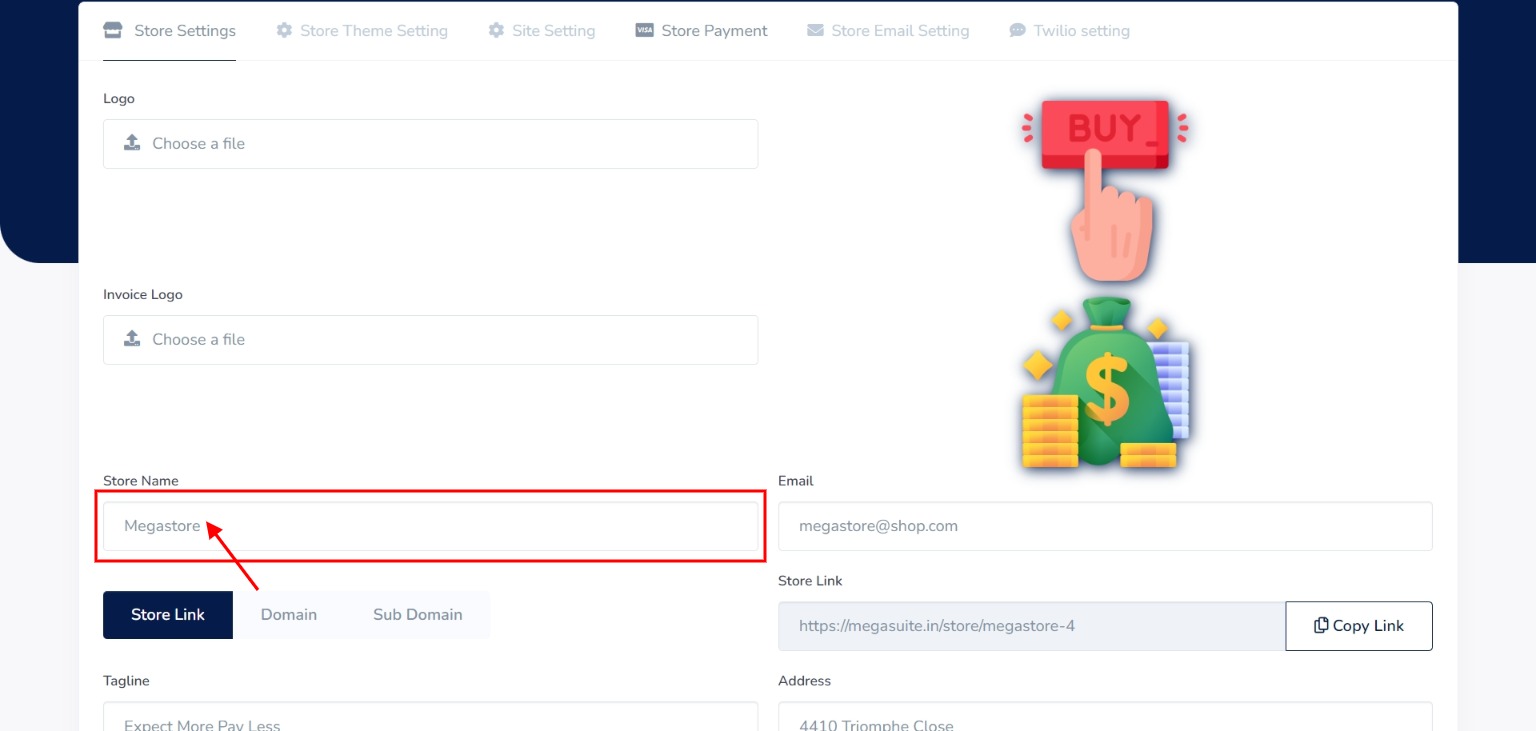
Step 5: Click on the “Store name” to give your store a unique name.
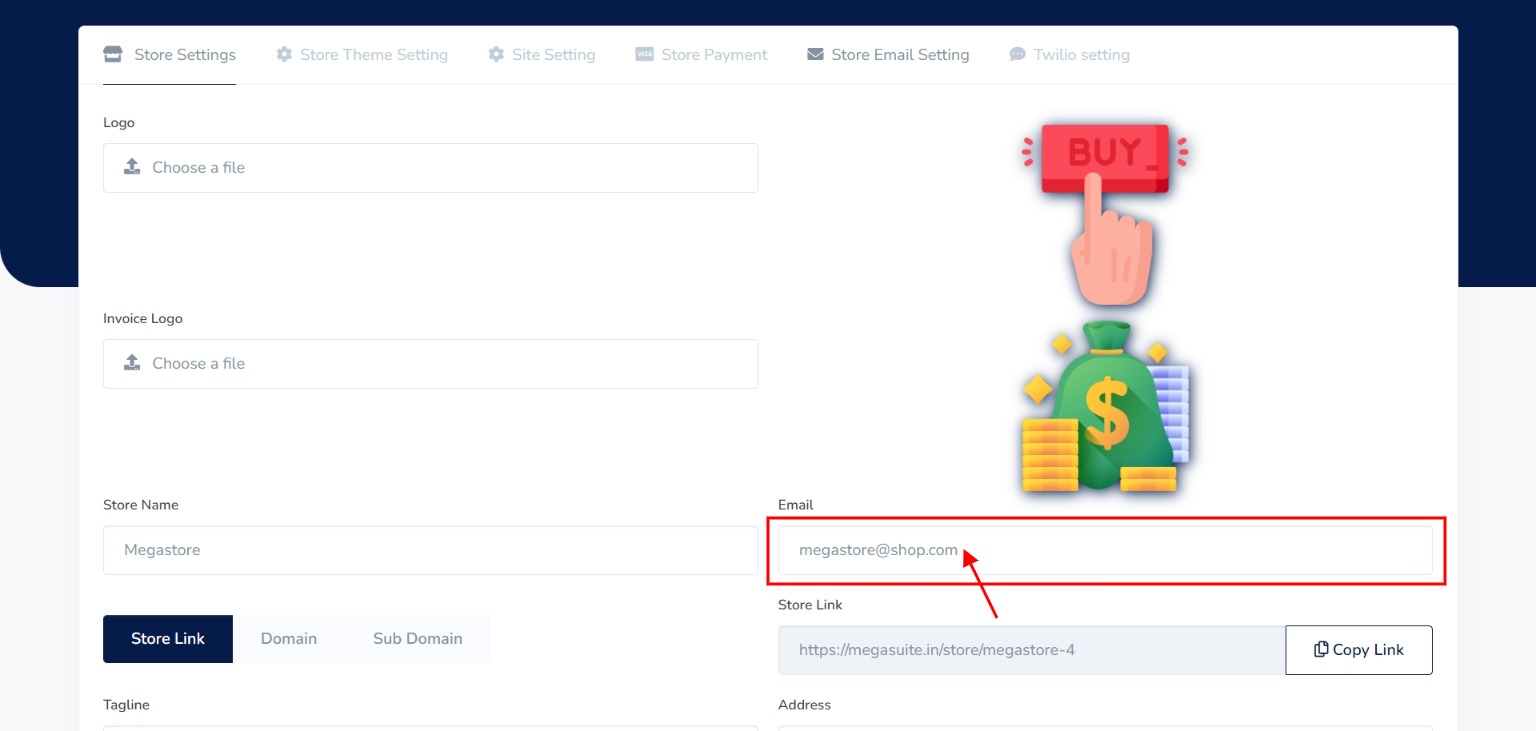
Step 6: Click on the “Email” text box and input your email.
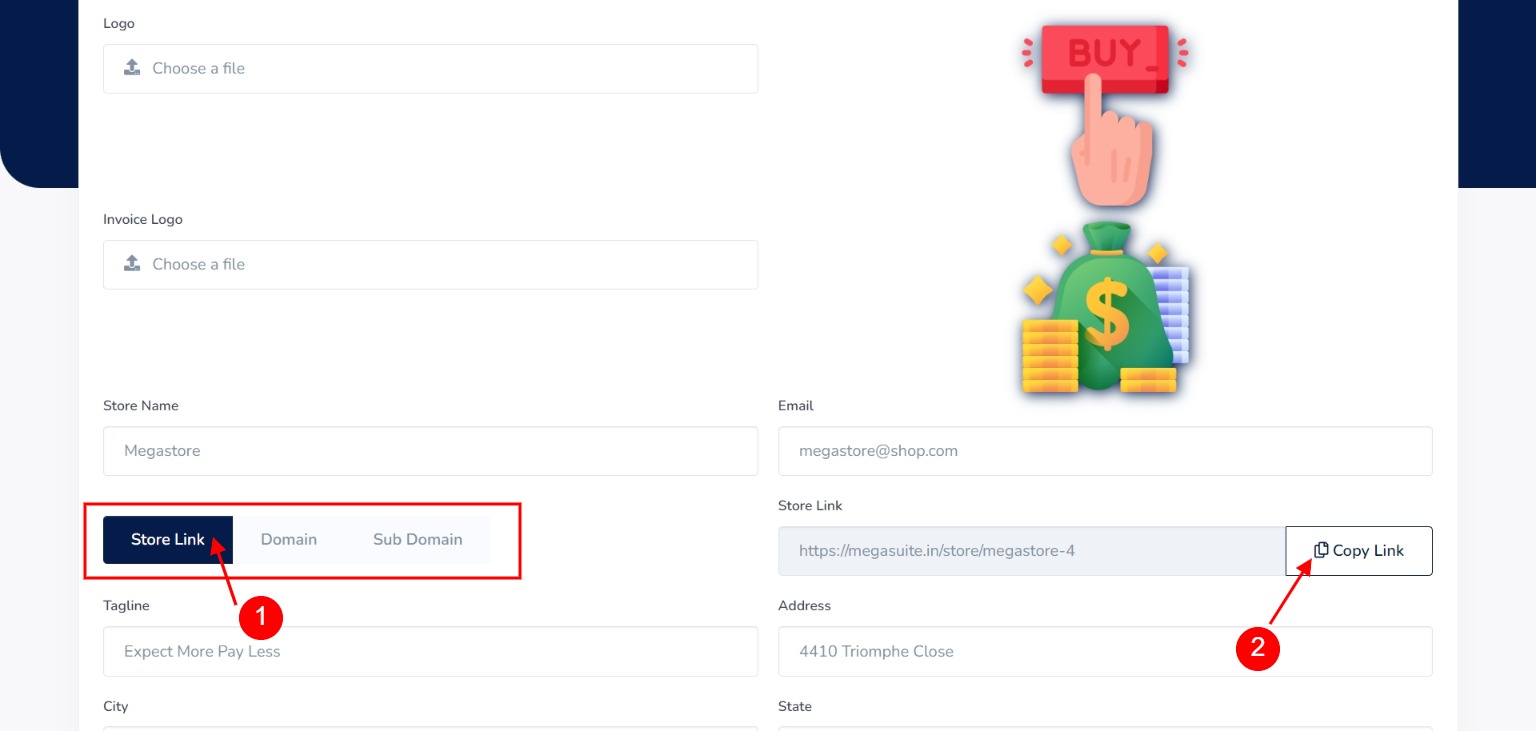
Step 7: There are three buttons that are clickable:
- Store Link – upon selecting the store link, the store link appears on the right side which can be copied to your clipboard.
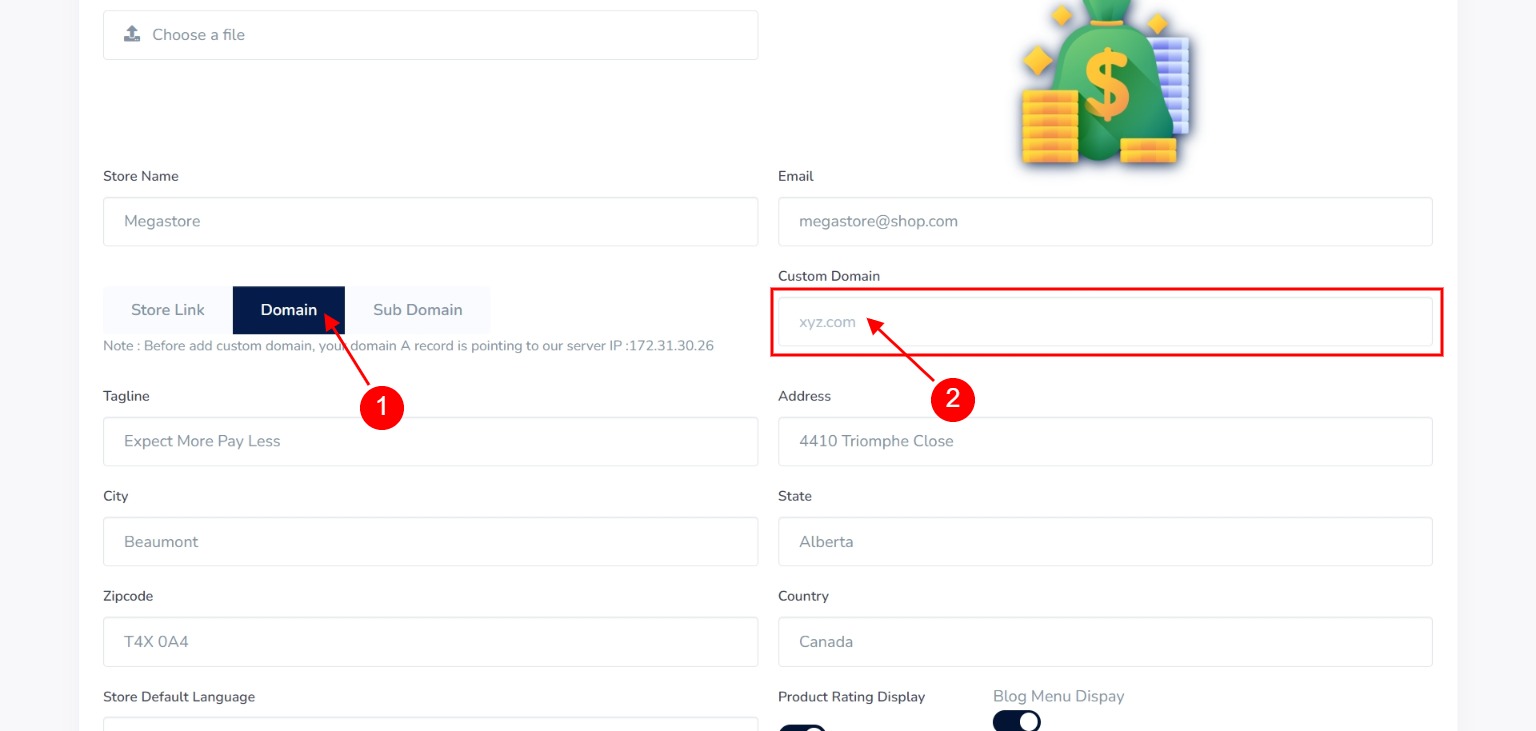
- Domain – upon clicking the Domain button, a Custom domain box appears on the right side where you can input your custom domain. (Note: Before adding a custom domain, make sure your domain A record is pointing to our server IP:172.31.30.26)
- Sub Domain – upon clicking the Sub Domain button, a Subdomain text box appears on the right side where you can input a preferred name for your subdomain.

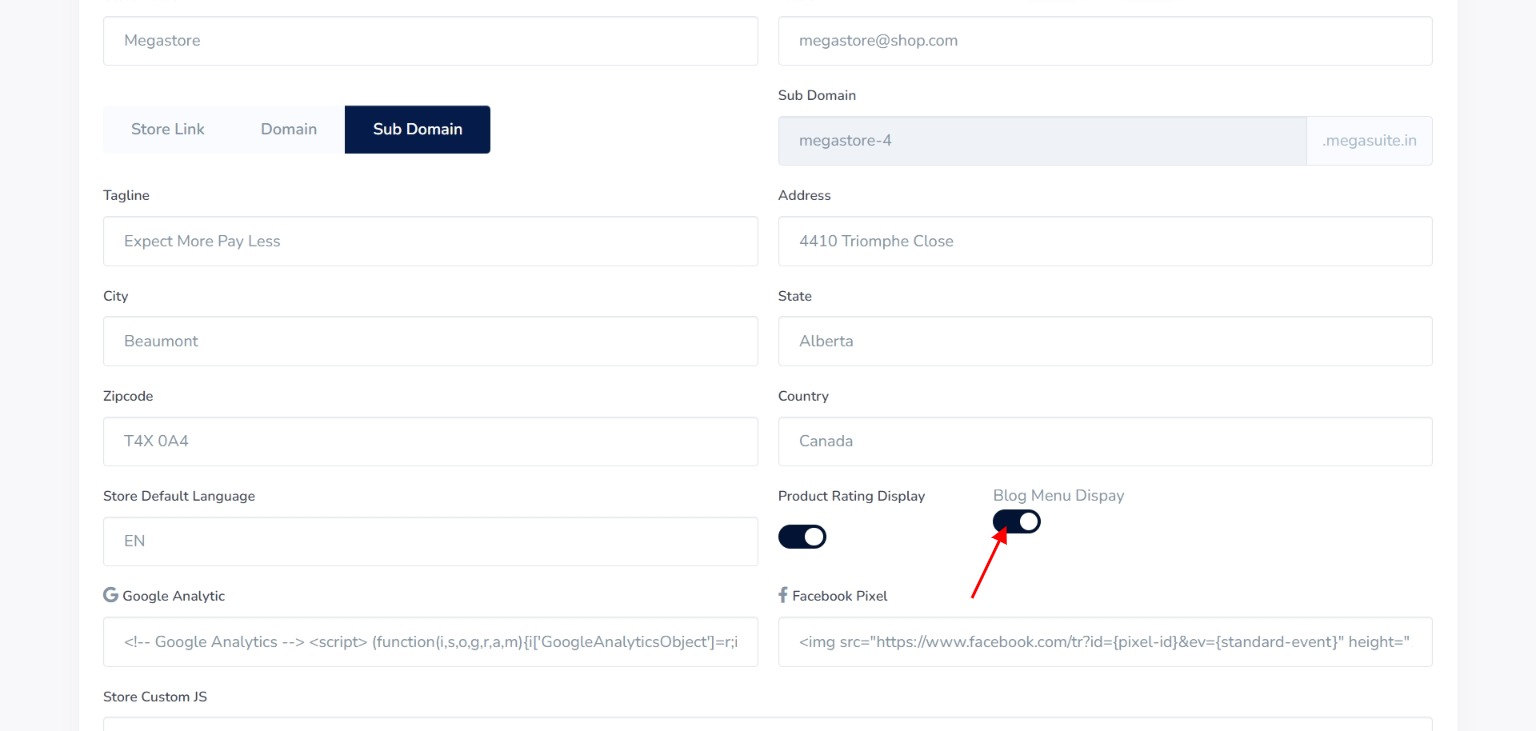
Step 8: Click on the “Tagline” text box to add a tagline for your store.
Step 9: Click on the “Address” text box to add an address.
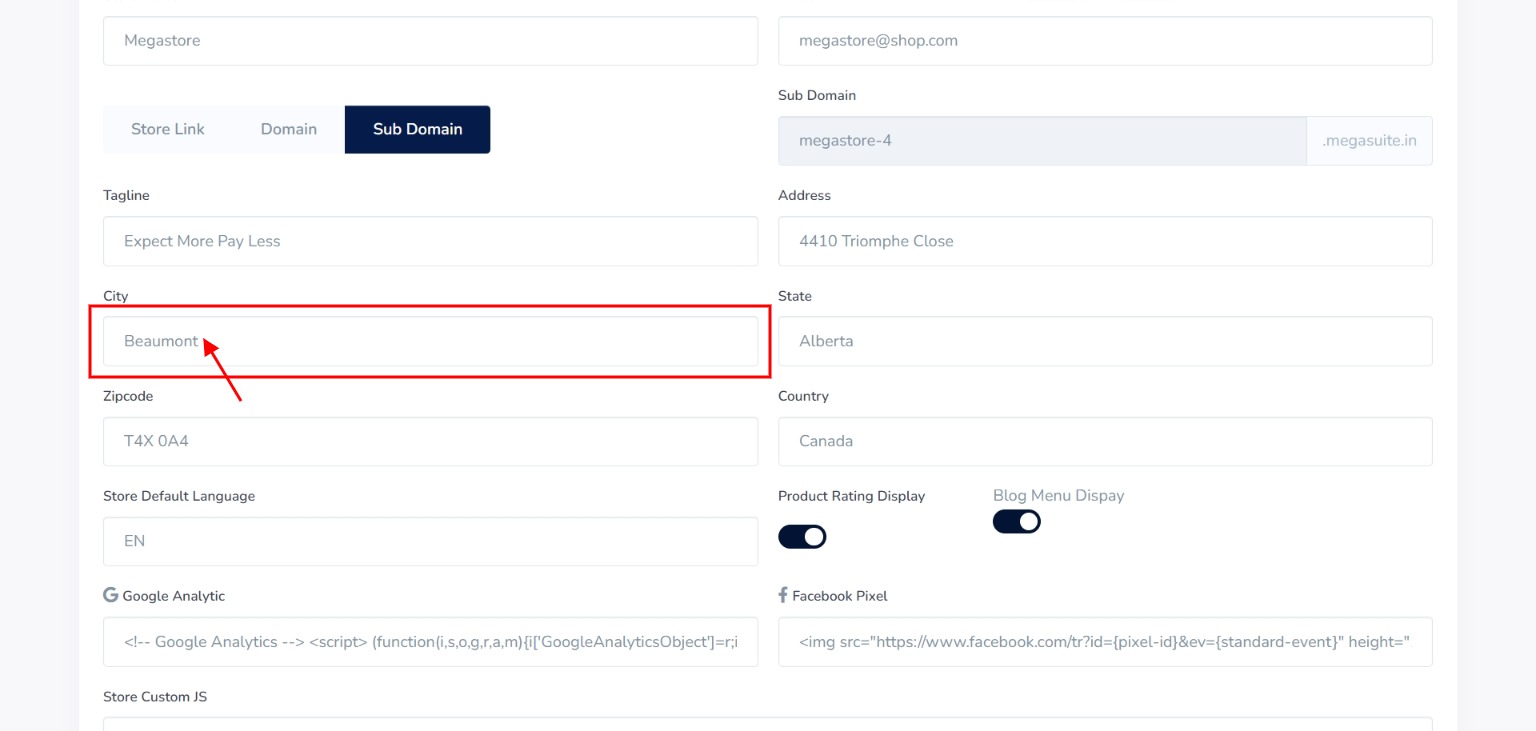
Step 10: Input the “City” your store is located.
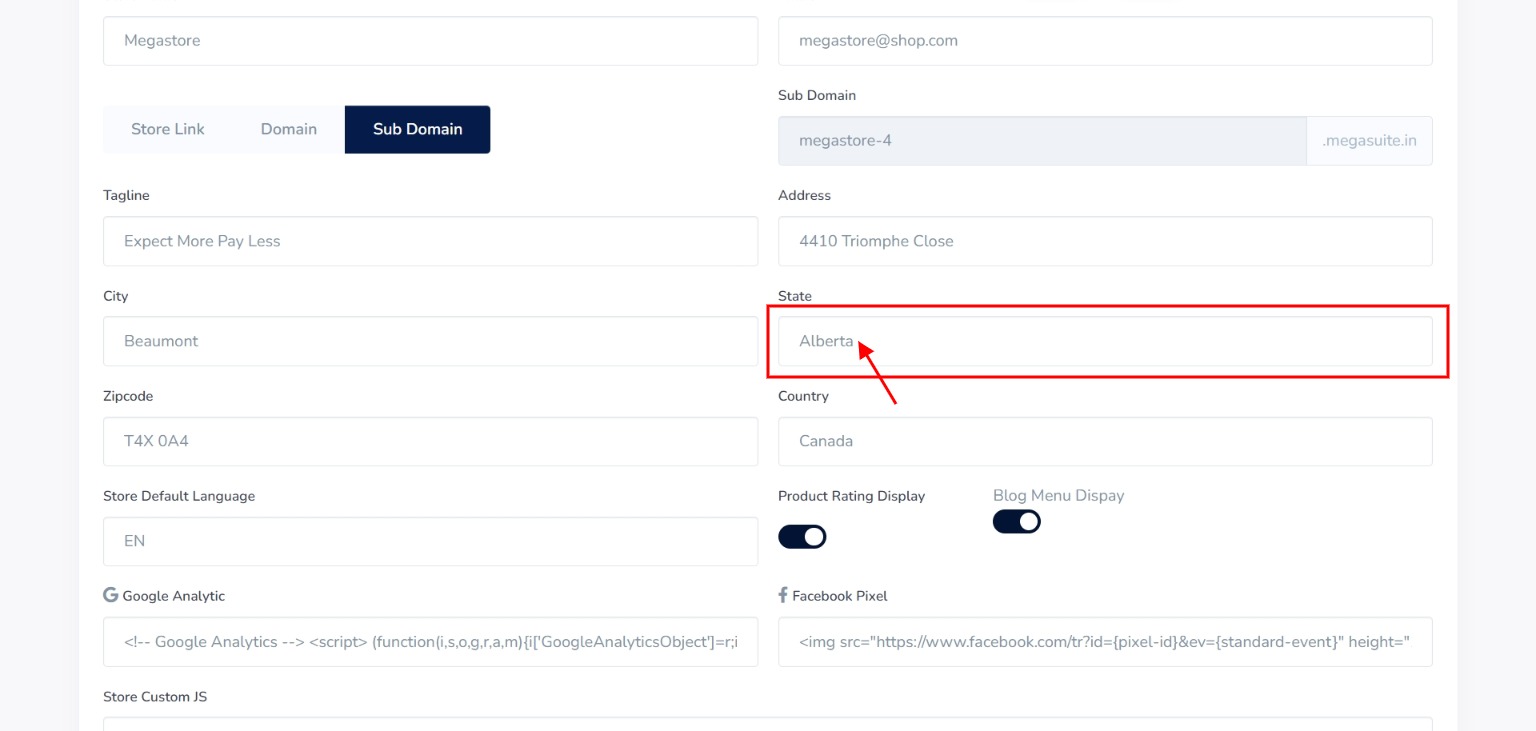
Step 11: Enter the “State” where the city above is located.
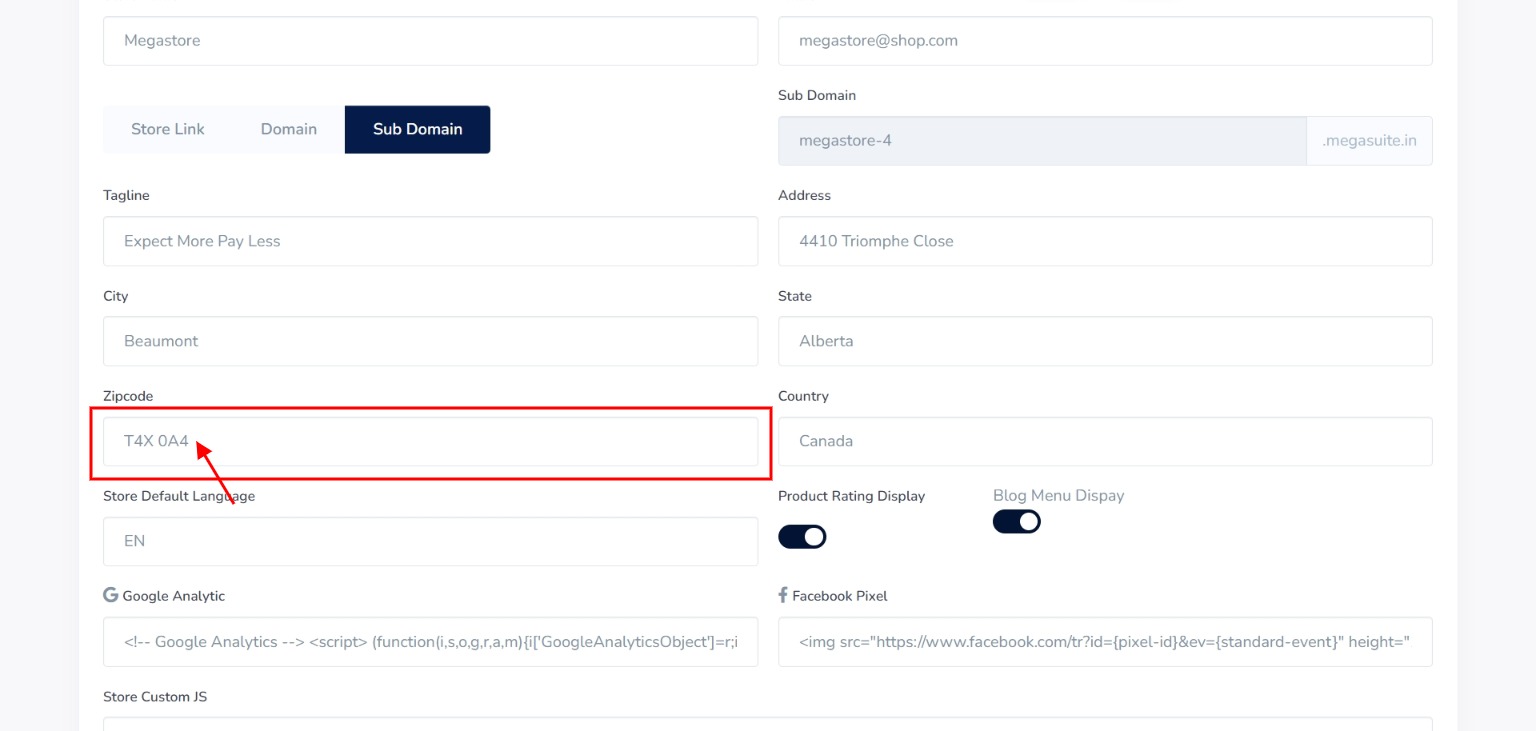
Step 12: Enter the “Zip code” for the city you selected above.
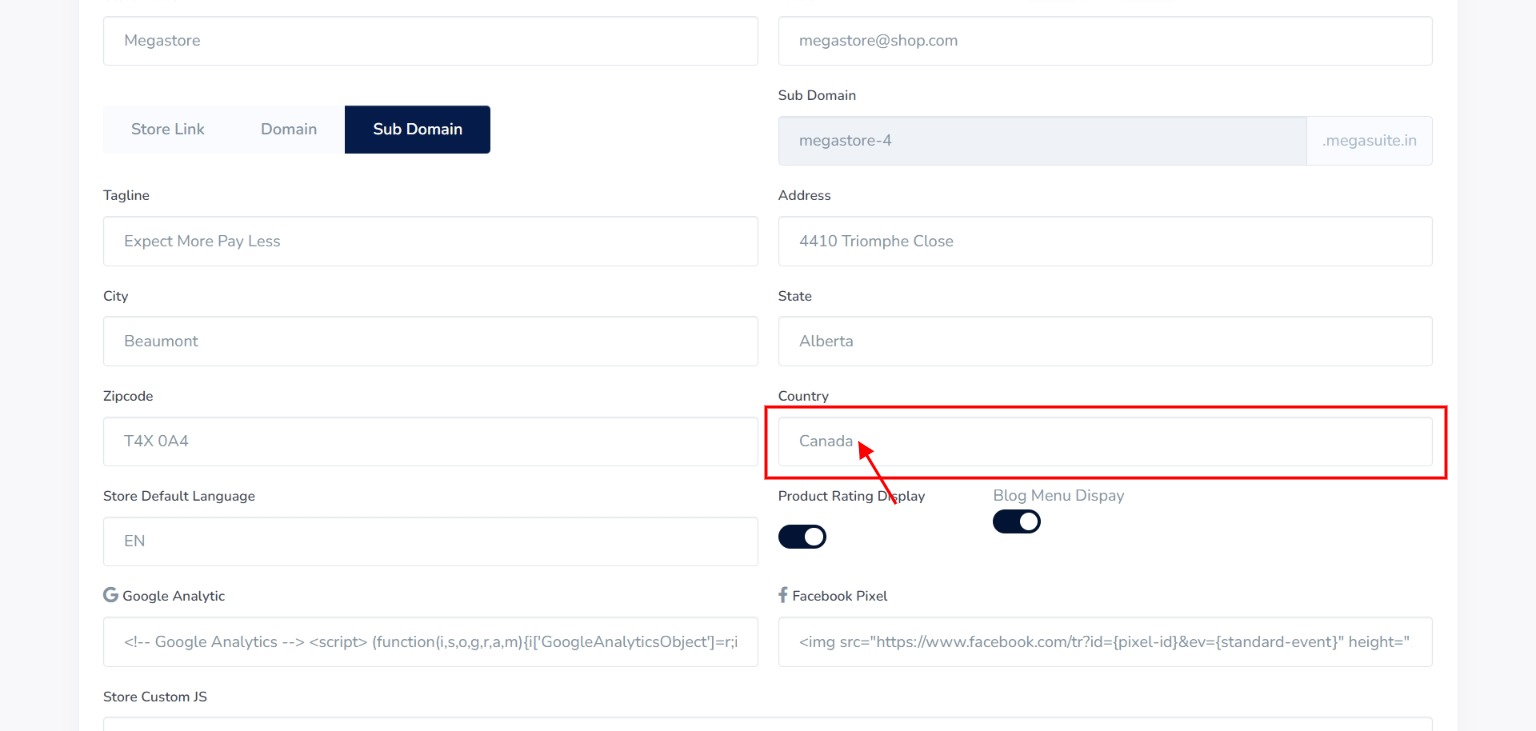
Step 13: Enter the “Country” of the state selected above.
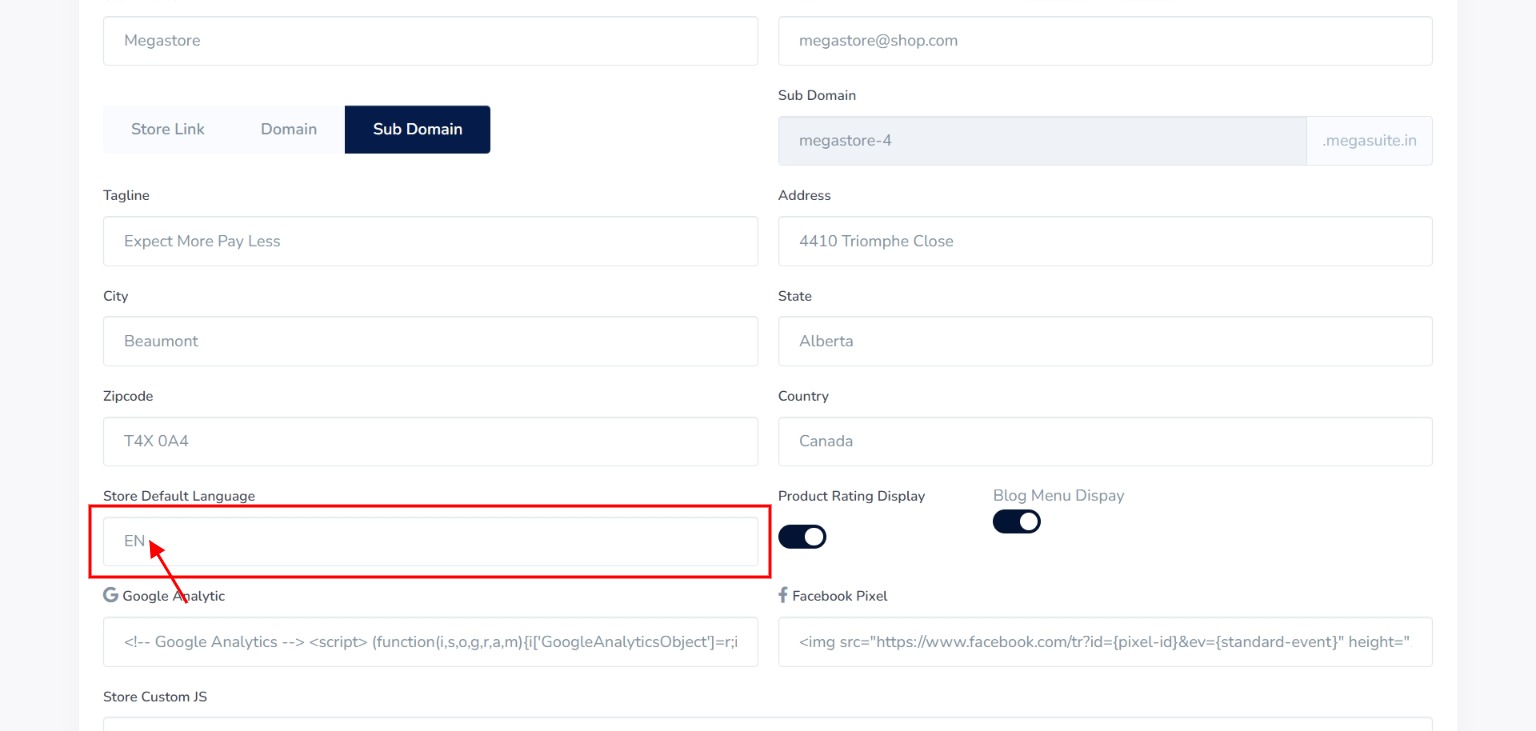
Step 14: Click on the “Store Default Language” text box and from the dropdown, choose your preferred language for your store.
Step 15: Toggle the “Product Rating Display” button “ON” if you want to show your product rating and “OFF” if otherwise.
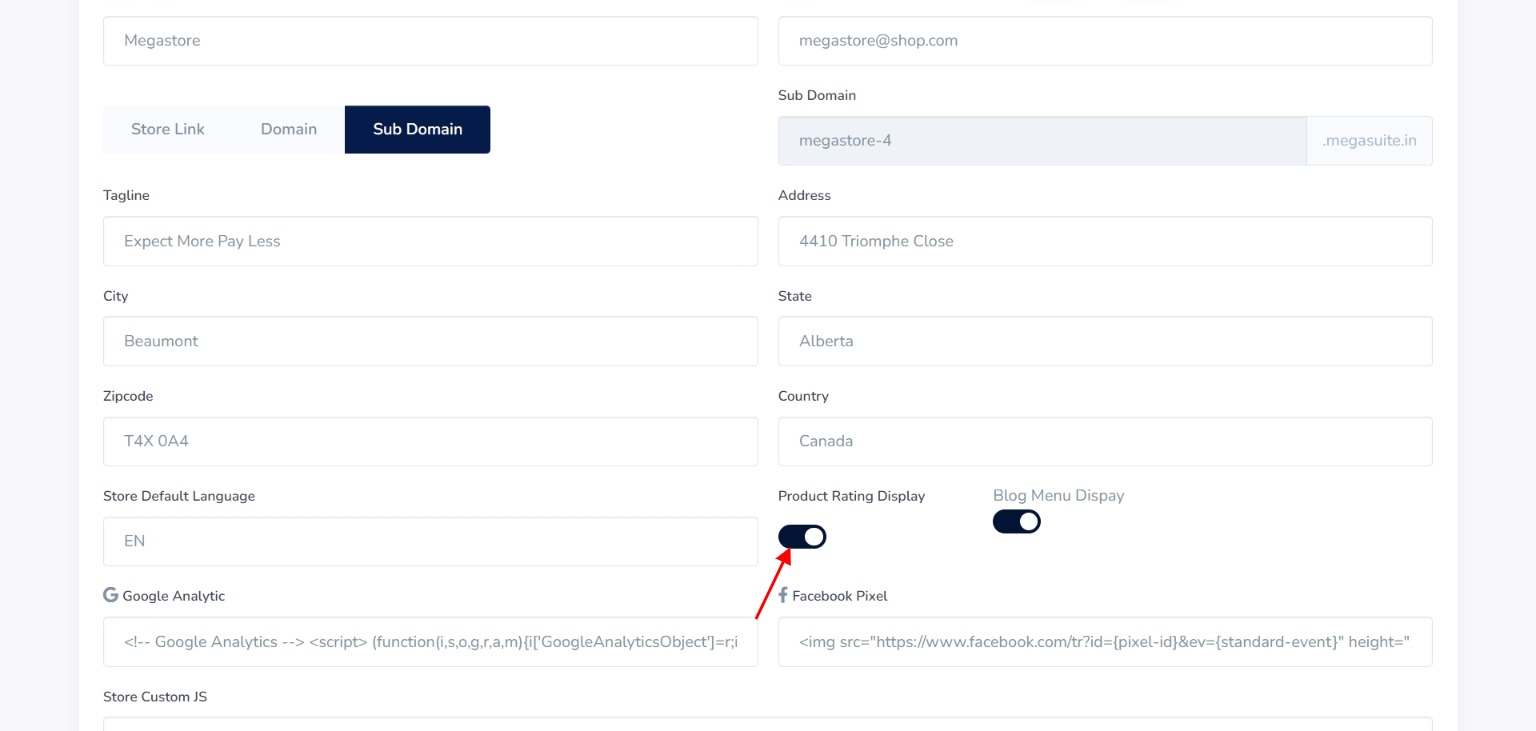
Step 16: Toggle the “Blog Menu Display” button “ON” if you want to show your blog menu and “OFF” if otherwise.
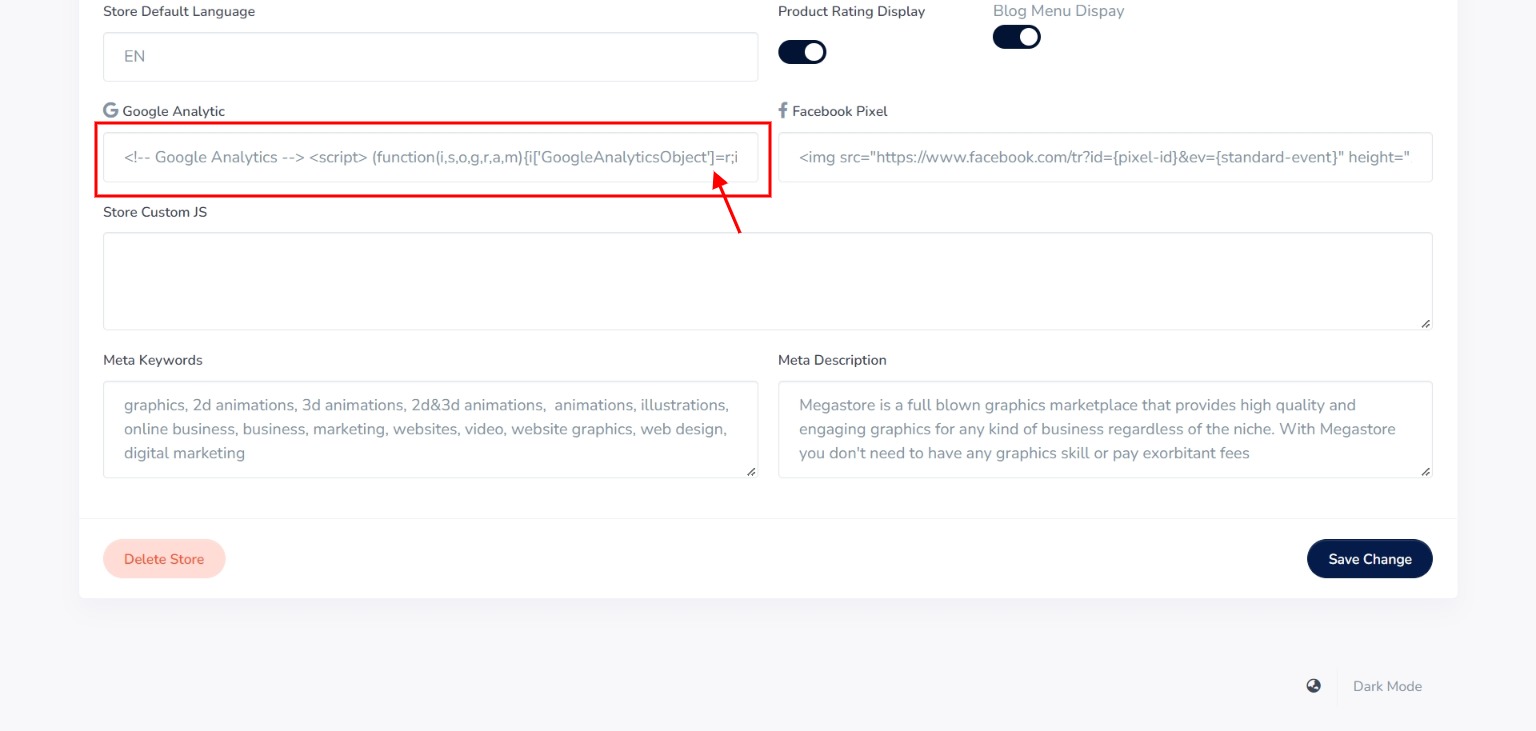
Step 17: To track your store traffic, copy the tracking ID on your Google Analytics account and paste it into the Google Analytics text box.
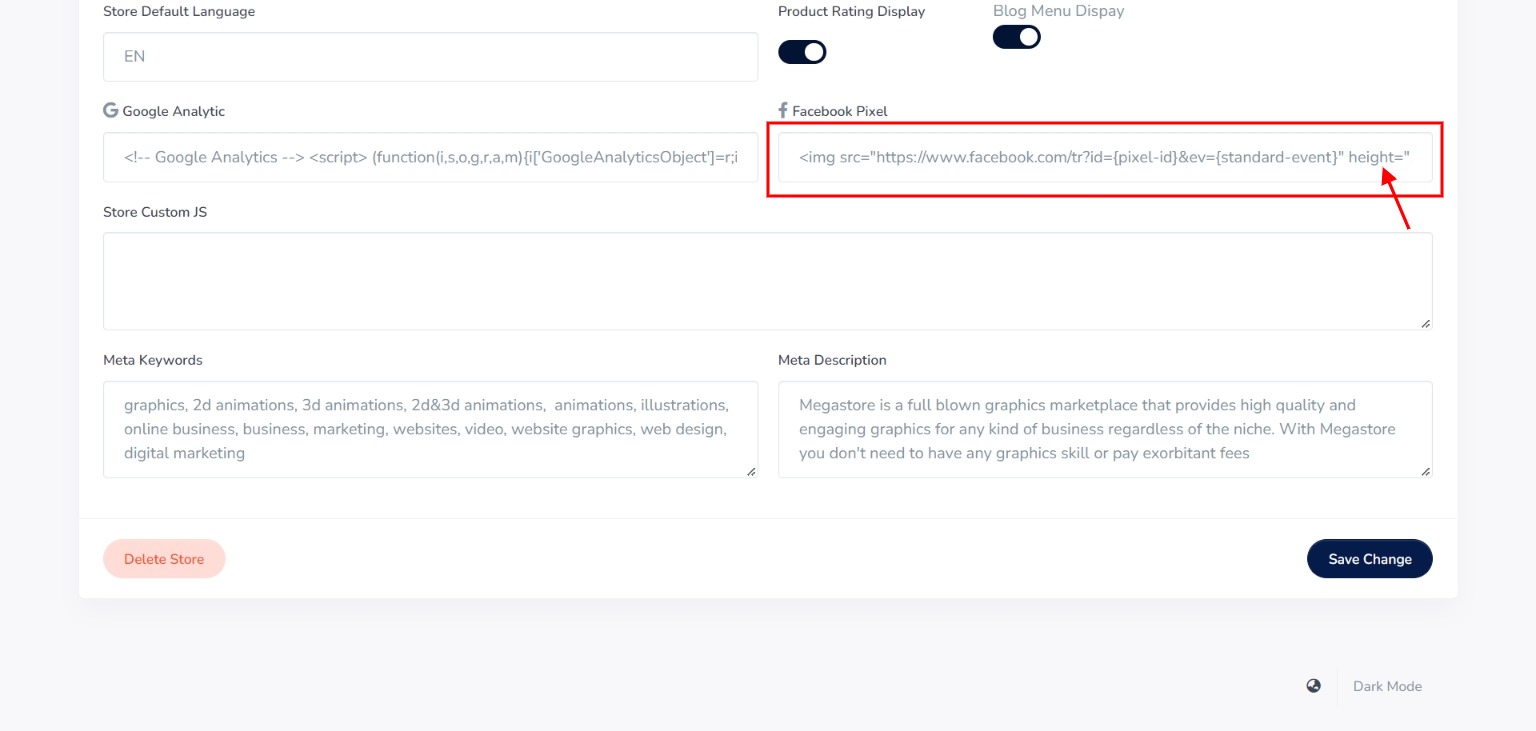
Step 18: To track conversions from Facebook ads, optimize ads, etc. on your store, copy the Facebook Pixel code on your Facebook Event manager account and paste it into the Facebook Pixel text box.
Step 19: Do you have any custom JS code you want to input into your store? The Store Custom JS serves this purpose. Copy and paste your custom JS code in the text field.

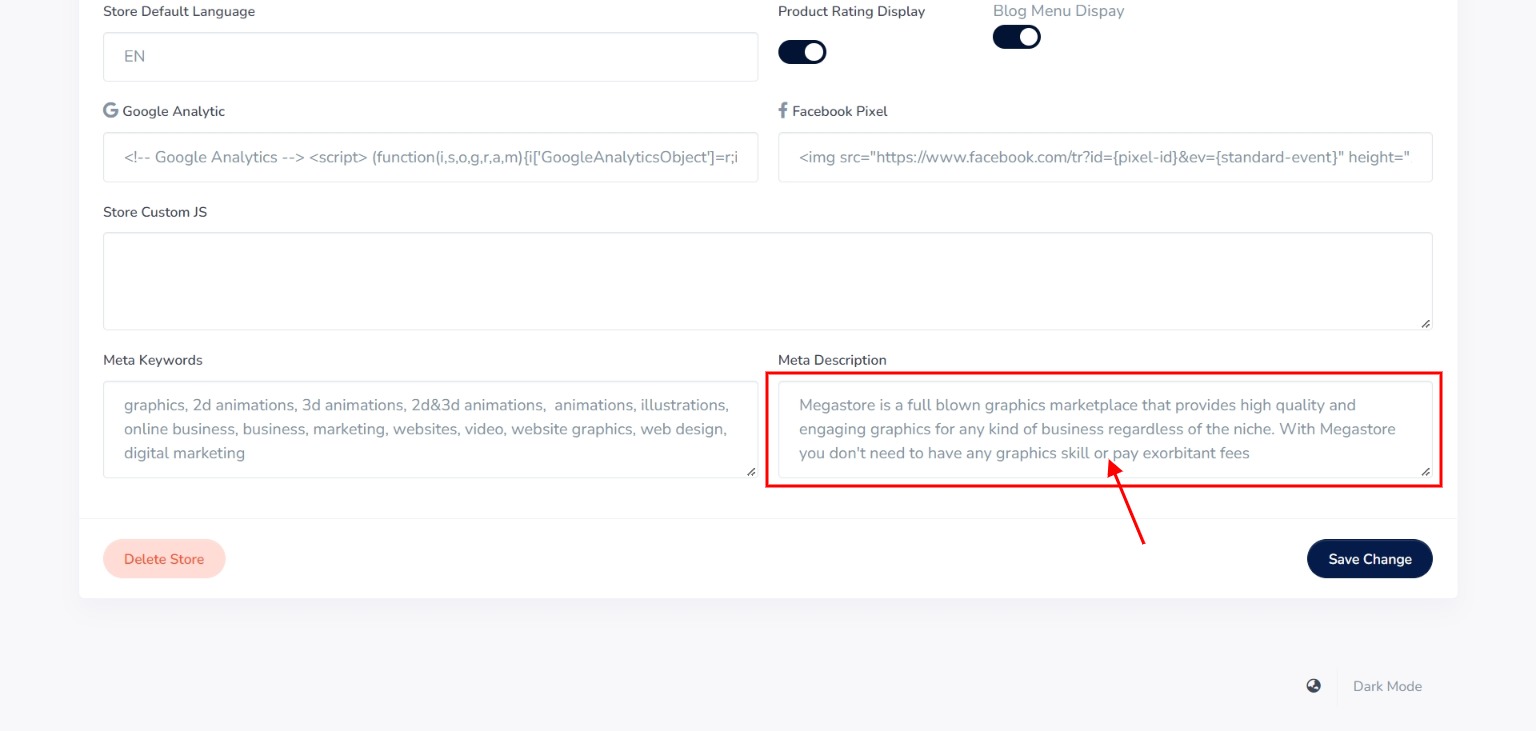
Step 20: Enter Meta Keywords for your store. This helps for easy search appearance of your store.
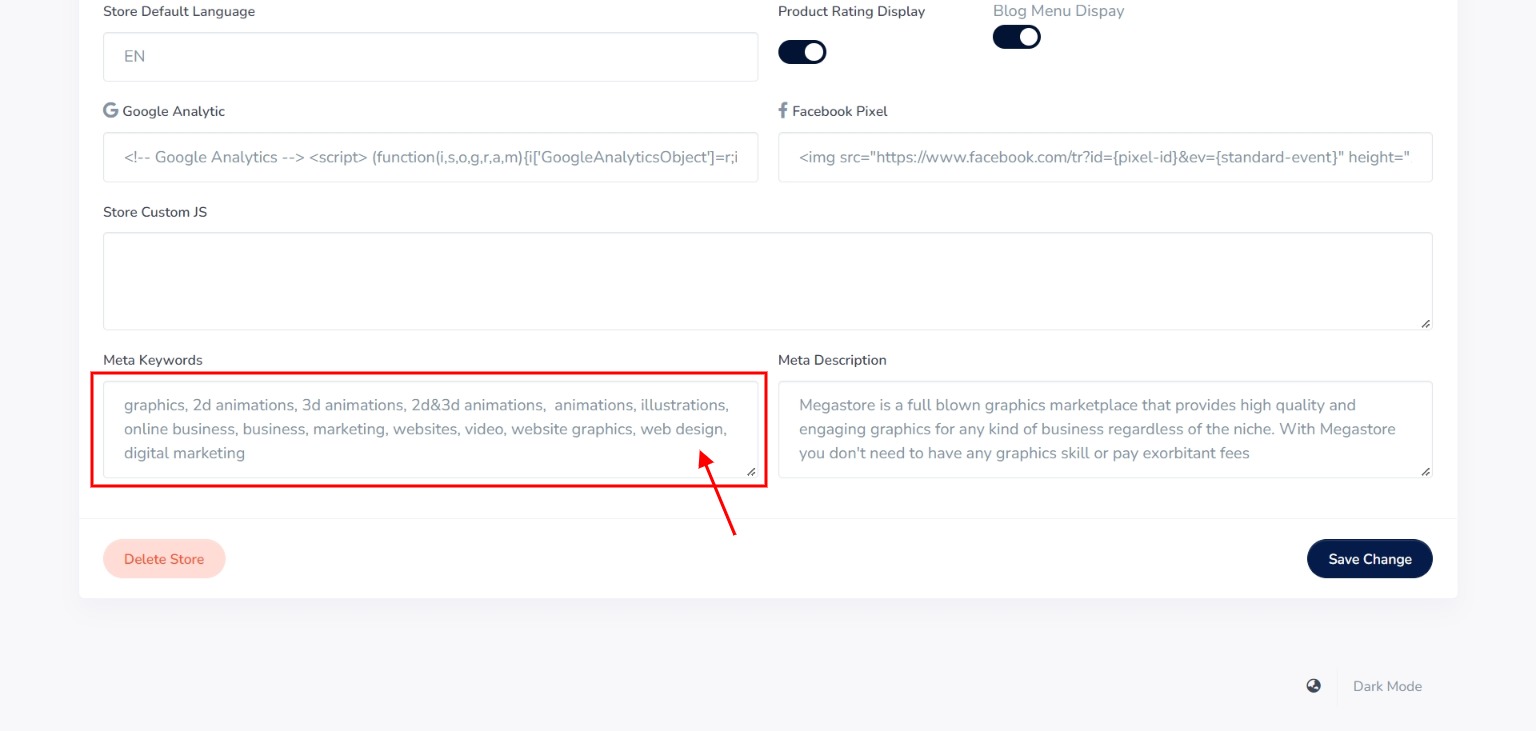
Step 21: Enter Meta Description – a summarized description of your store and its purpose.
Step 22: Click on the “Save Changes” button to update the settings on your store.
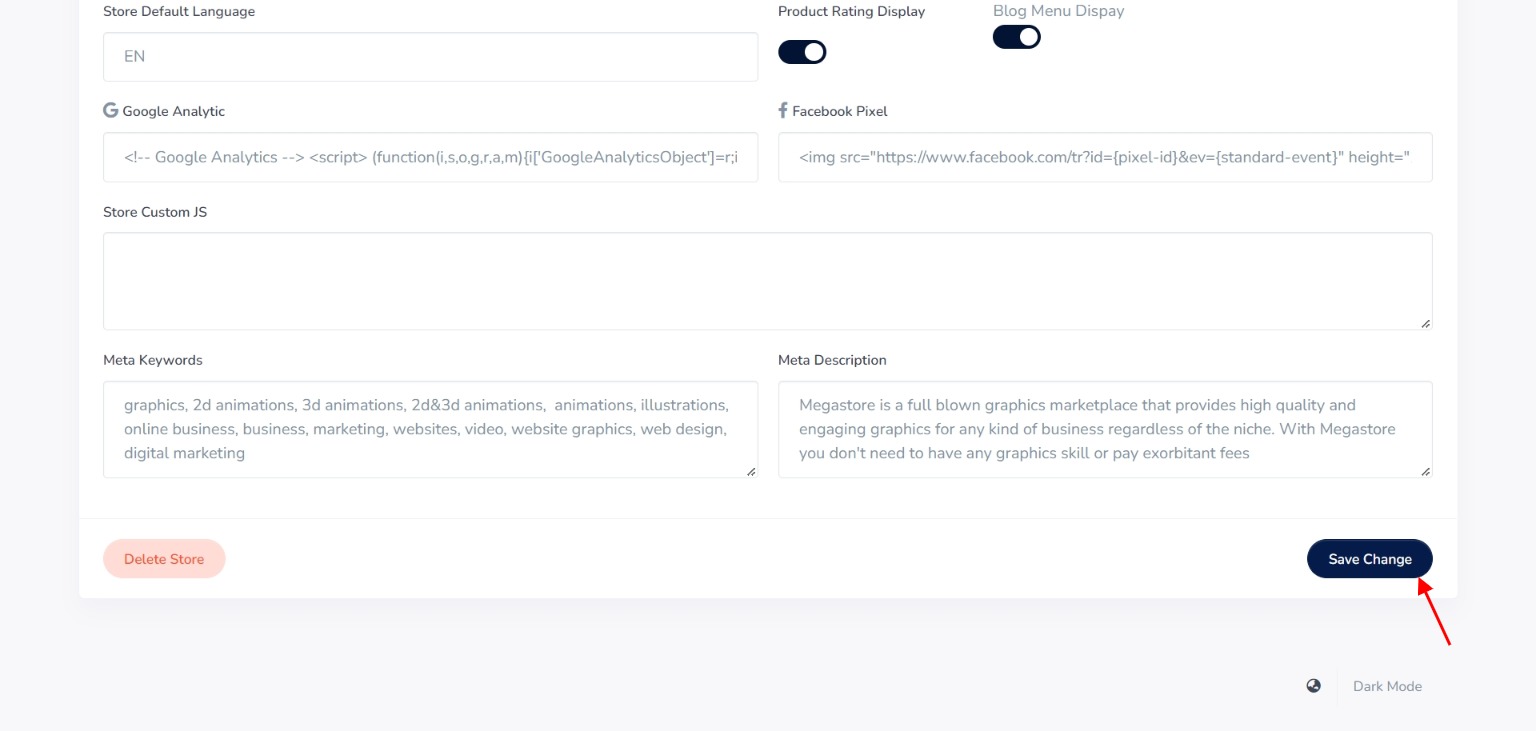
Your store setup has been completed successfully!