Kindly follow the steps below to learn how to customize your store settings.
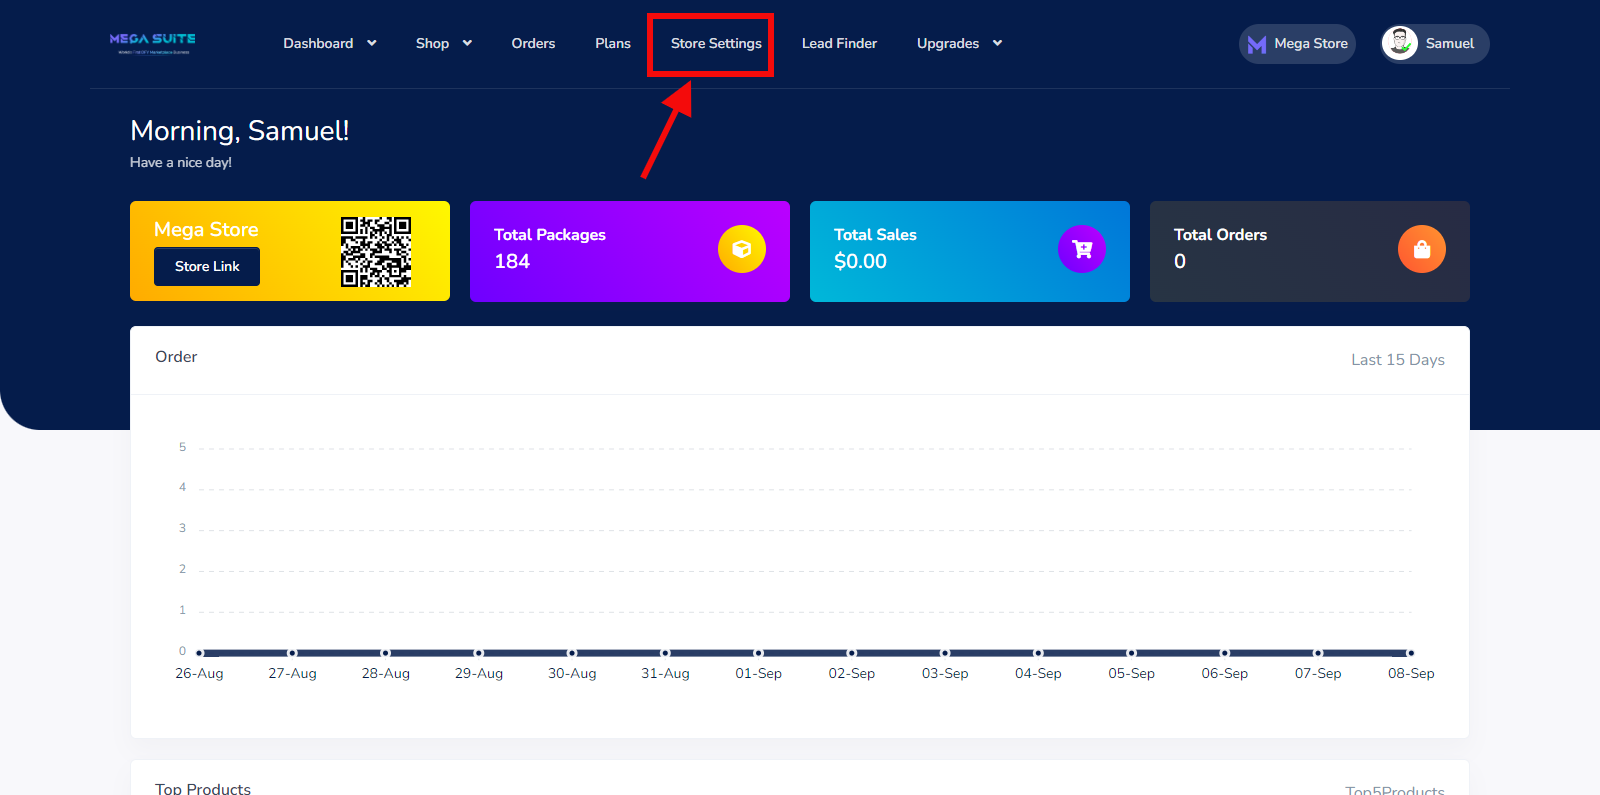
Step 1: From your dashboard, click on the store settings menu
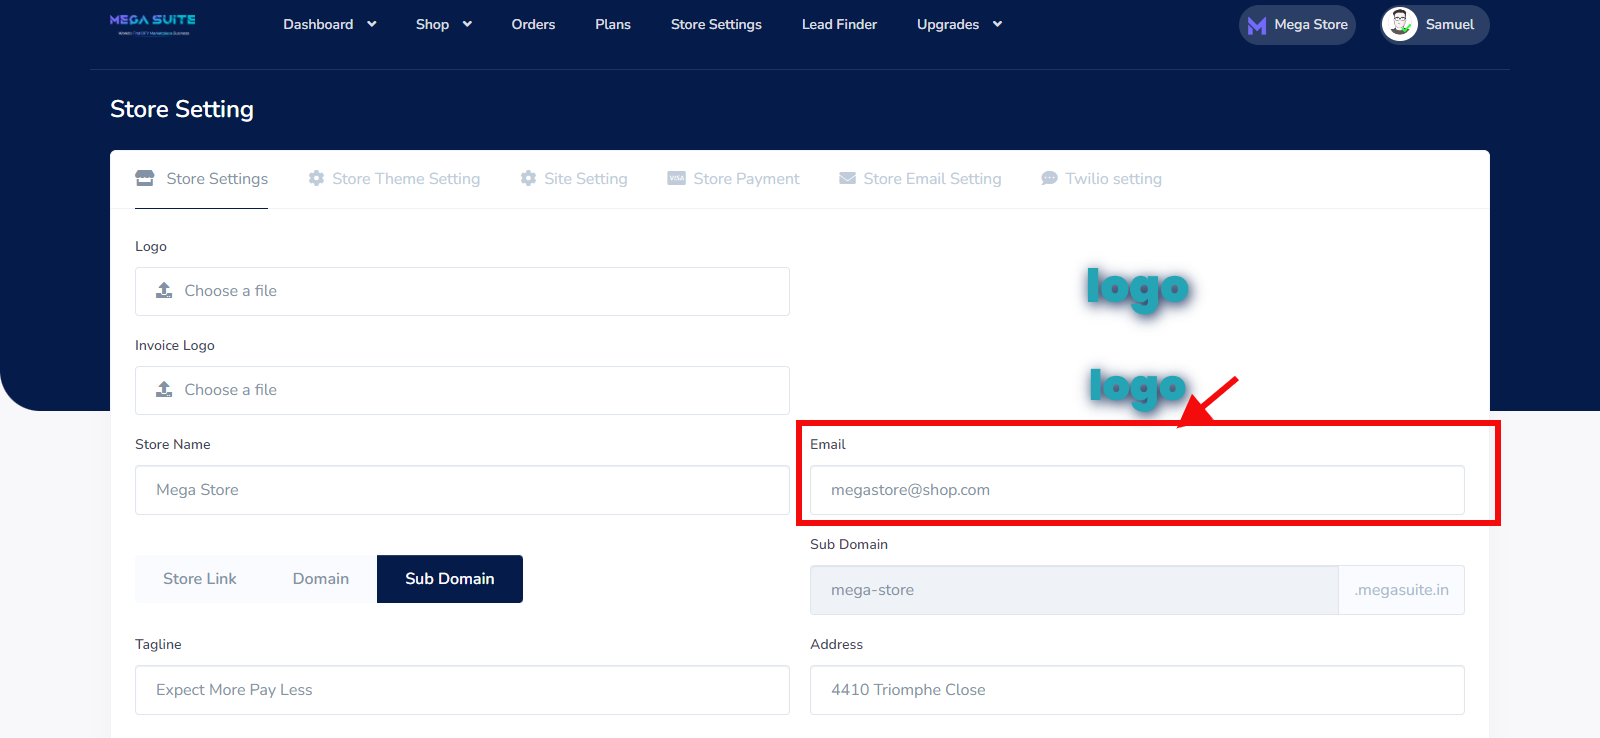
Step 2: Go to the store settings tab in the middle section
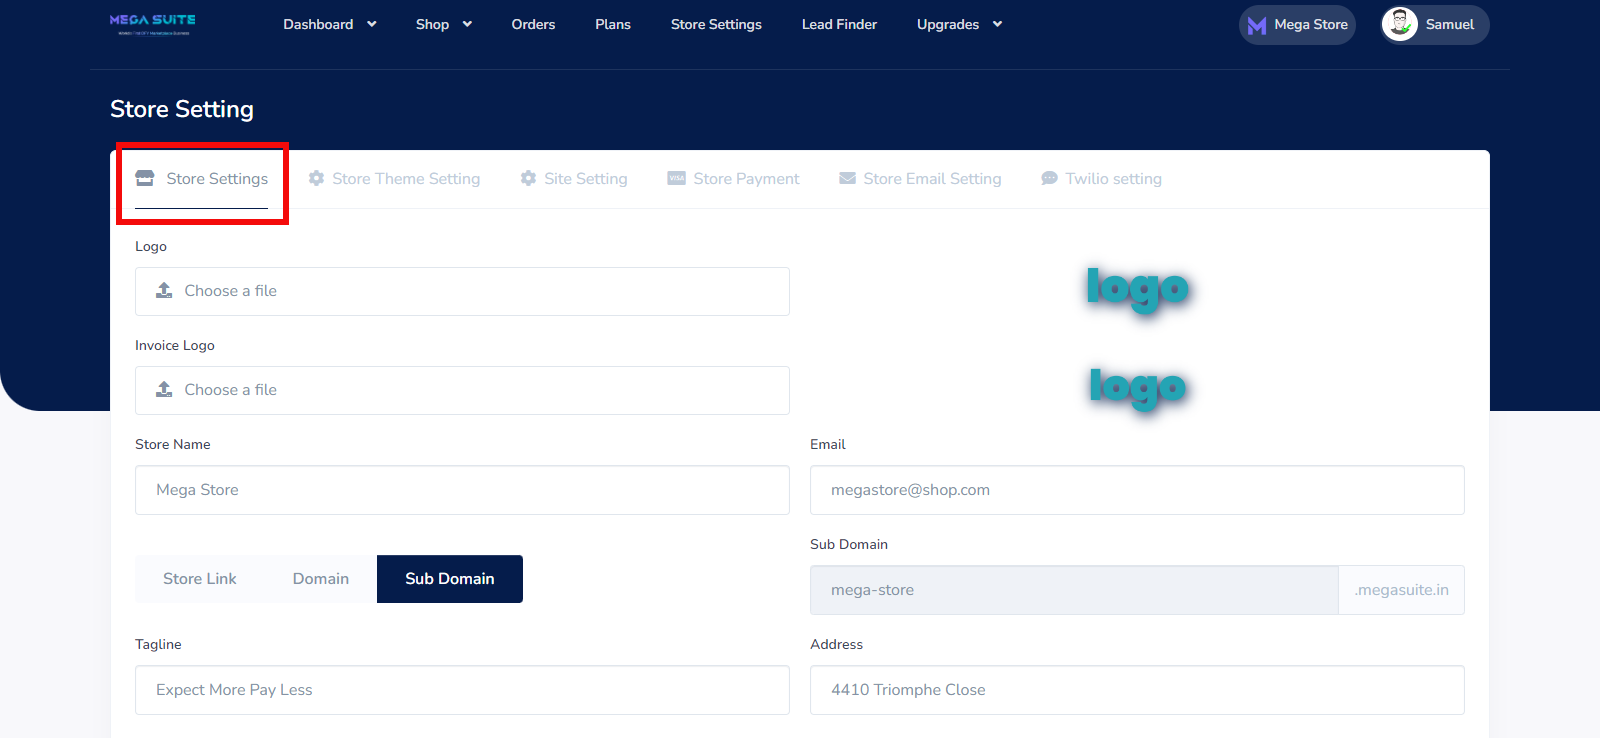
Here you will fill in the respective information as shown below
Logo: Here you upload a logo for your store
upload your business logo and scroll to click the save button to see it added.
Invoice Logo: Here you upload an invoice logo for your store
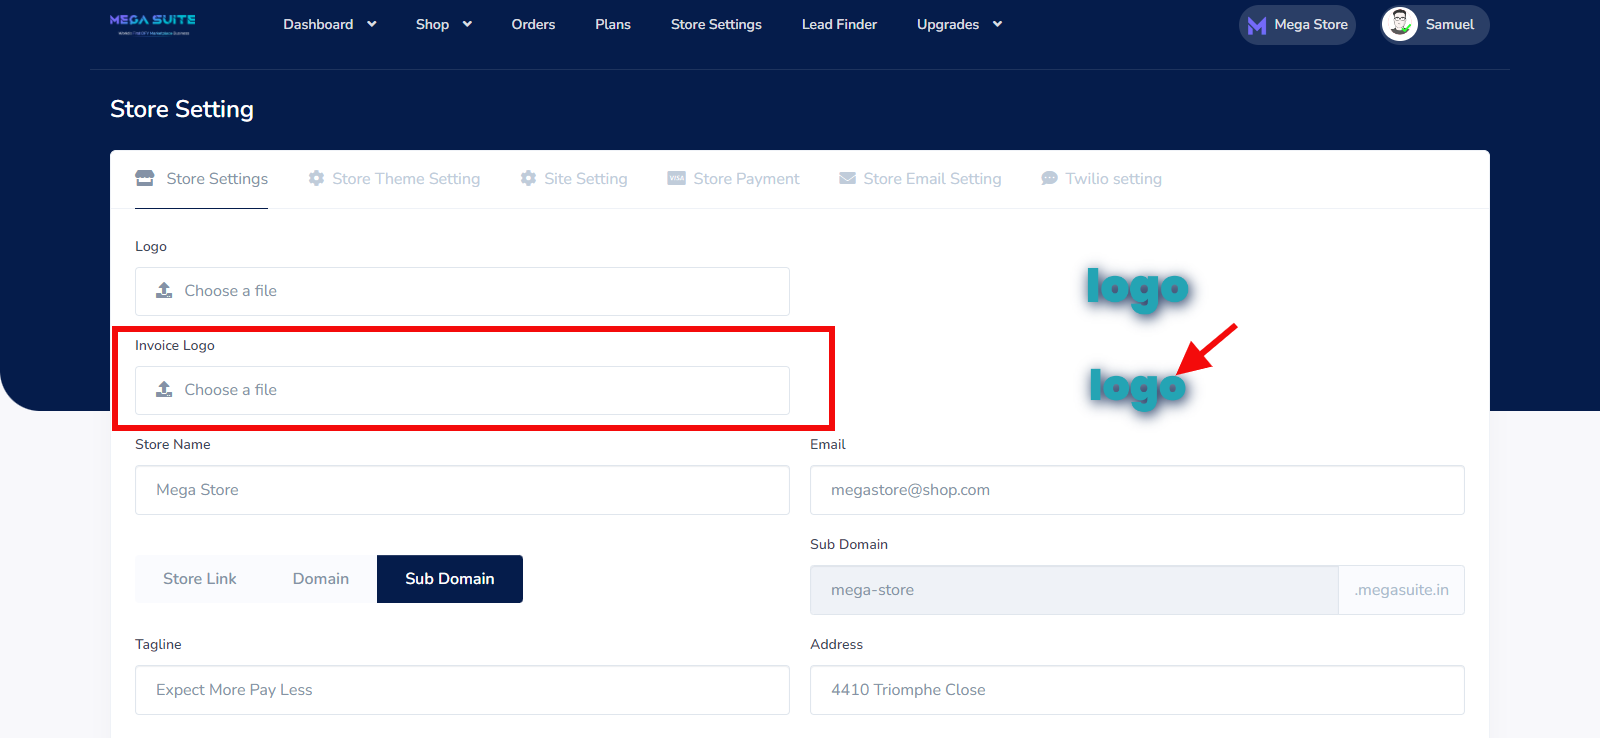
upload your favicon logo and scroll to click the save button to see it added.
Store Name: Here you enter your store name
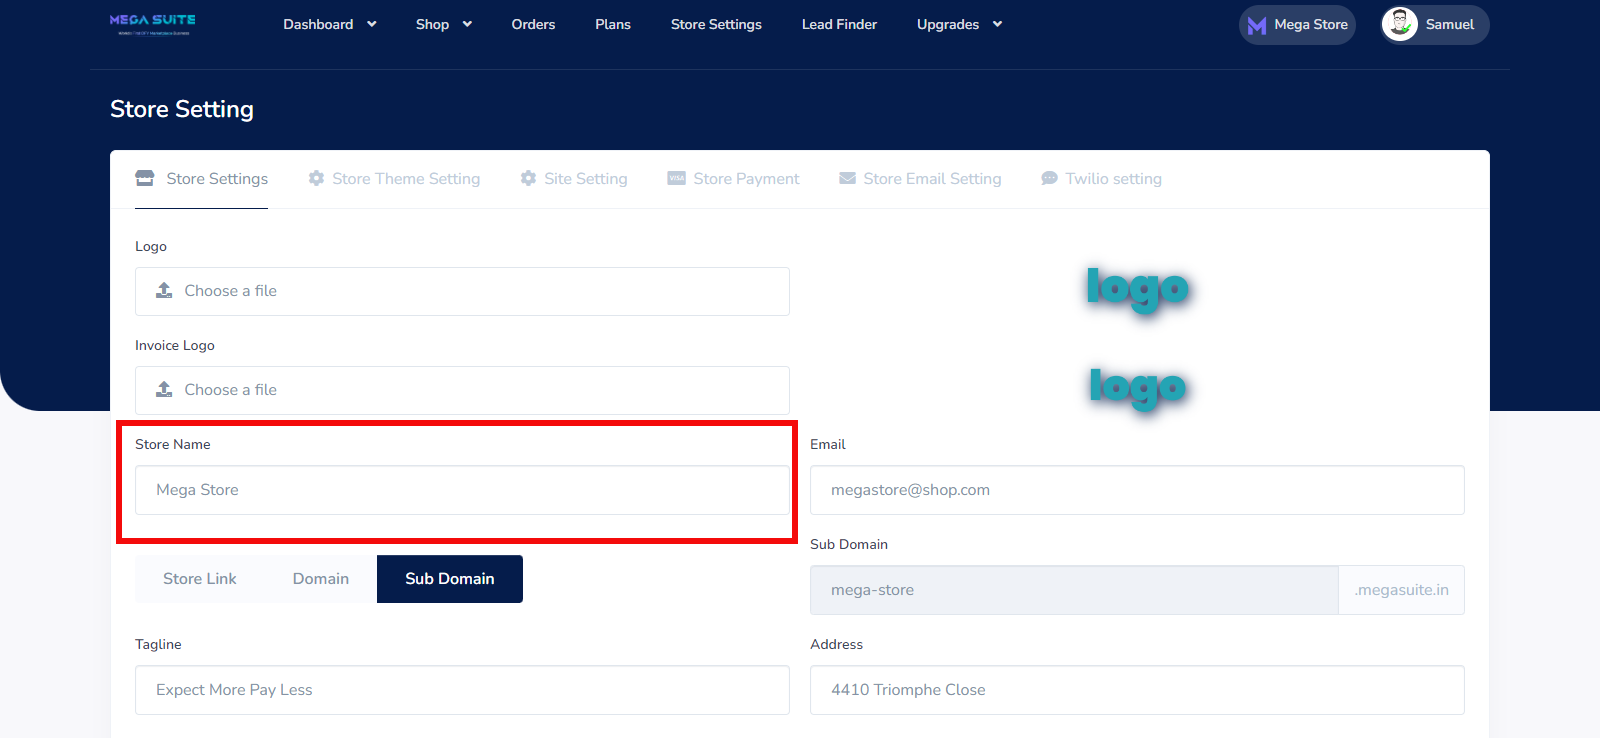
Email: Here you enter your store email
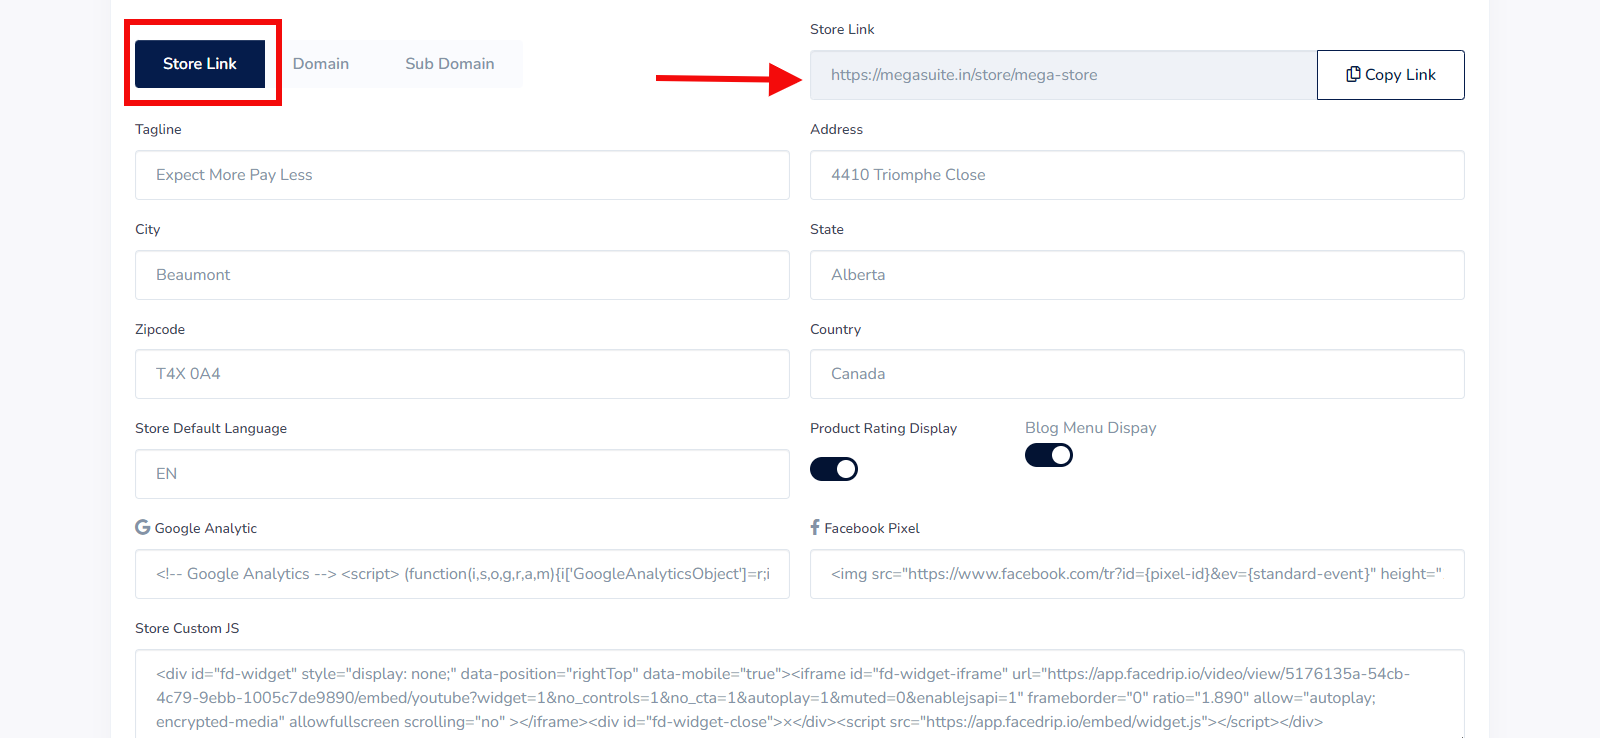
Store Link: Here you can copy your store link
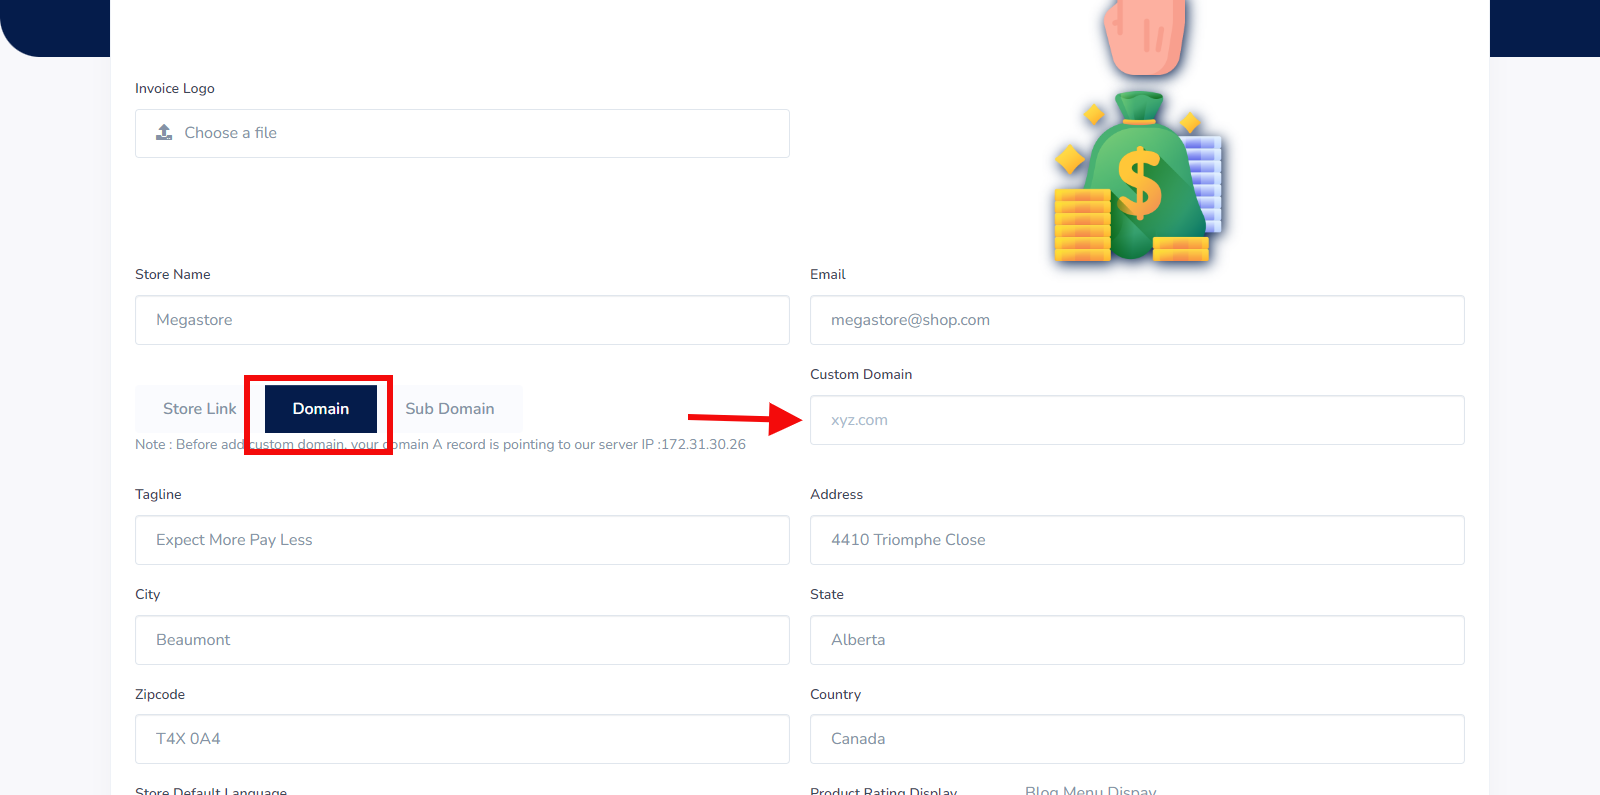
Domain: Here you enter your custom domain
Sub Domain: Here you see your store subdomain

Tagline: Here you enter your Tagline
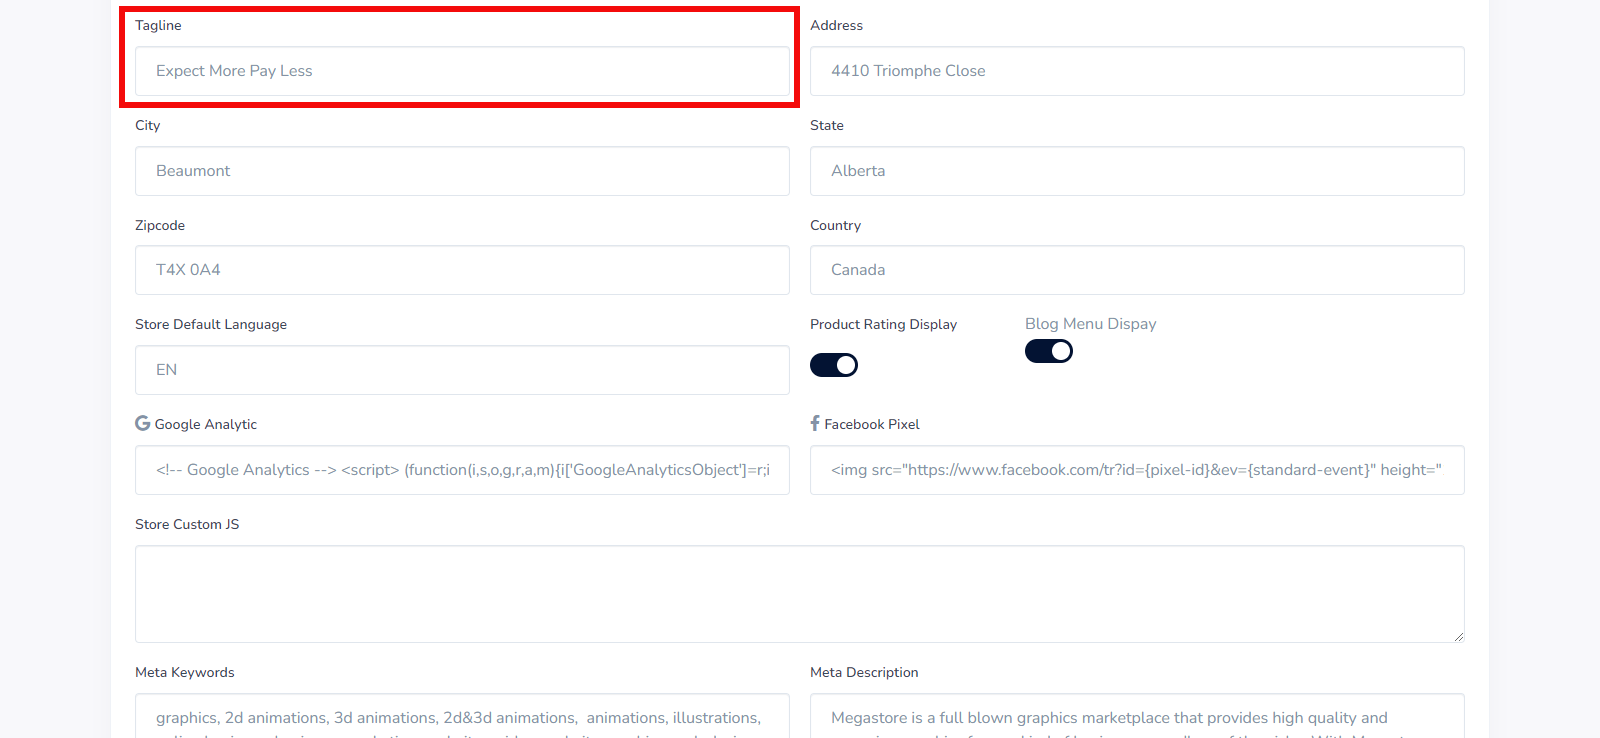
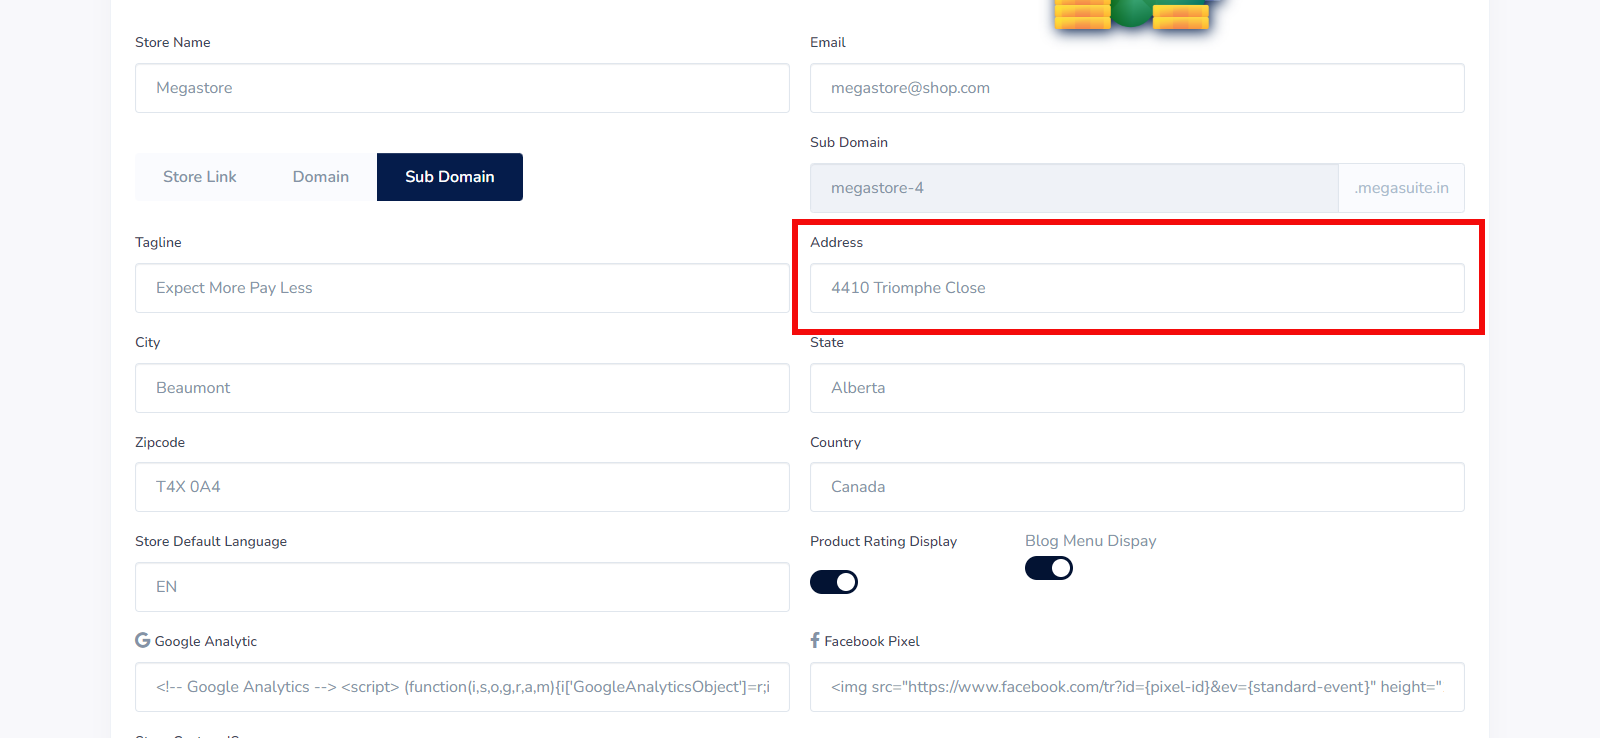
Address: Here you enter your address
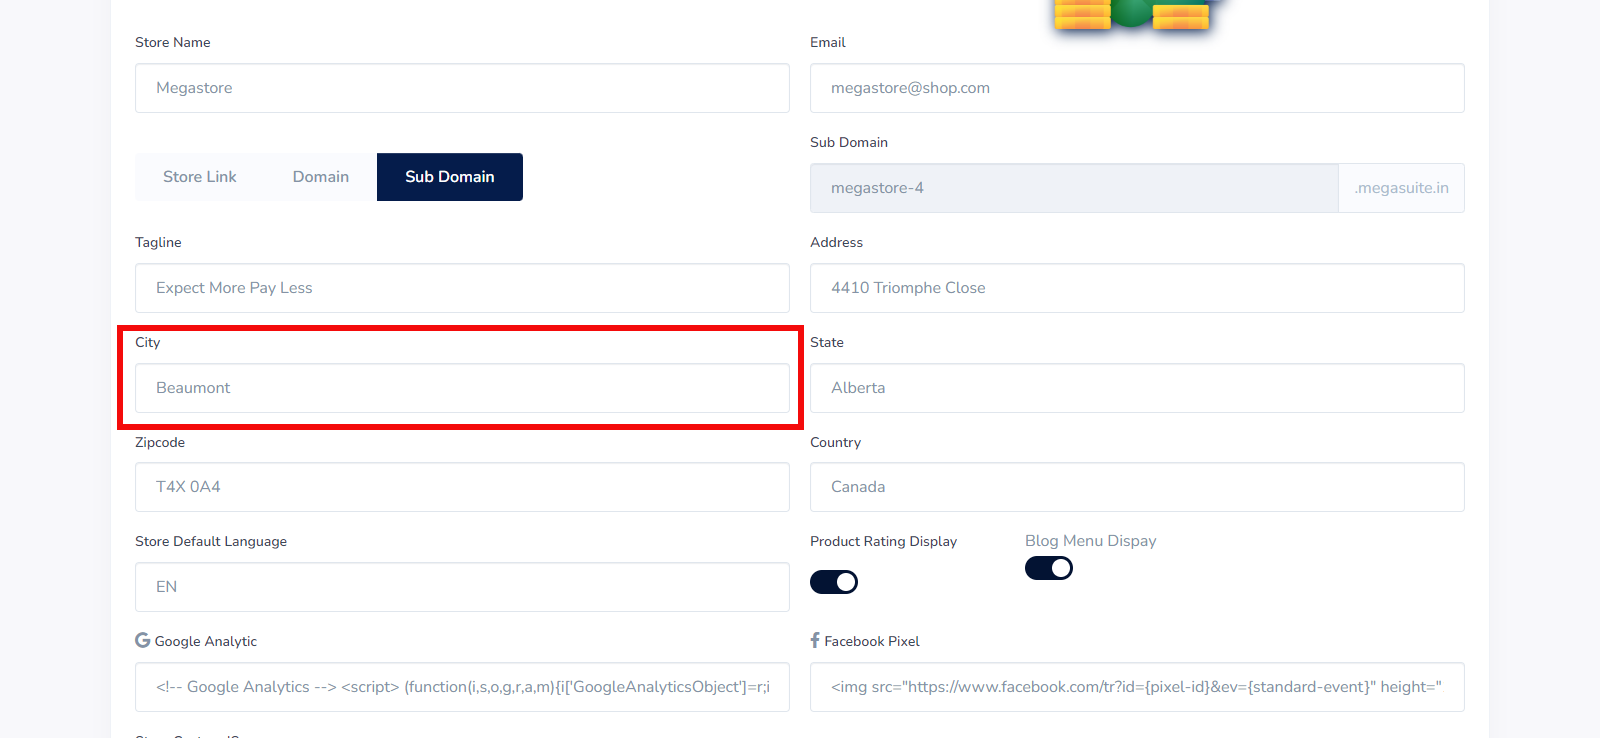
City: Here you enter your city
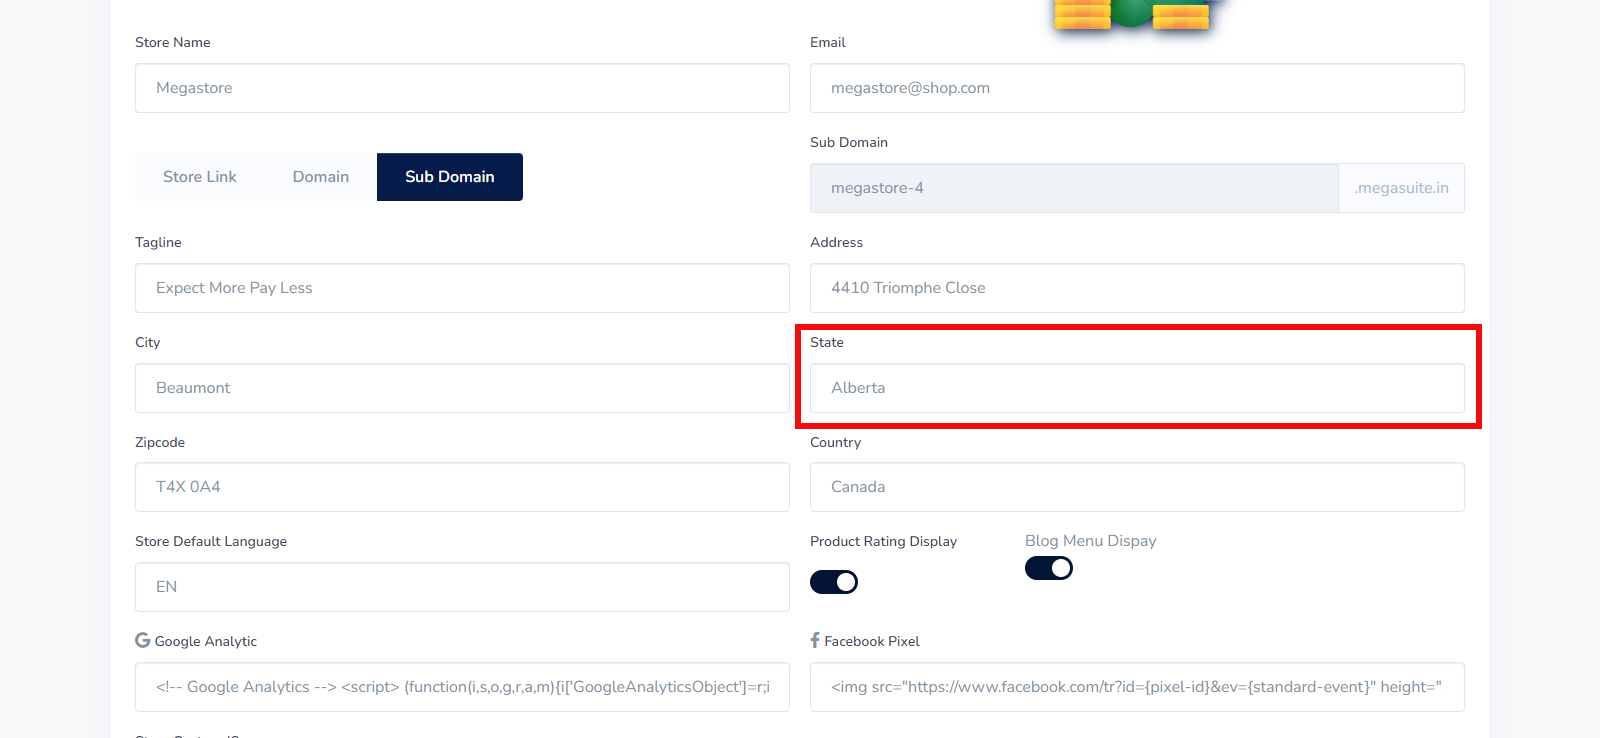
State: Here you enter your state
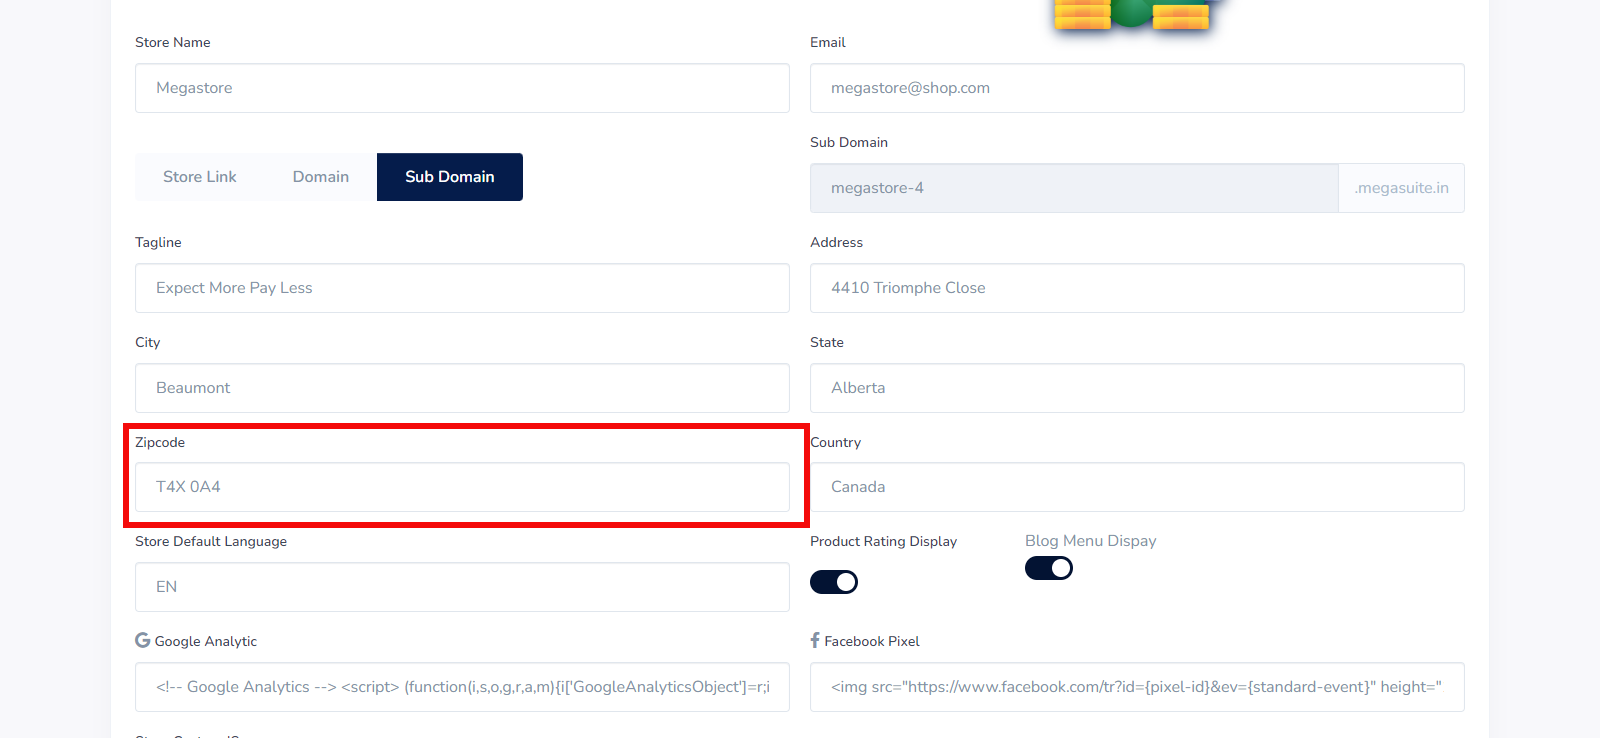
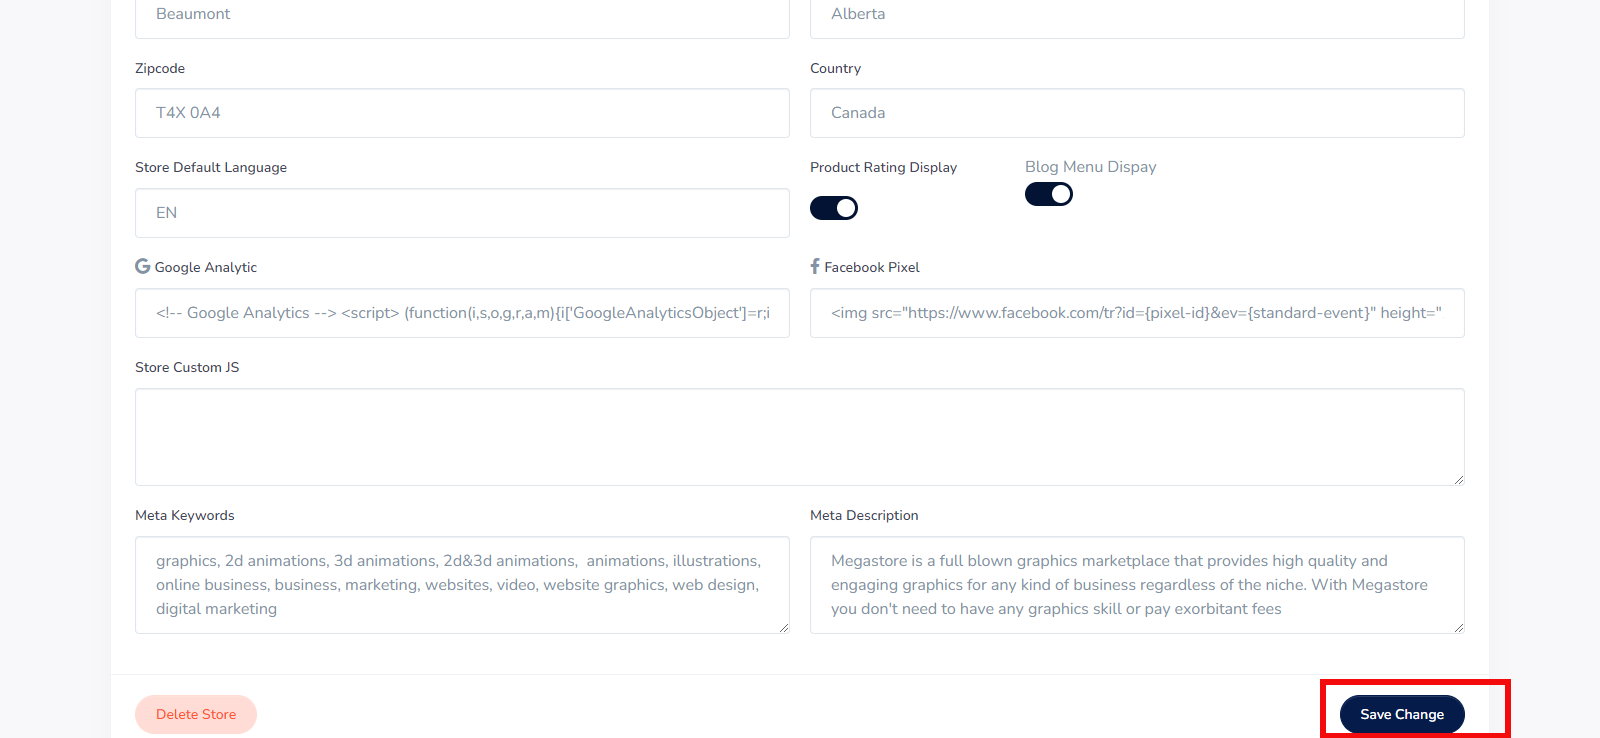
Zipcode: Here you enter your zip code
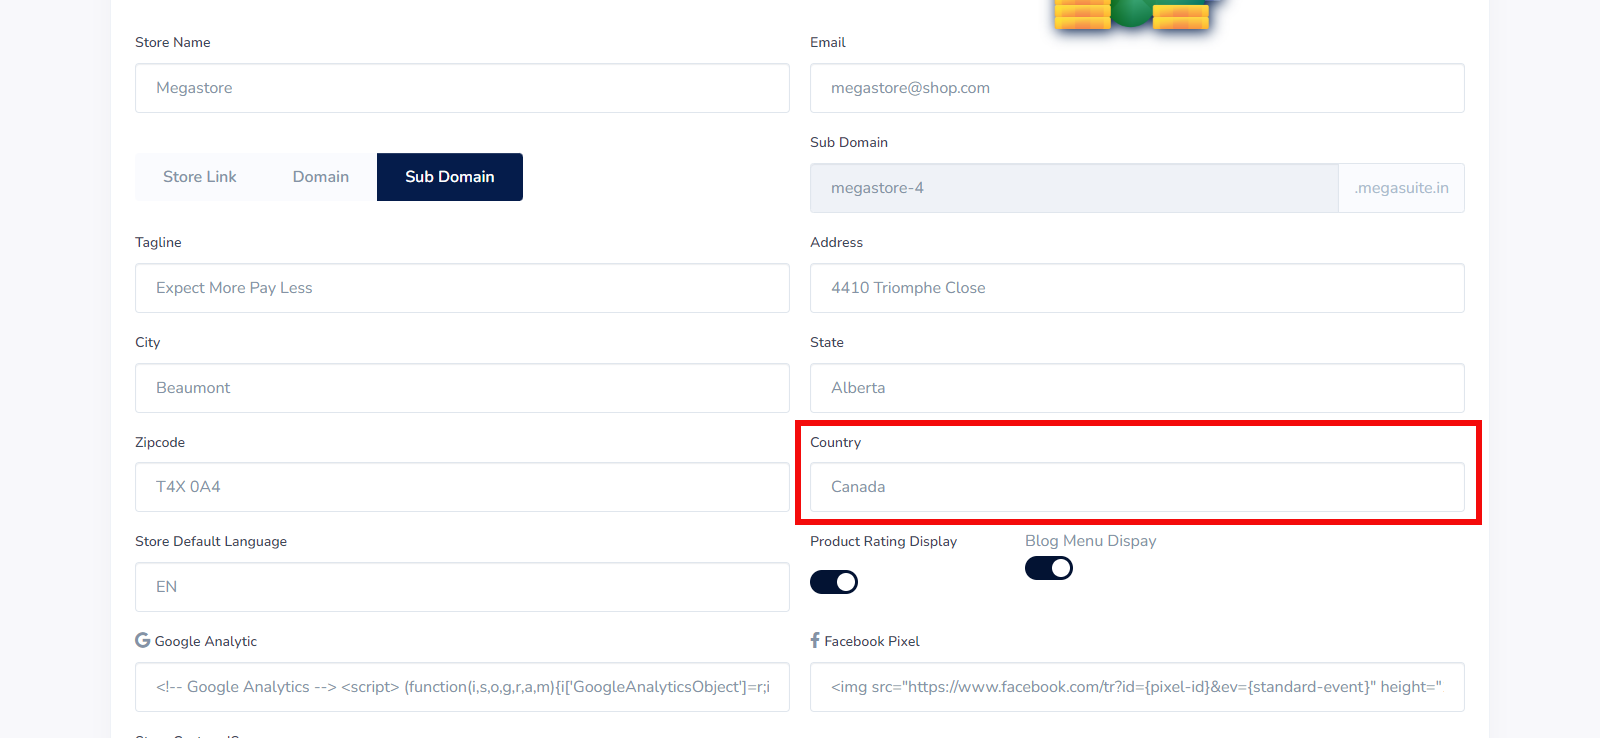
: Here you enter your country
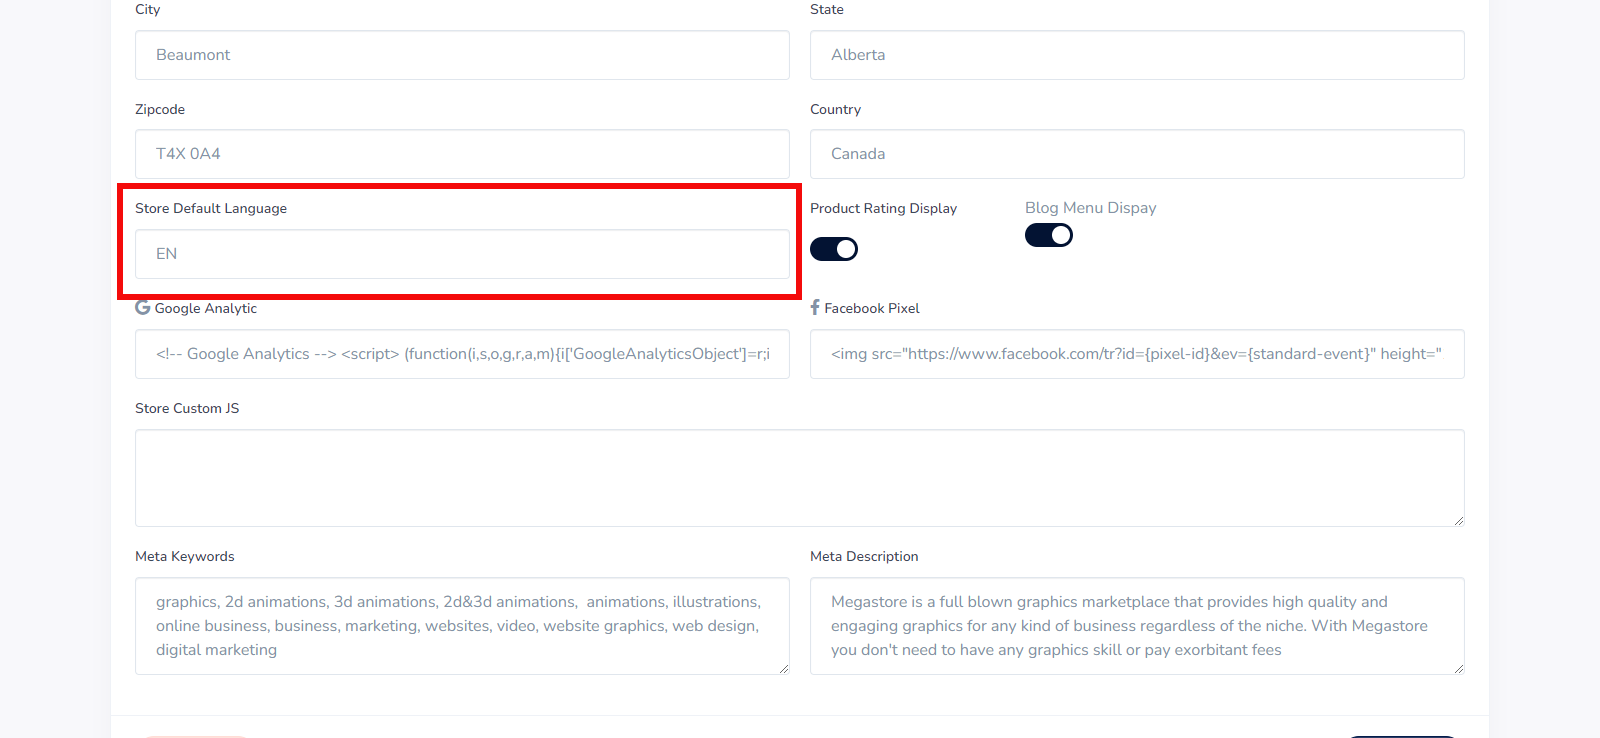
Store Default Language: Here you enter your preferred language for your store
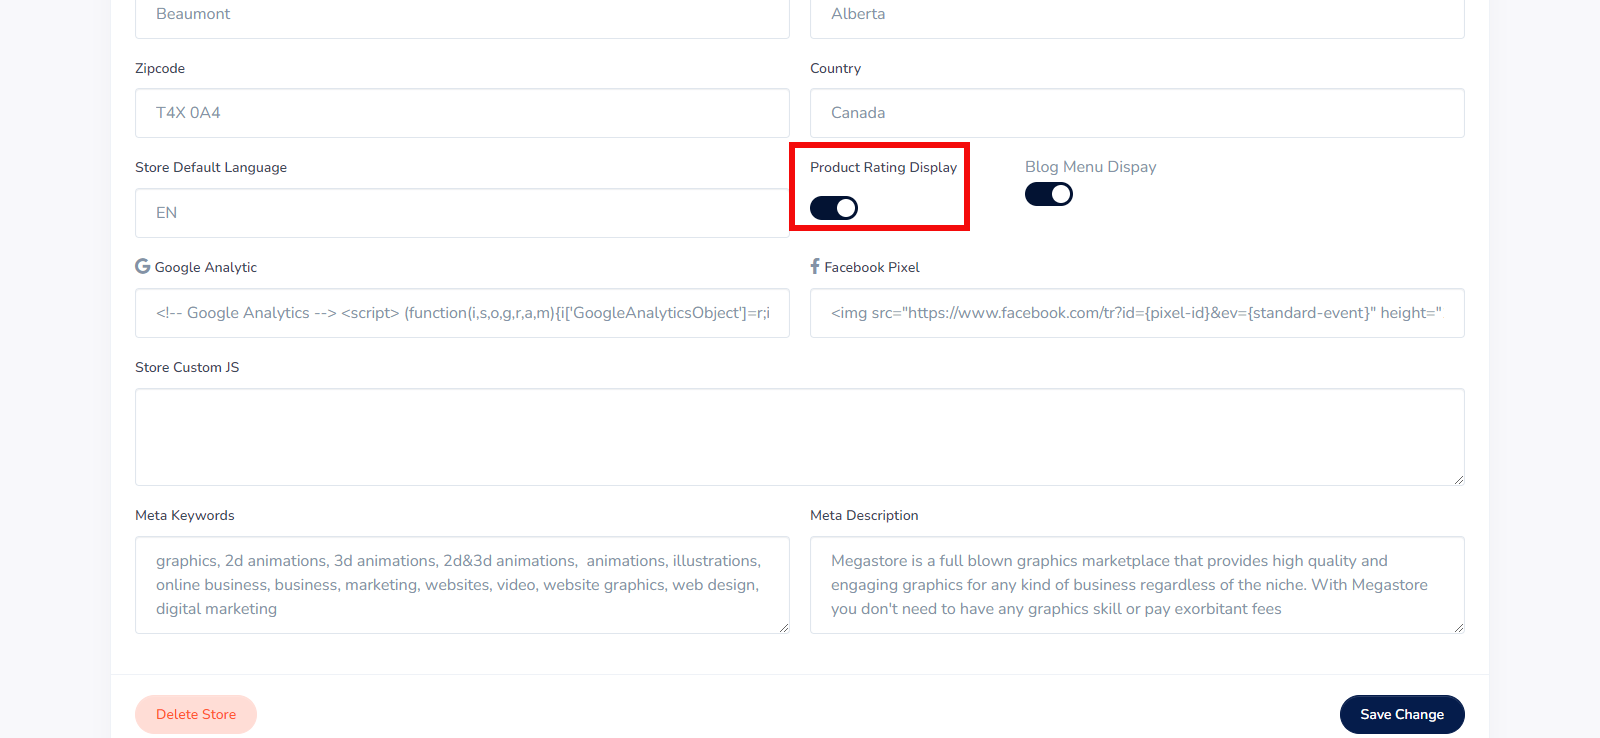
Product Rating Display: Here you enter your preferred language for your store
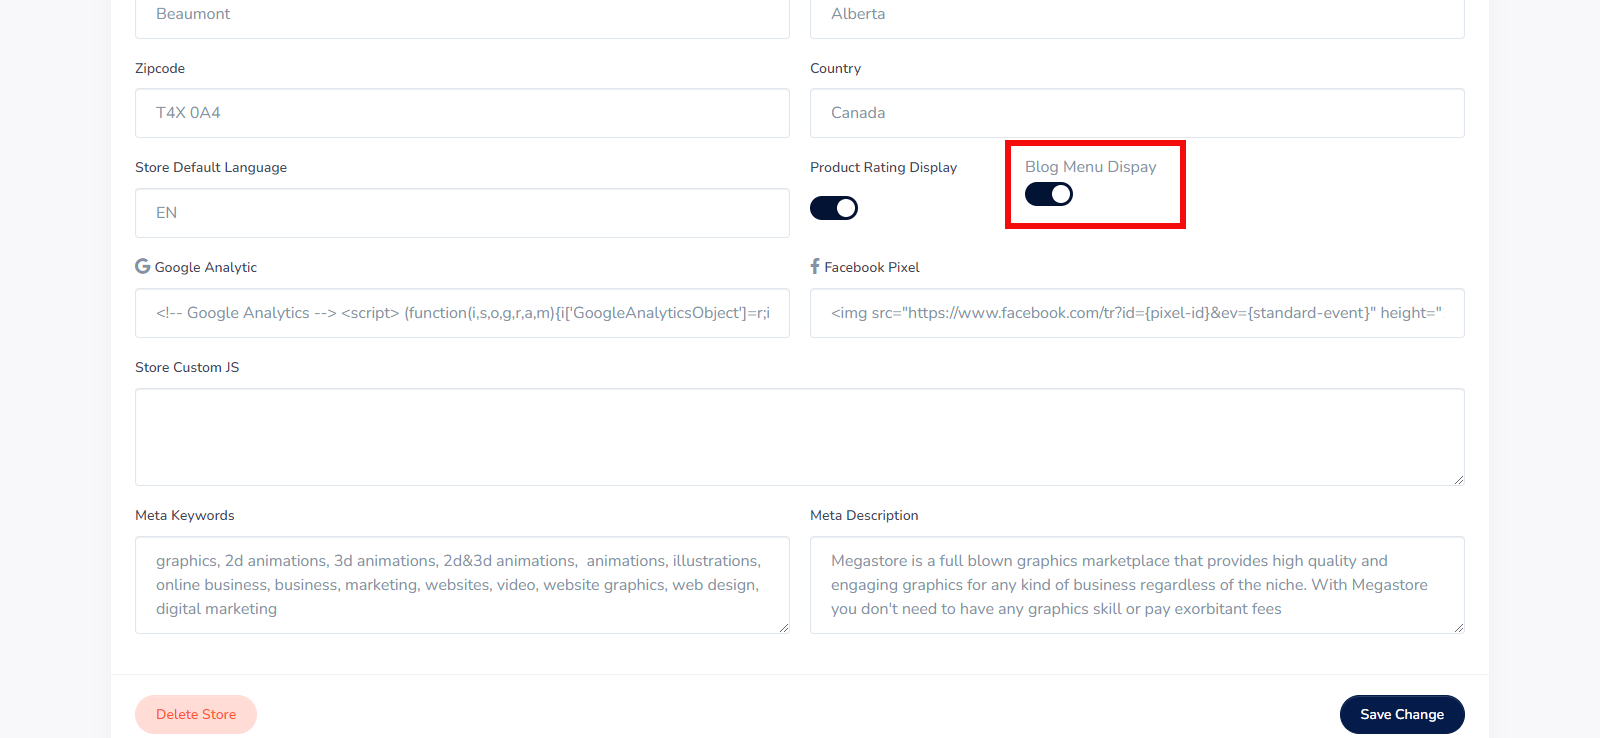
Blog Menu Display: Here you enter your preferred language for your store
Google Analytics: Here you enter your google analytics code
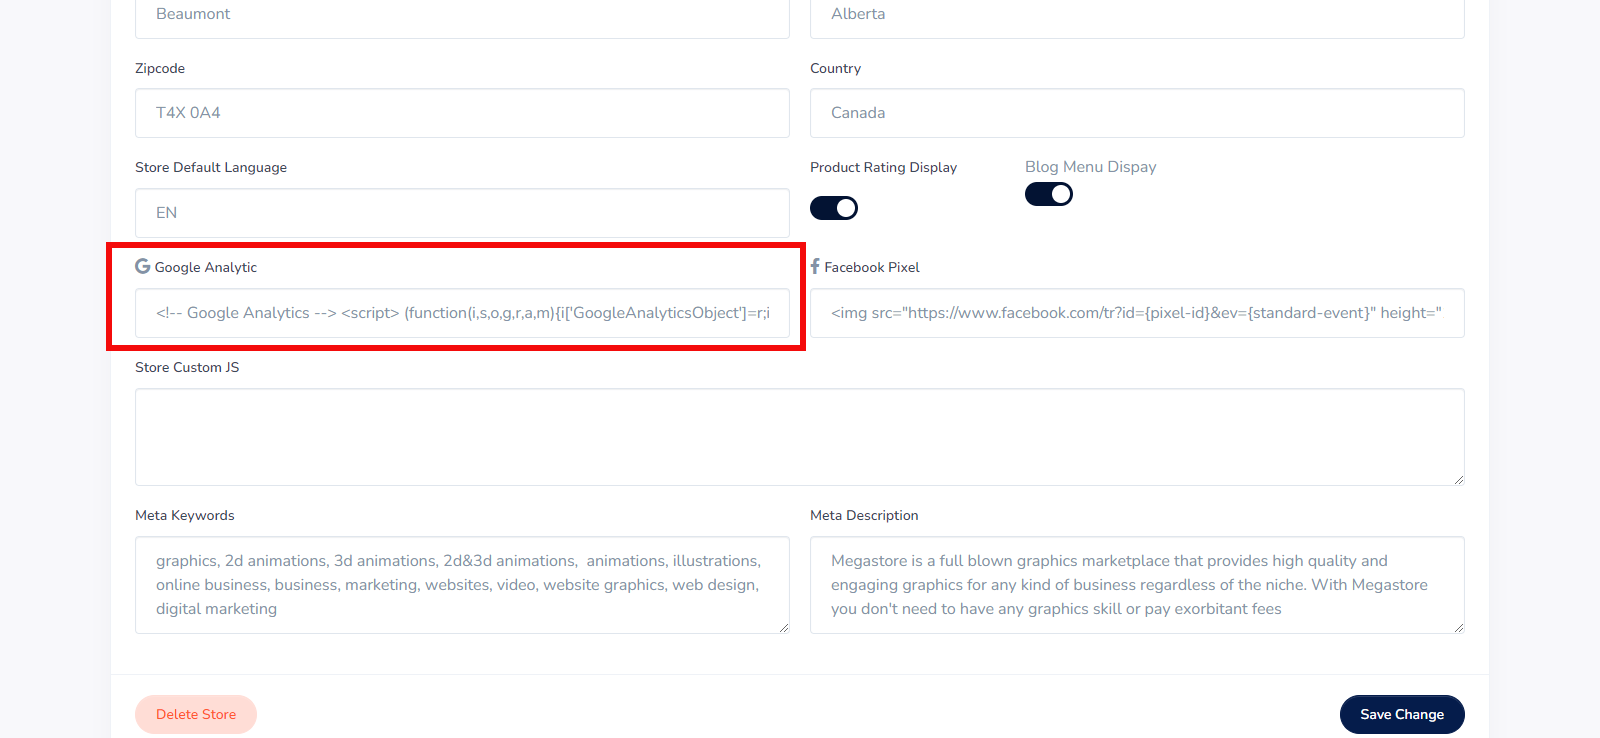
Facebook Pixel: Here you enter your facebook pixel code
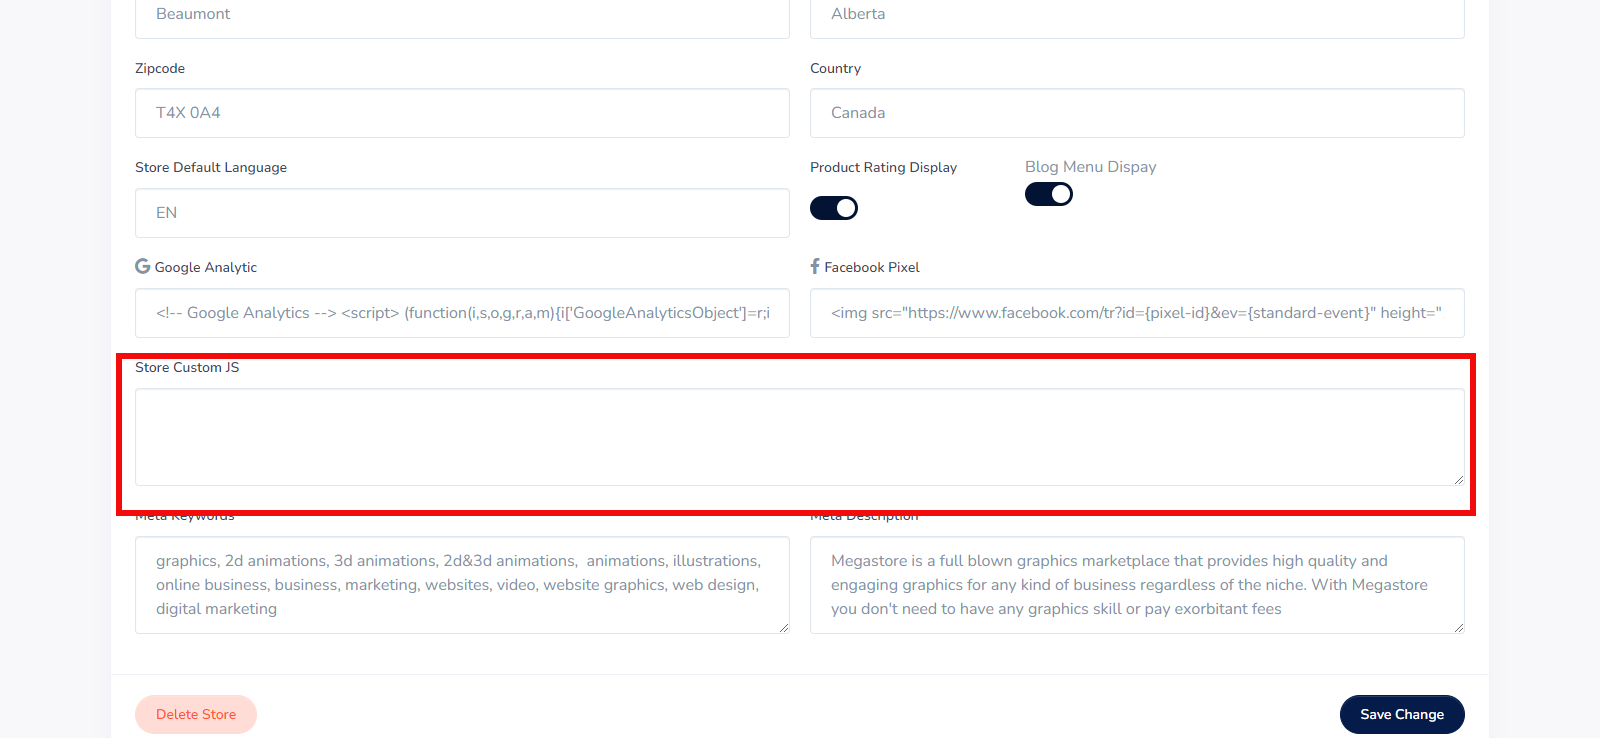
Store Custom JS: Here you enter your custom js
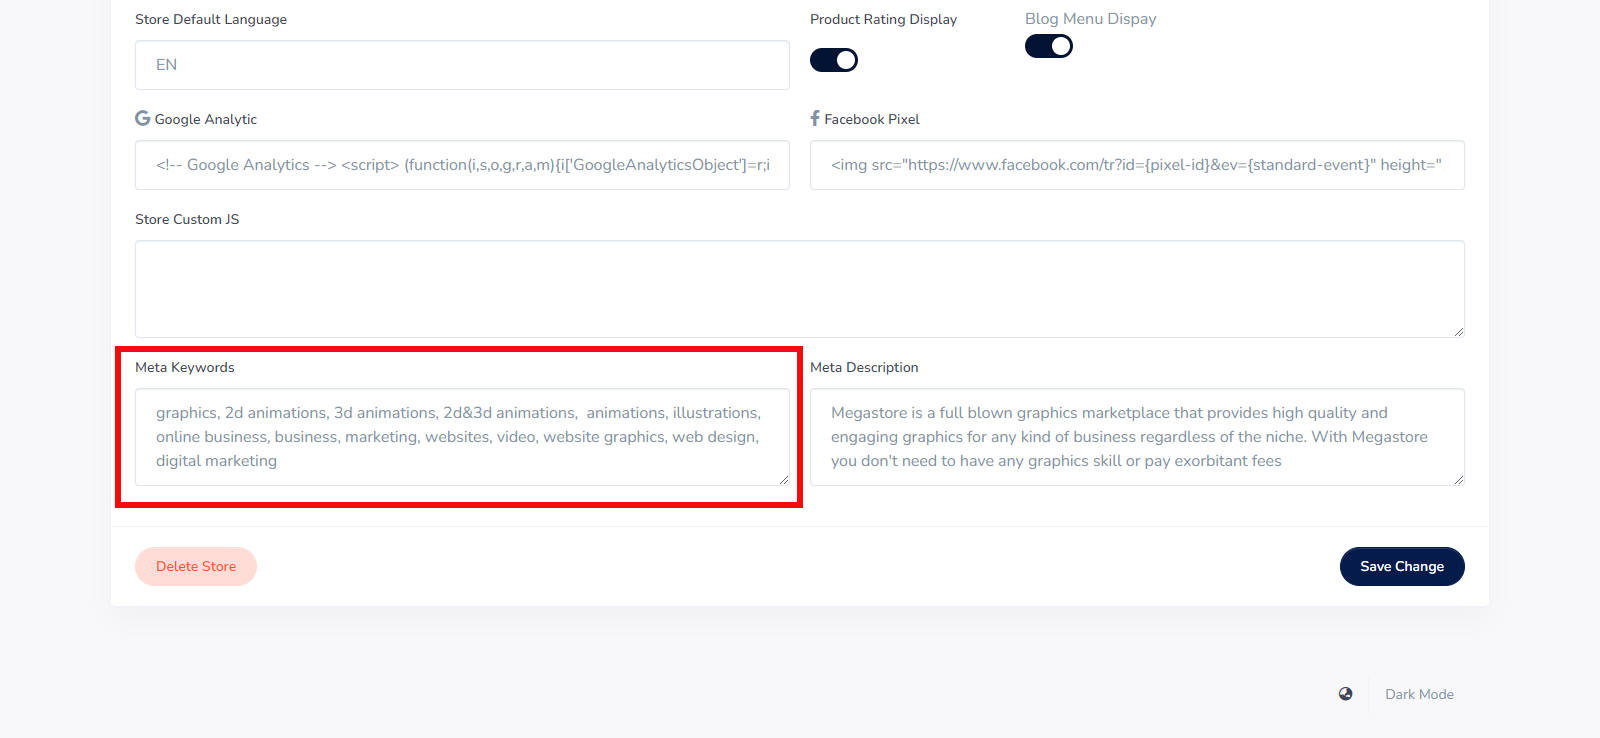
Meta Keywords: Here you enter your keyword
Meta Description: Here you enter your meta description
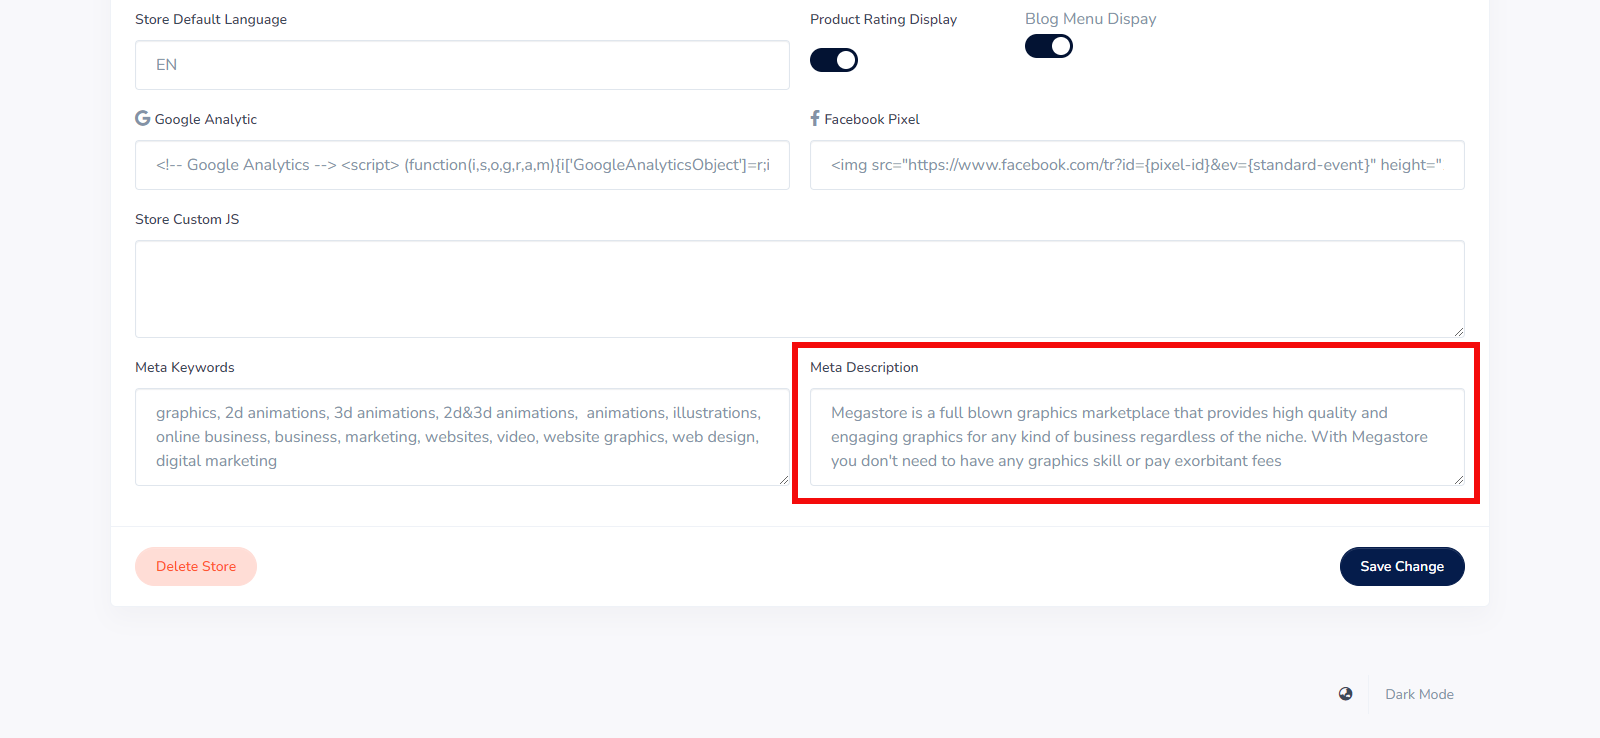
Once you are done making changes to them just click the save button
Audio quality is terrible. Very hard to understand the muddy sound of the narration. Child is heard screaming at 1:31.
We owe you an apology, and we’re sorry we messed up. It was not our intention to and we take full responsibility for our actions and any inconvenience we have caused you. we will go ahead and fix this issue will upload a new video soon