Kindly Follow the Steps Below to Create a Product
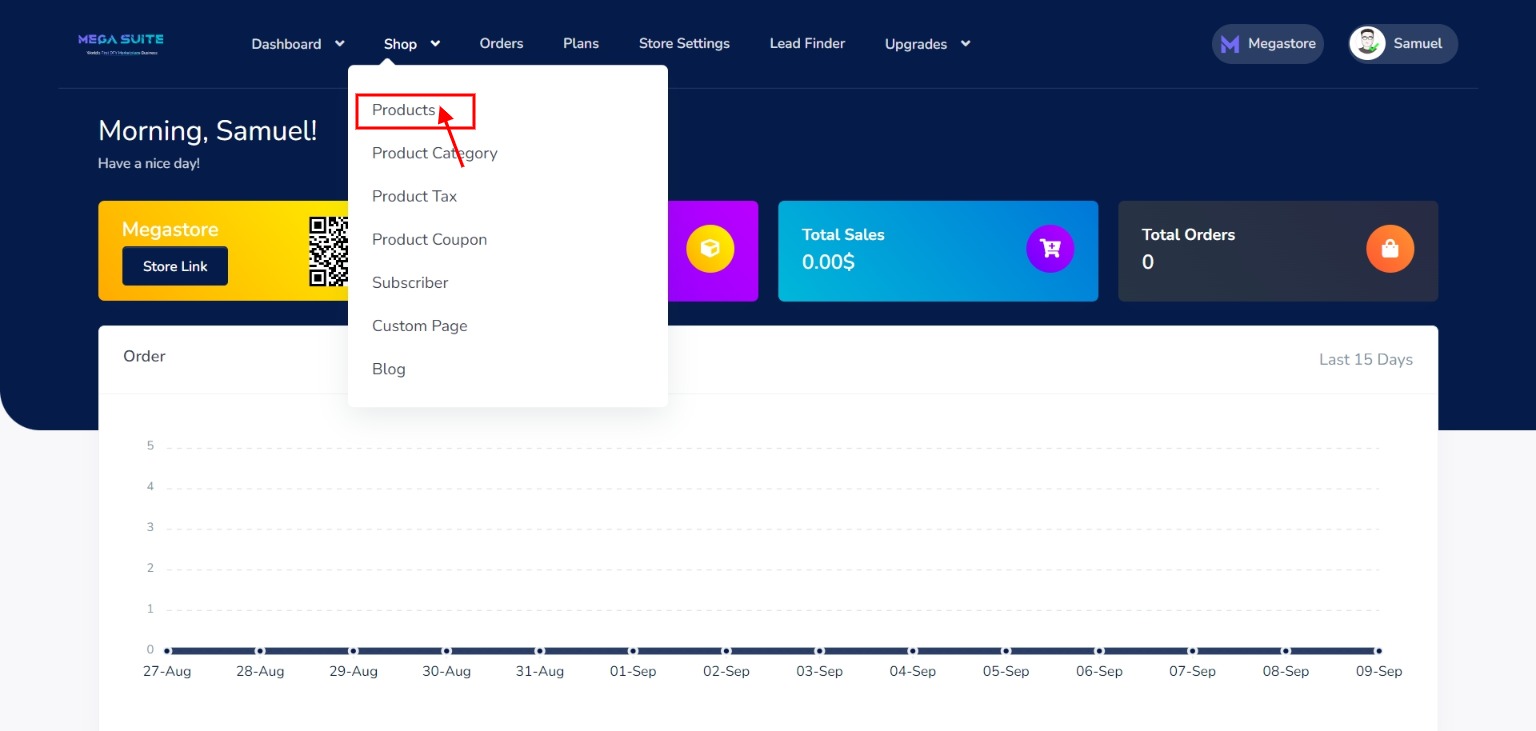
Step 1: From your Store Dashboard hover over the Shop dropdown and click on “Products”.
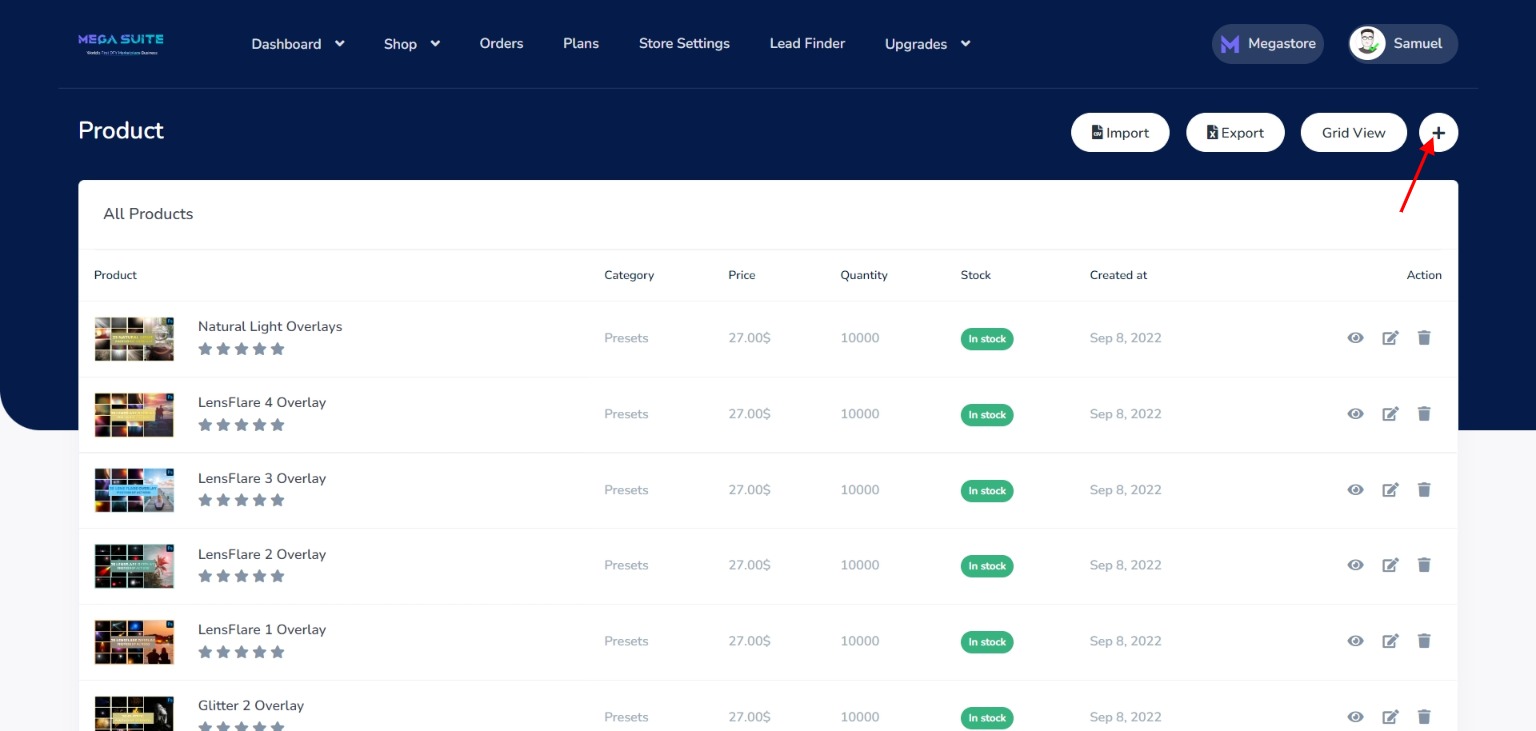
Step 2: Click on the plus “+” icon on the top right.
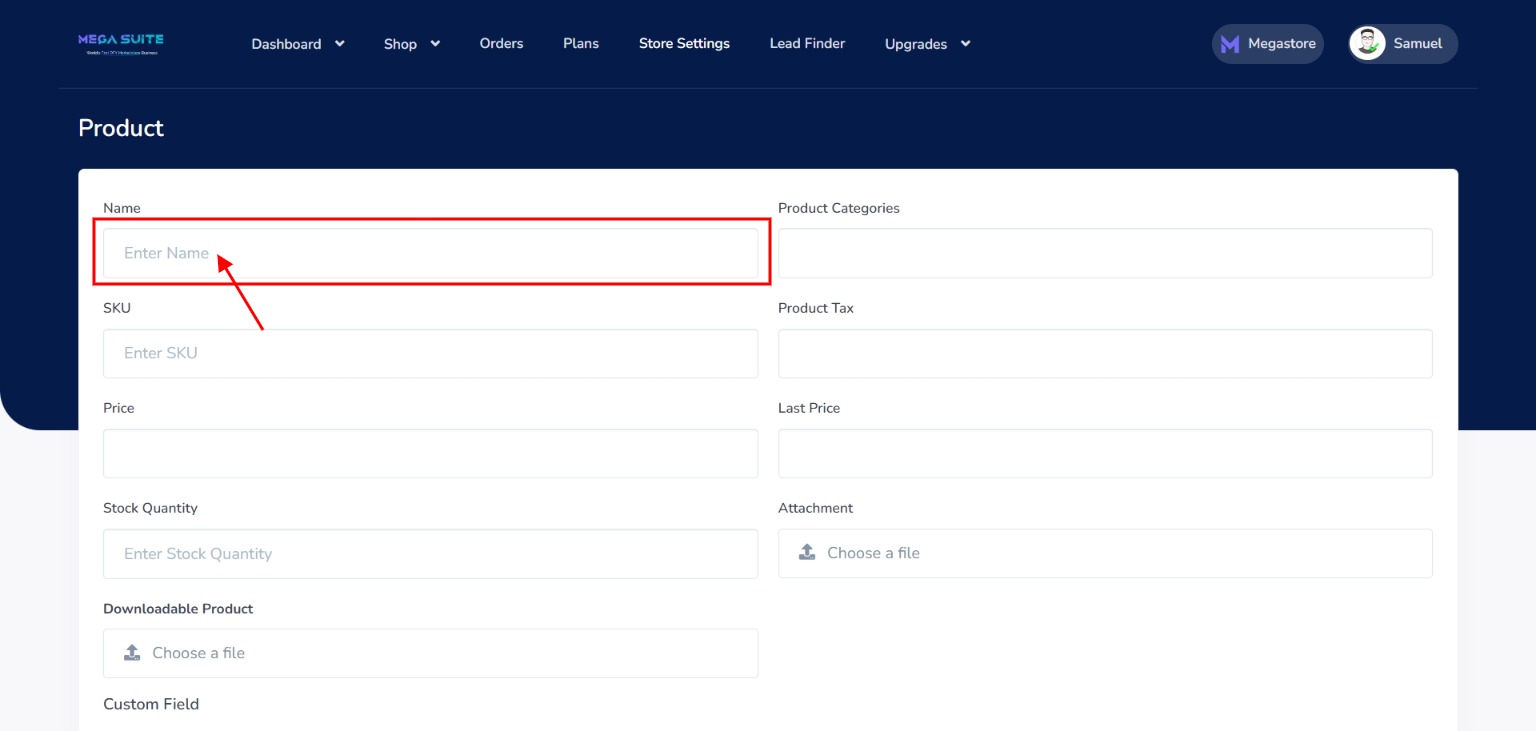
Step 3: Click on the “Name” text box to enter the product name.
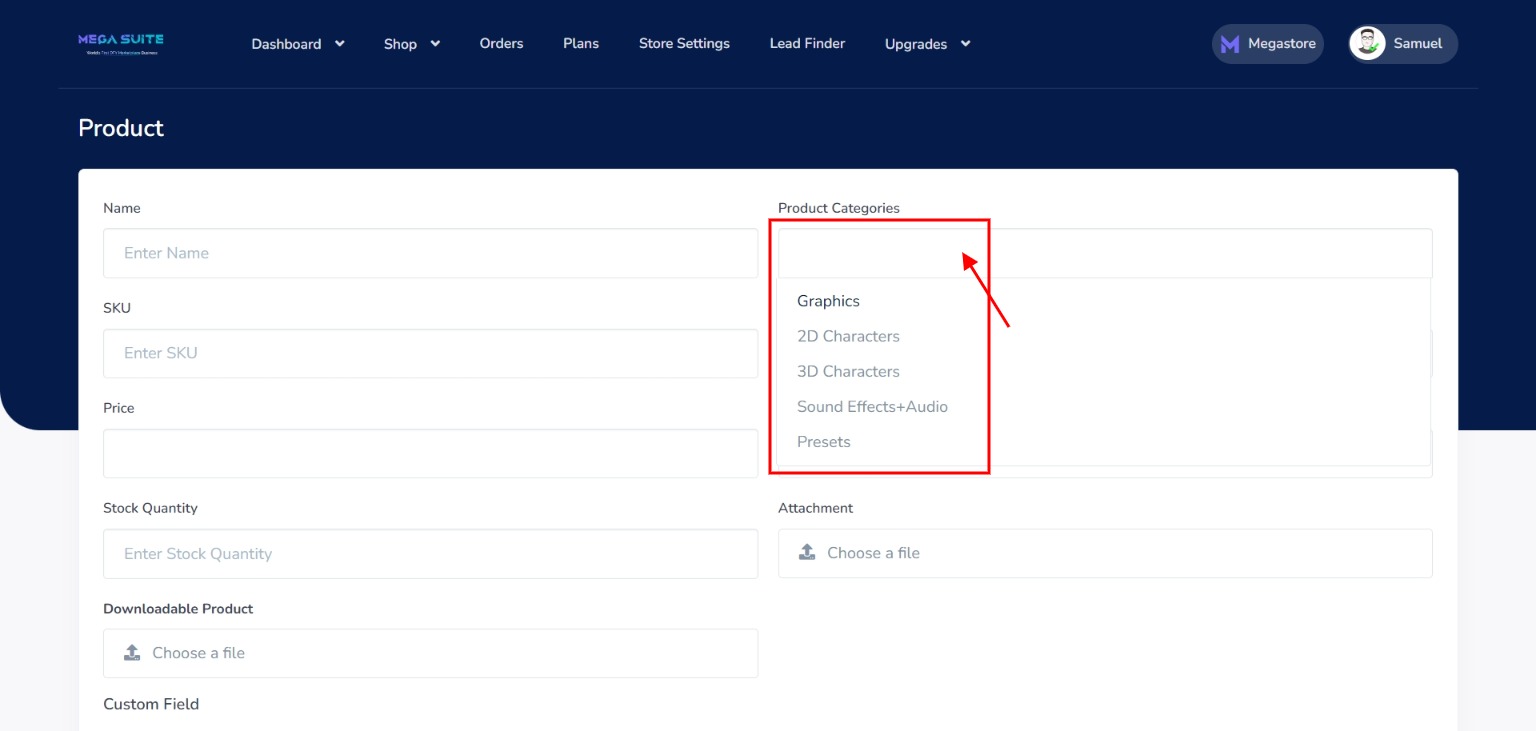
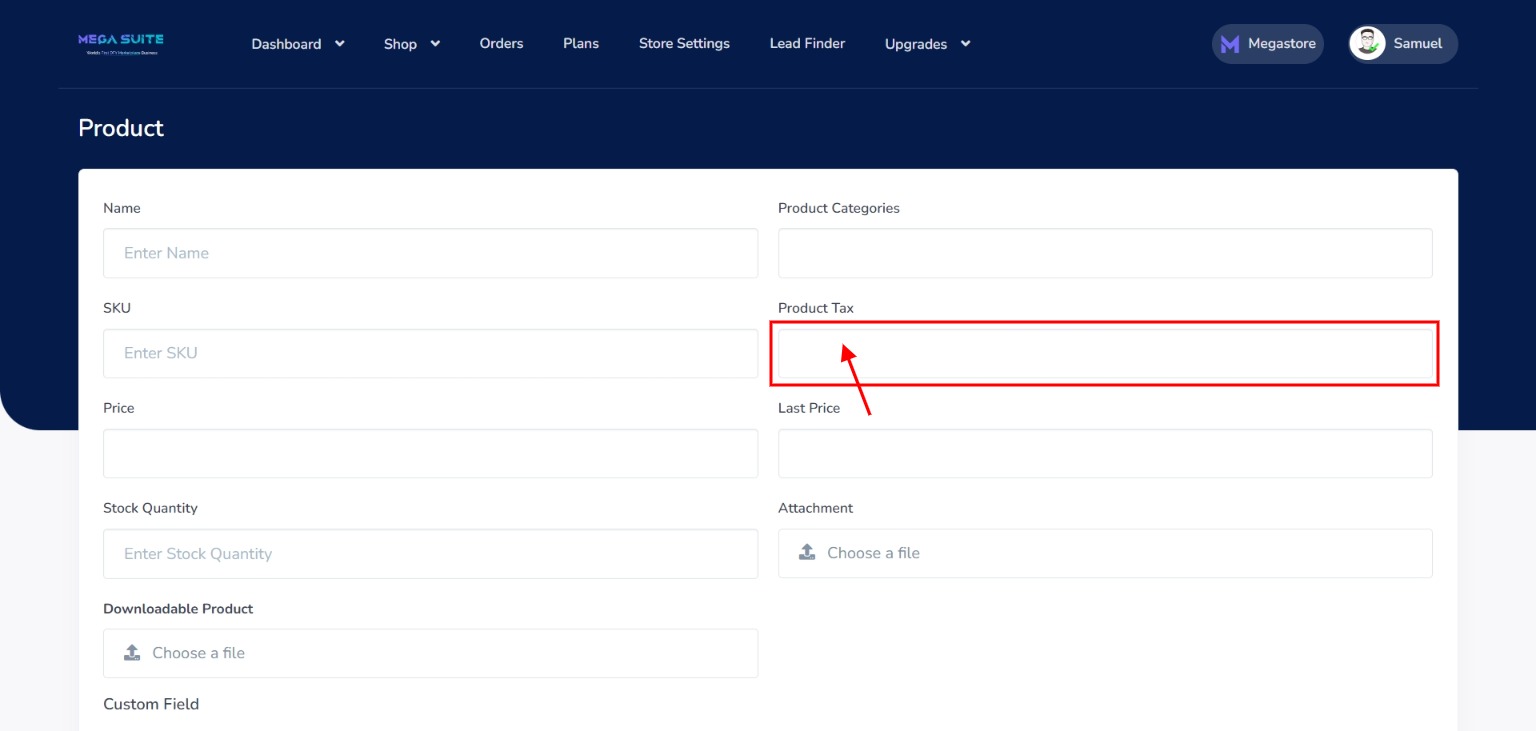
Step 4: Click on the “Product Categories” text box to enter the product category. Follow this link on How to create or modify product category.
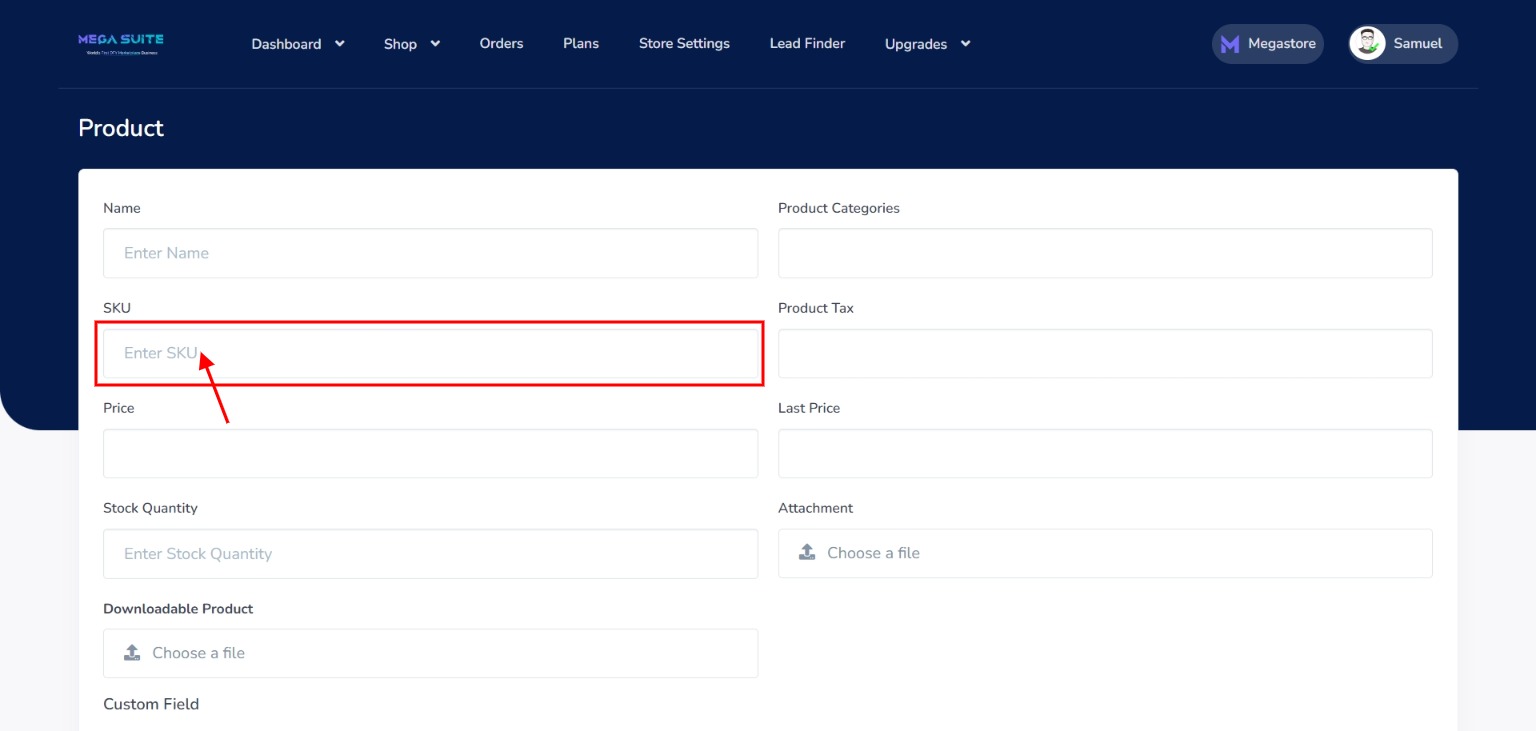
Step 5: Enter “SKU number”. This will give your product a unique ID.
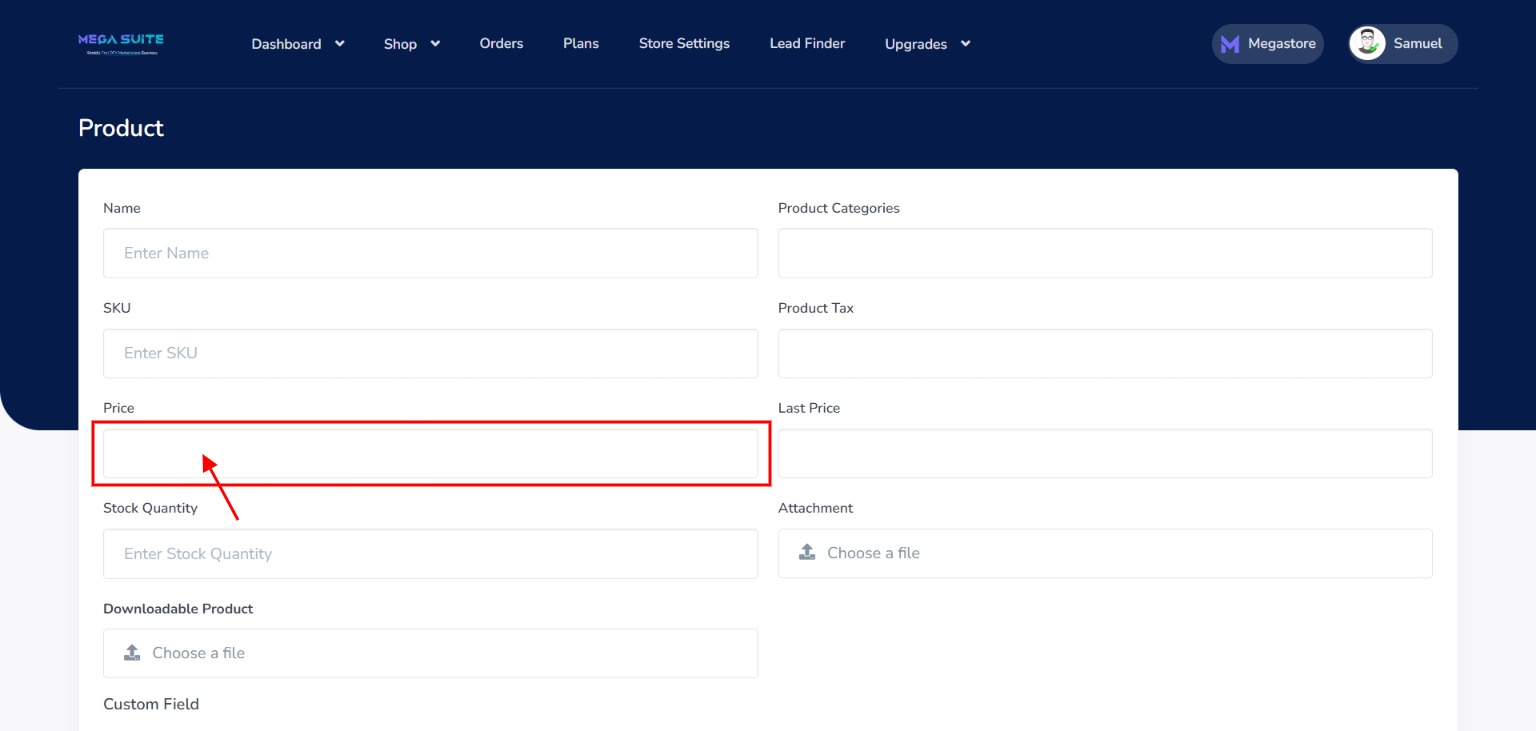
Step 7: Enter the “price” for your product.
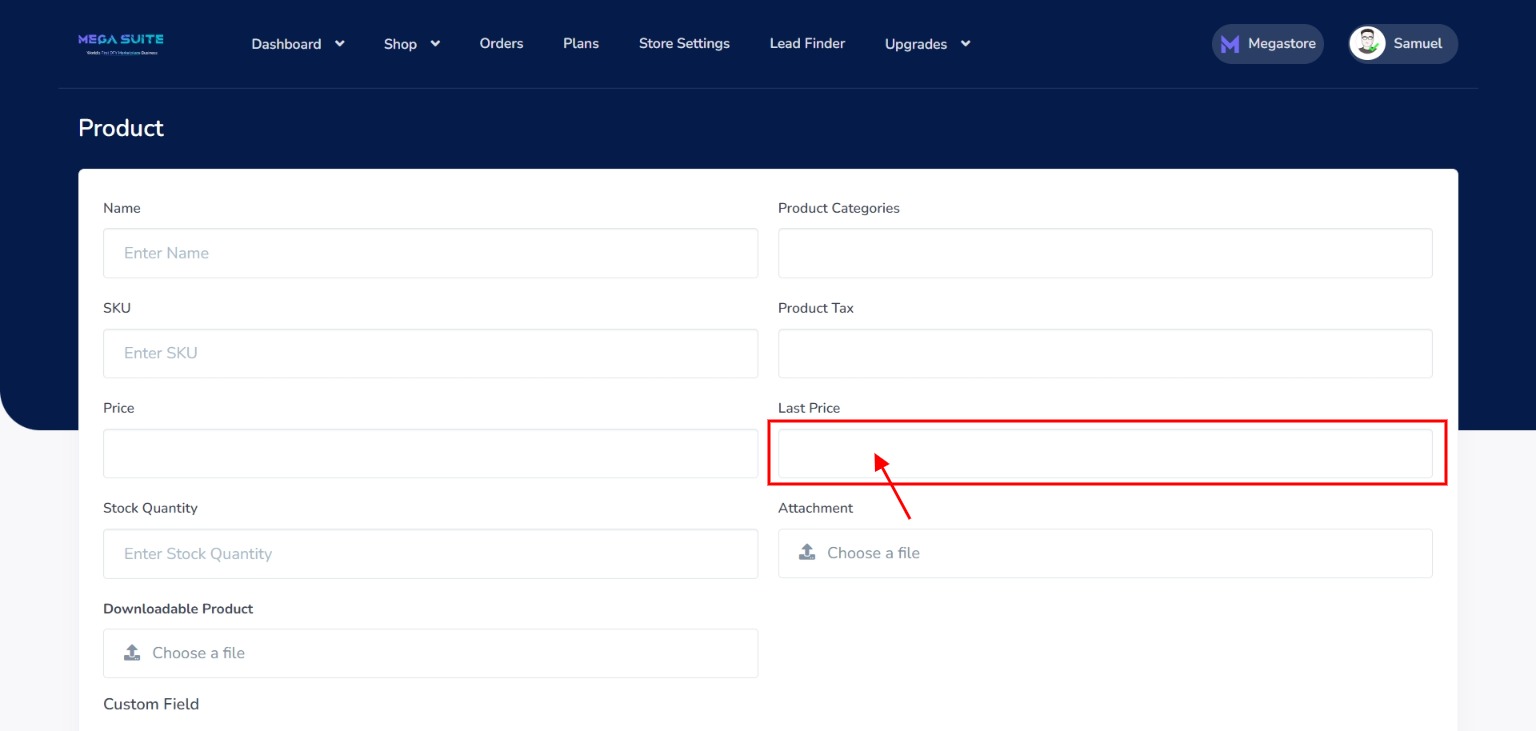
Step 8: Input the value for the product’s “Last Price”.
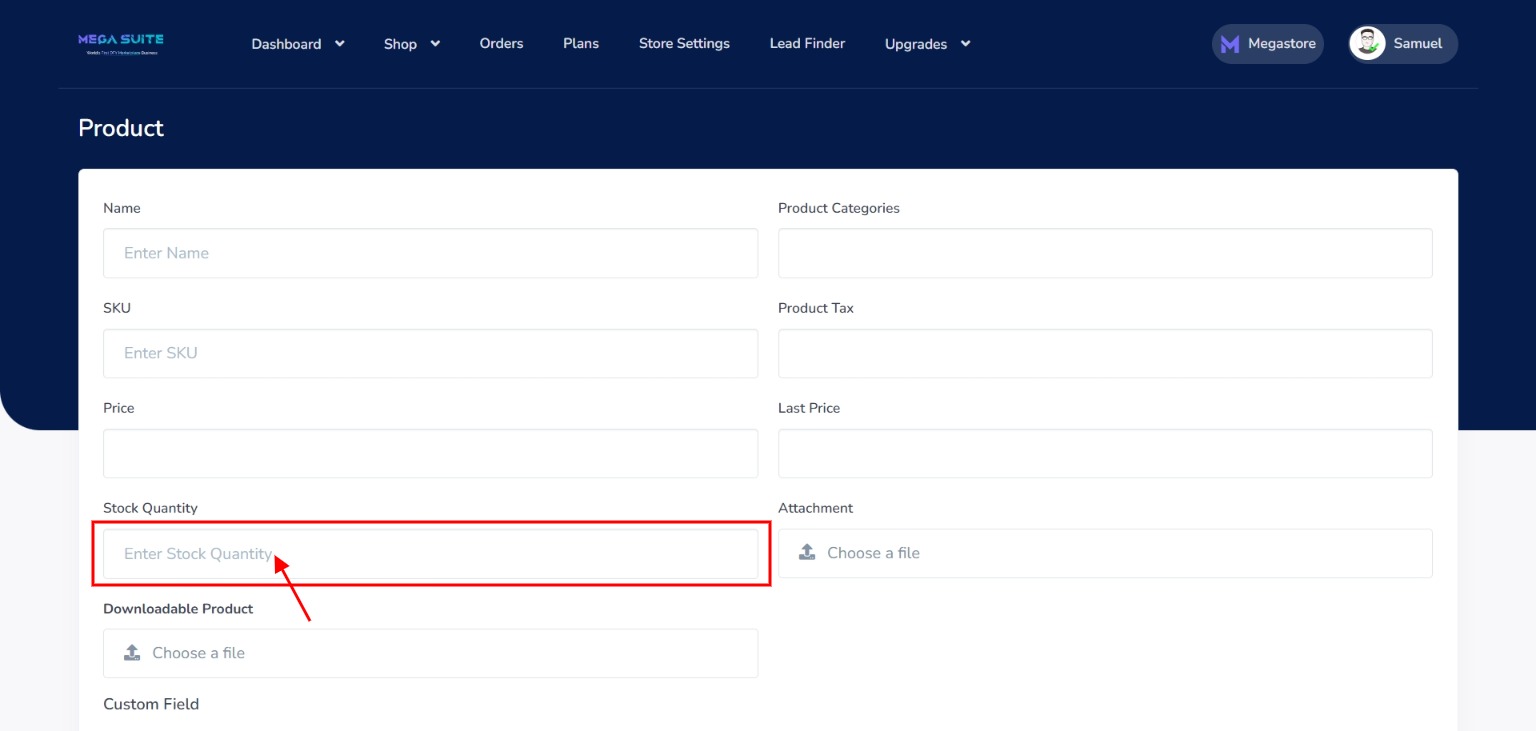
Step 9: Enter “Stock Quantity” which is the number of the product available.
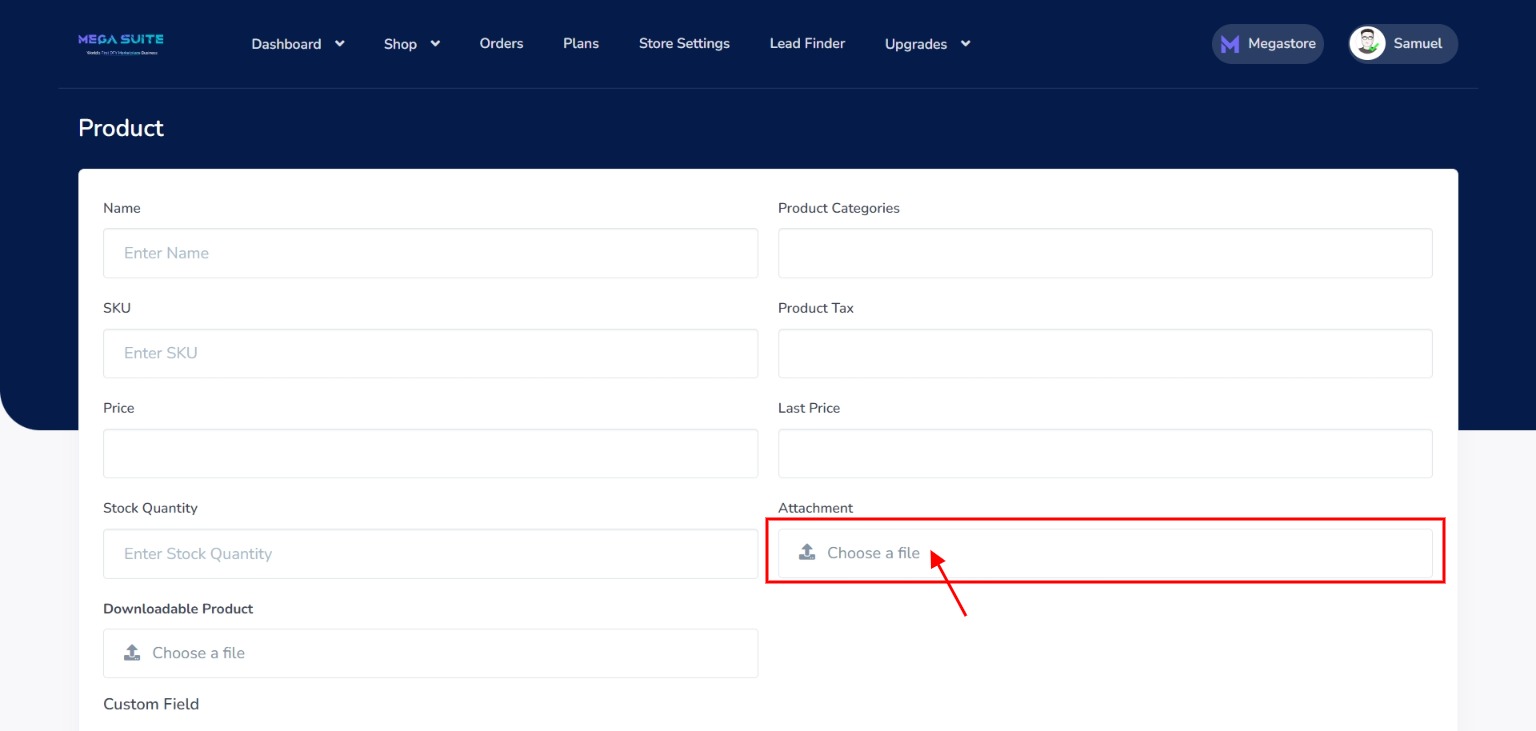
Step 10: Upload an “Attachment” if any. An image description for the product.
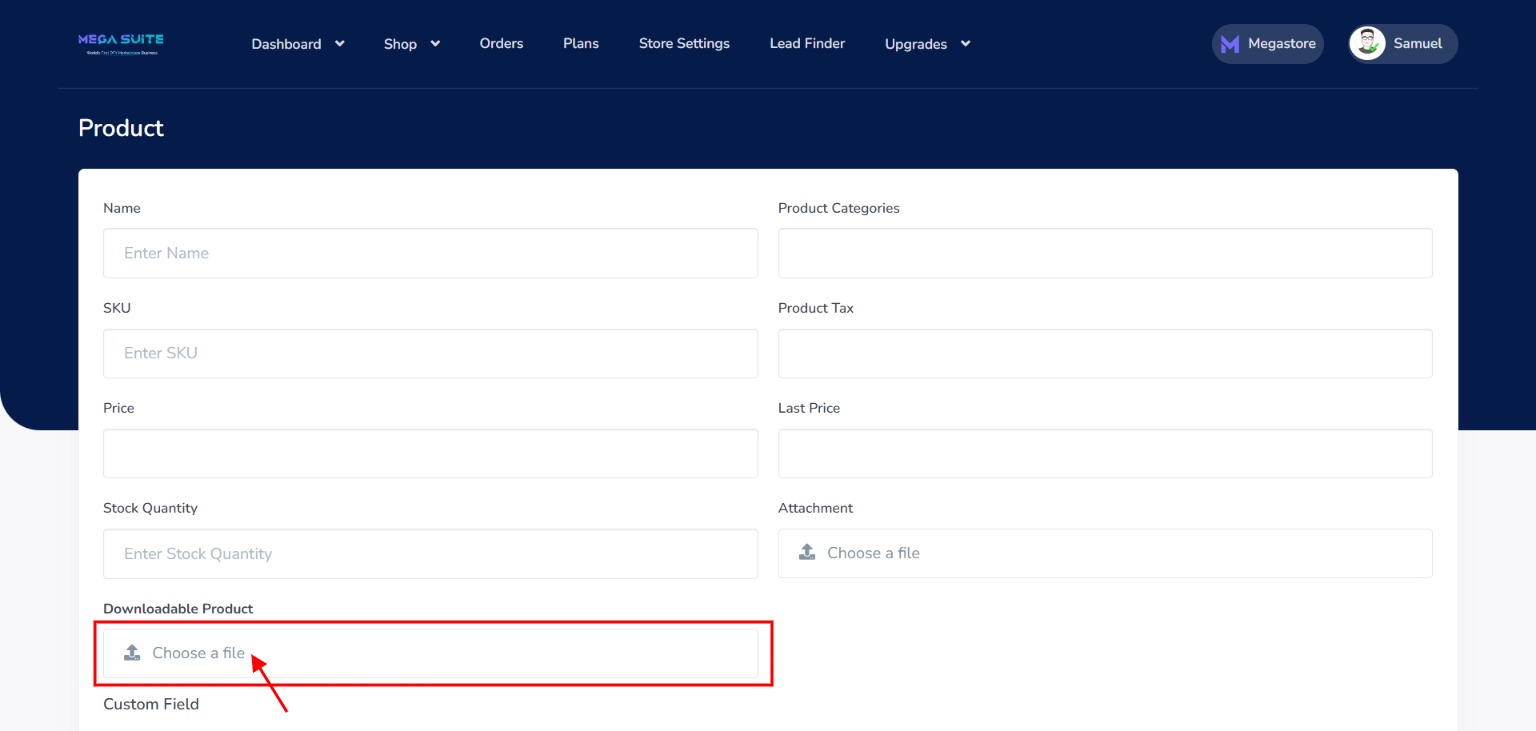
Step 11: Upload the “downloadable product file” by clicking on choose file and selecting from the popup.
Step 12: You can add any other attribute/s for your product by:
- Entering the name of the attribute in the “Custom field” text box and
- Entering the value of the attribute in the “Custom value” text box
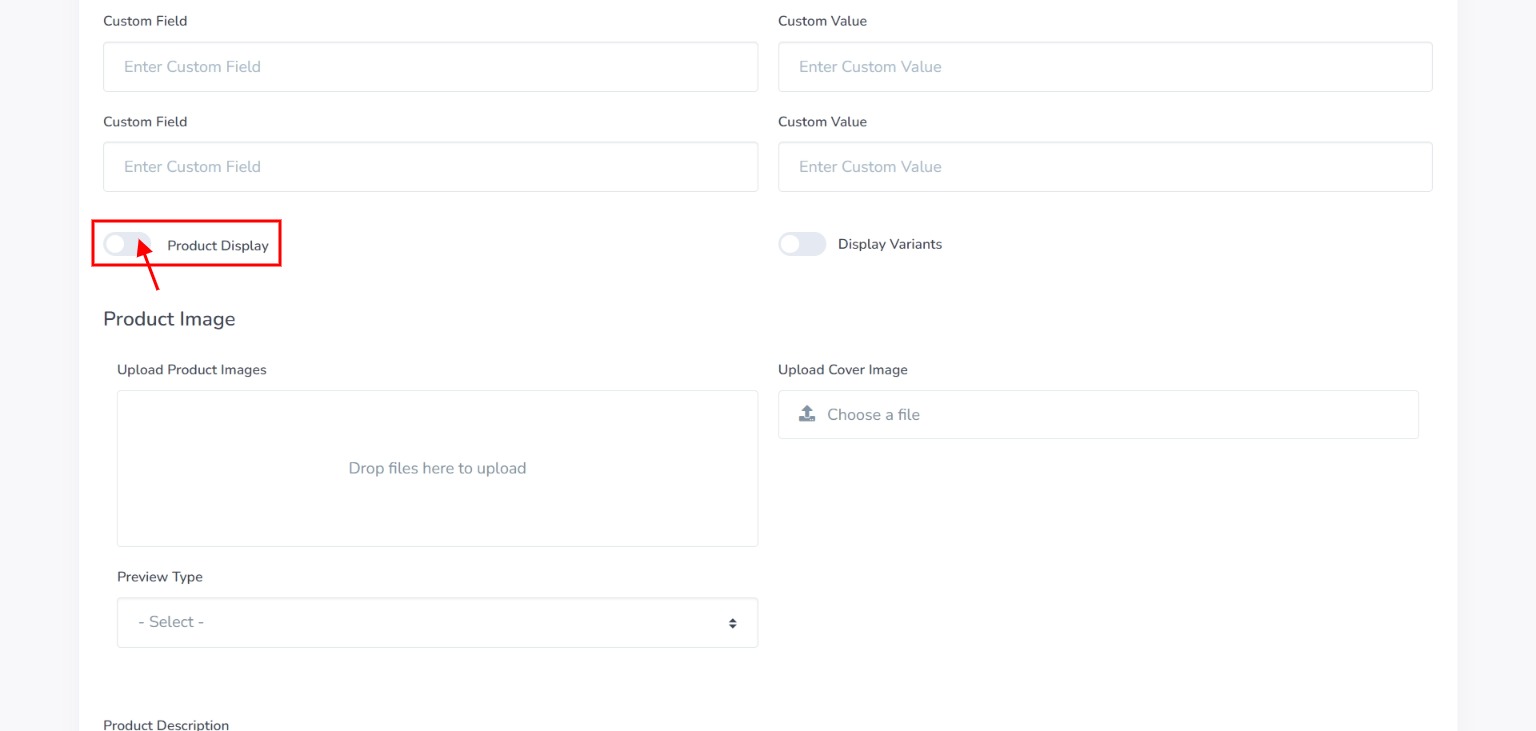
Step 13: Click on the “Product Display” toggle button to turn it ON if you want to display the product otherwise leave it OFF.
Step 14: Click on the “Display Variants” toggle button to turn it ON if you want to display variant products otherwise leave it OFF.

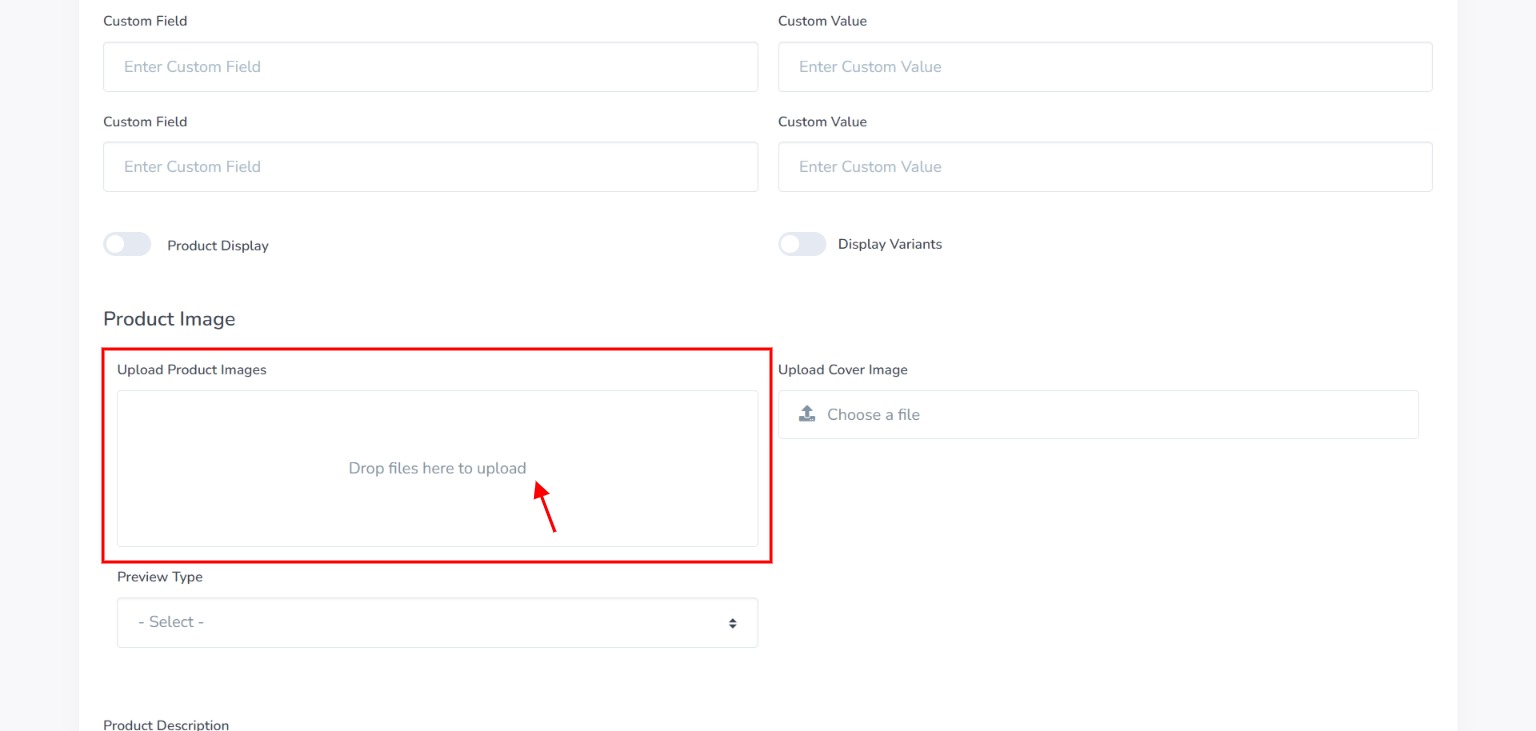
Step 15: Click on the “Upload Product Images” box to upload the product images.
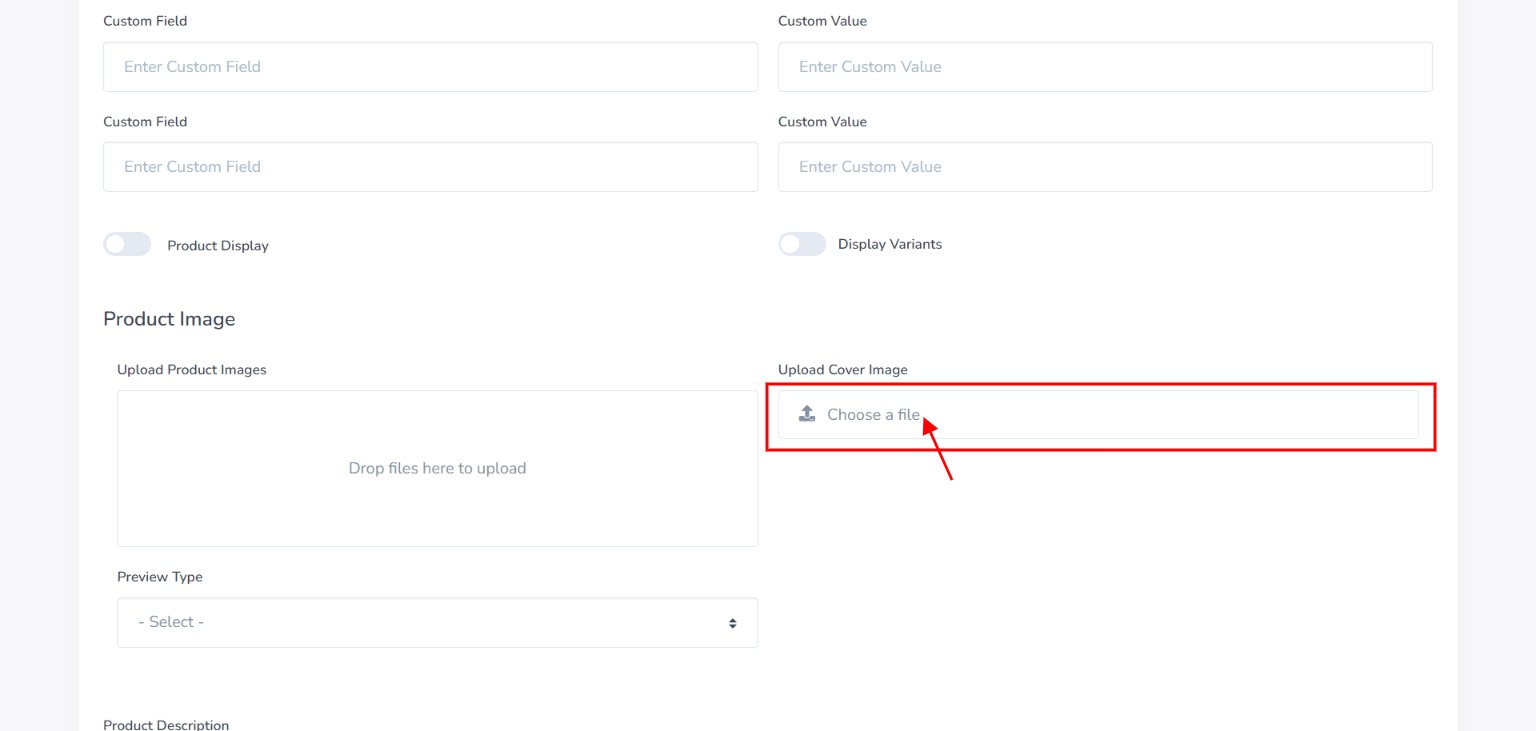
Step 16: Click on the “upload Cover Image” upload box to upload the cover image for the product.
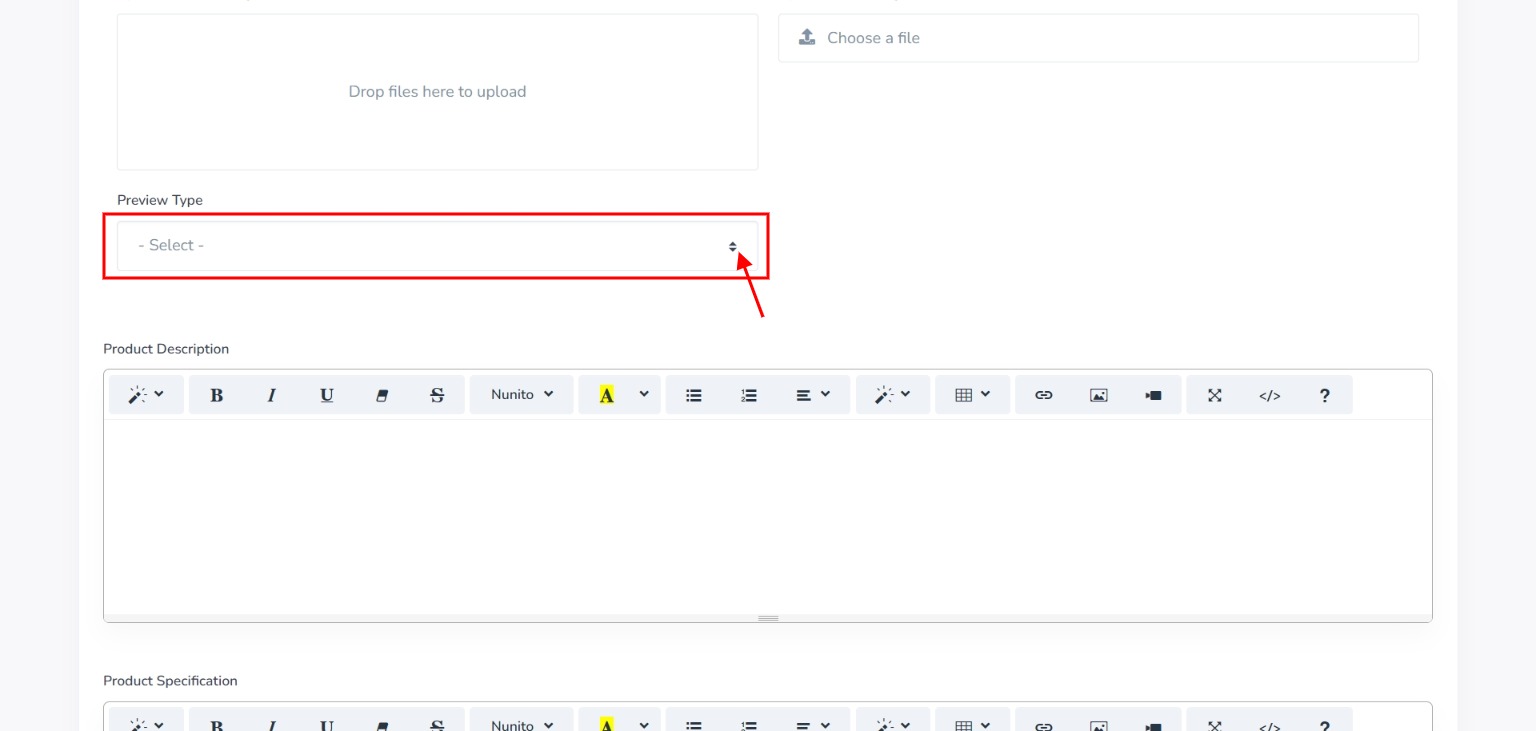
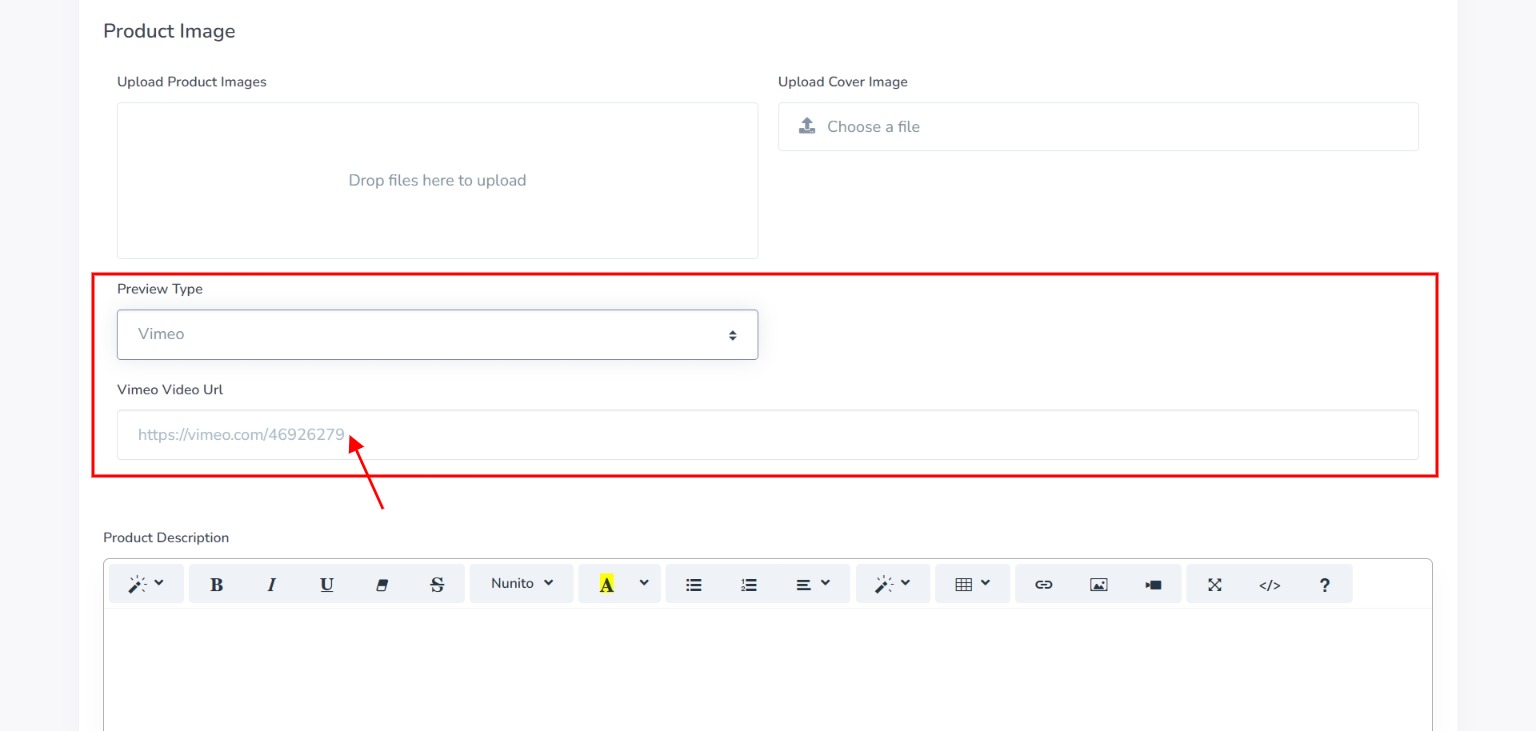
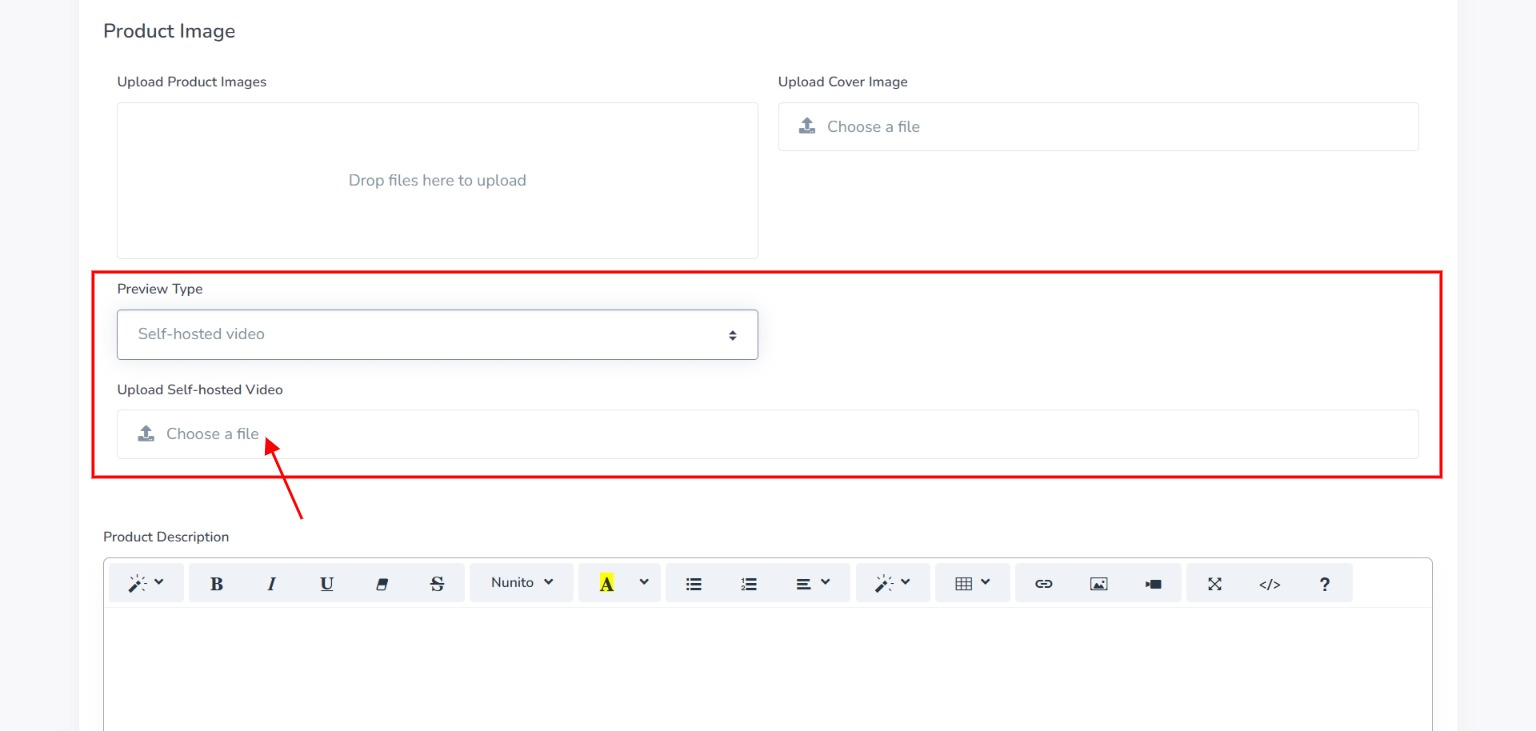
Step 17: Click on the product “Preview Type” text box to select the video host from the dropdown.
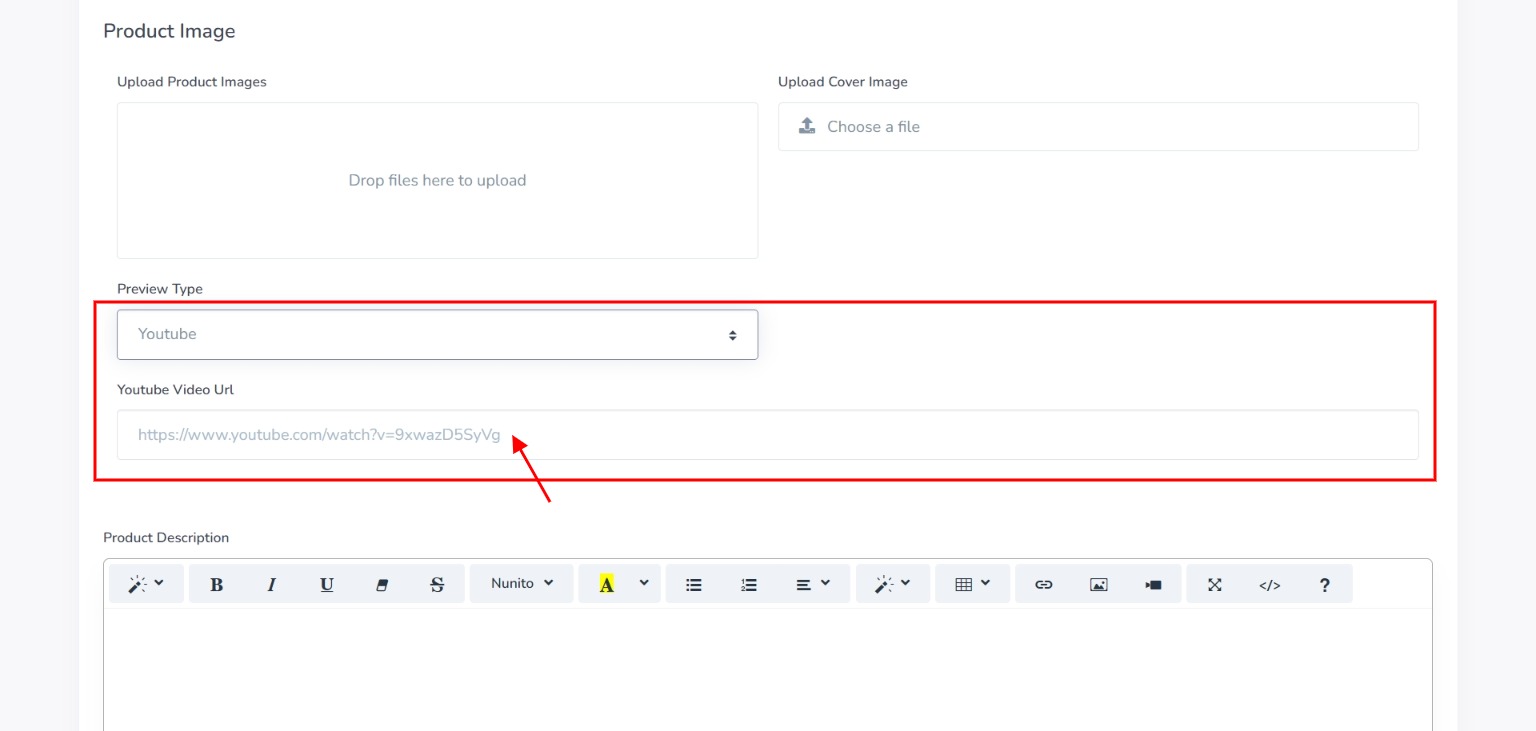
- Youtube: Upon selecting the Youtube preview type from the dropdown, paste the “Youtube Video URL” on the Youtube Video URL link box.
- Vimeo: Upon selecting the Vimeo preview type from the dropdown, paste the “Vimeo Video URL” on the Vimeo Video URL link box.
- Self-hosted Video: Upon selecting the Self-hosted Video preview type from the dropdown, Click on the choose a file to choose “upload the video file” from your computer.
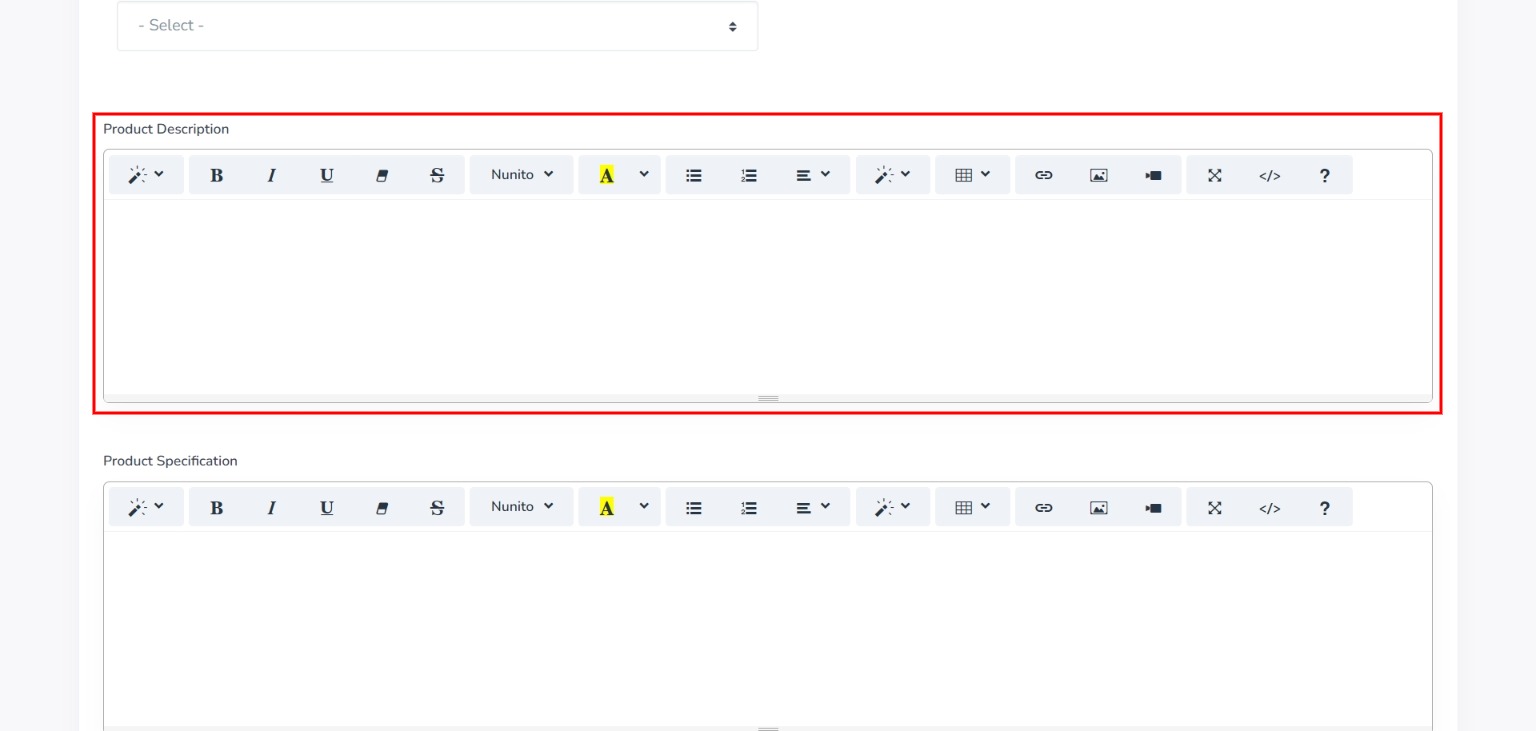
Step 18: Enter the “Description” for the product in the text editor.
Step 19: Enter the “Specifications” of the product in the text editor.
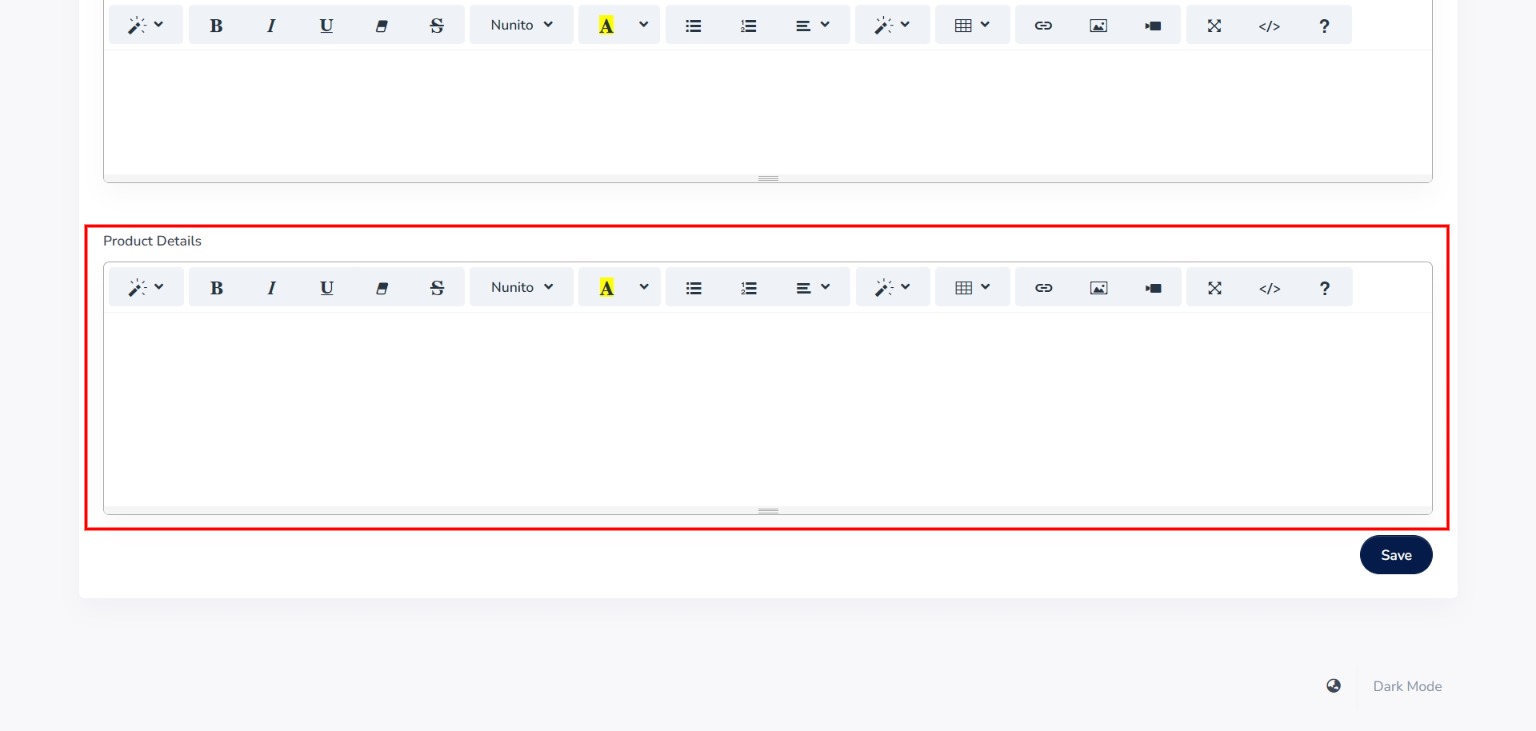
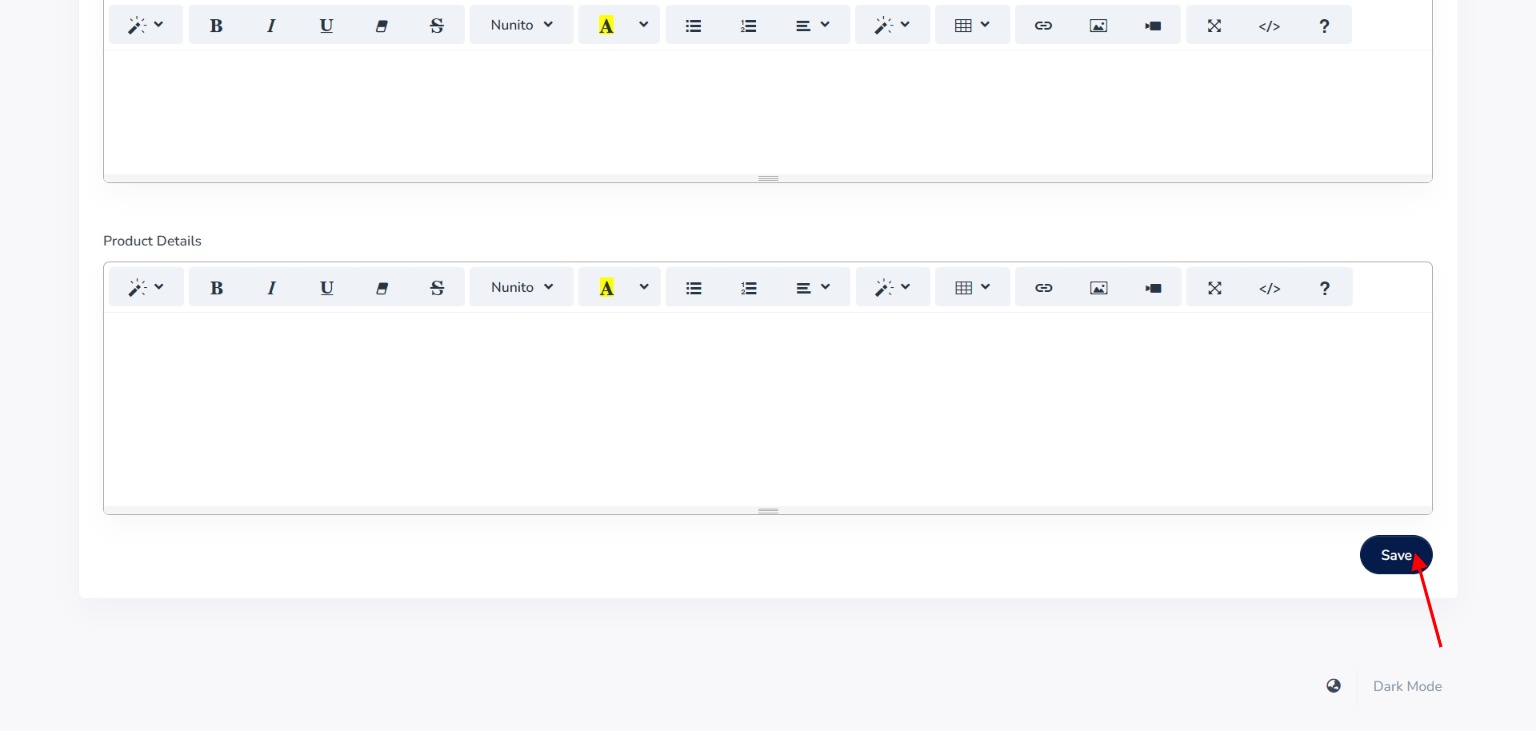
Step 20: Enter the “product details” in the text editor.
Step 21: Click the “Save” Button.
Your Product has been created successfully!